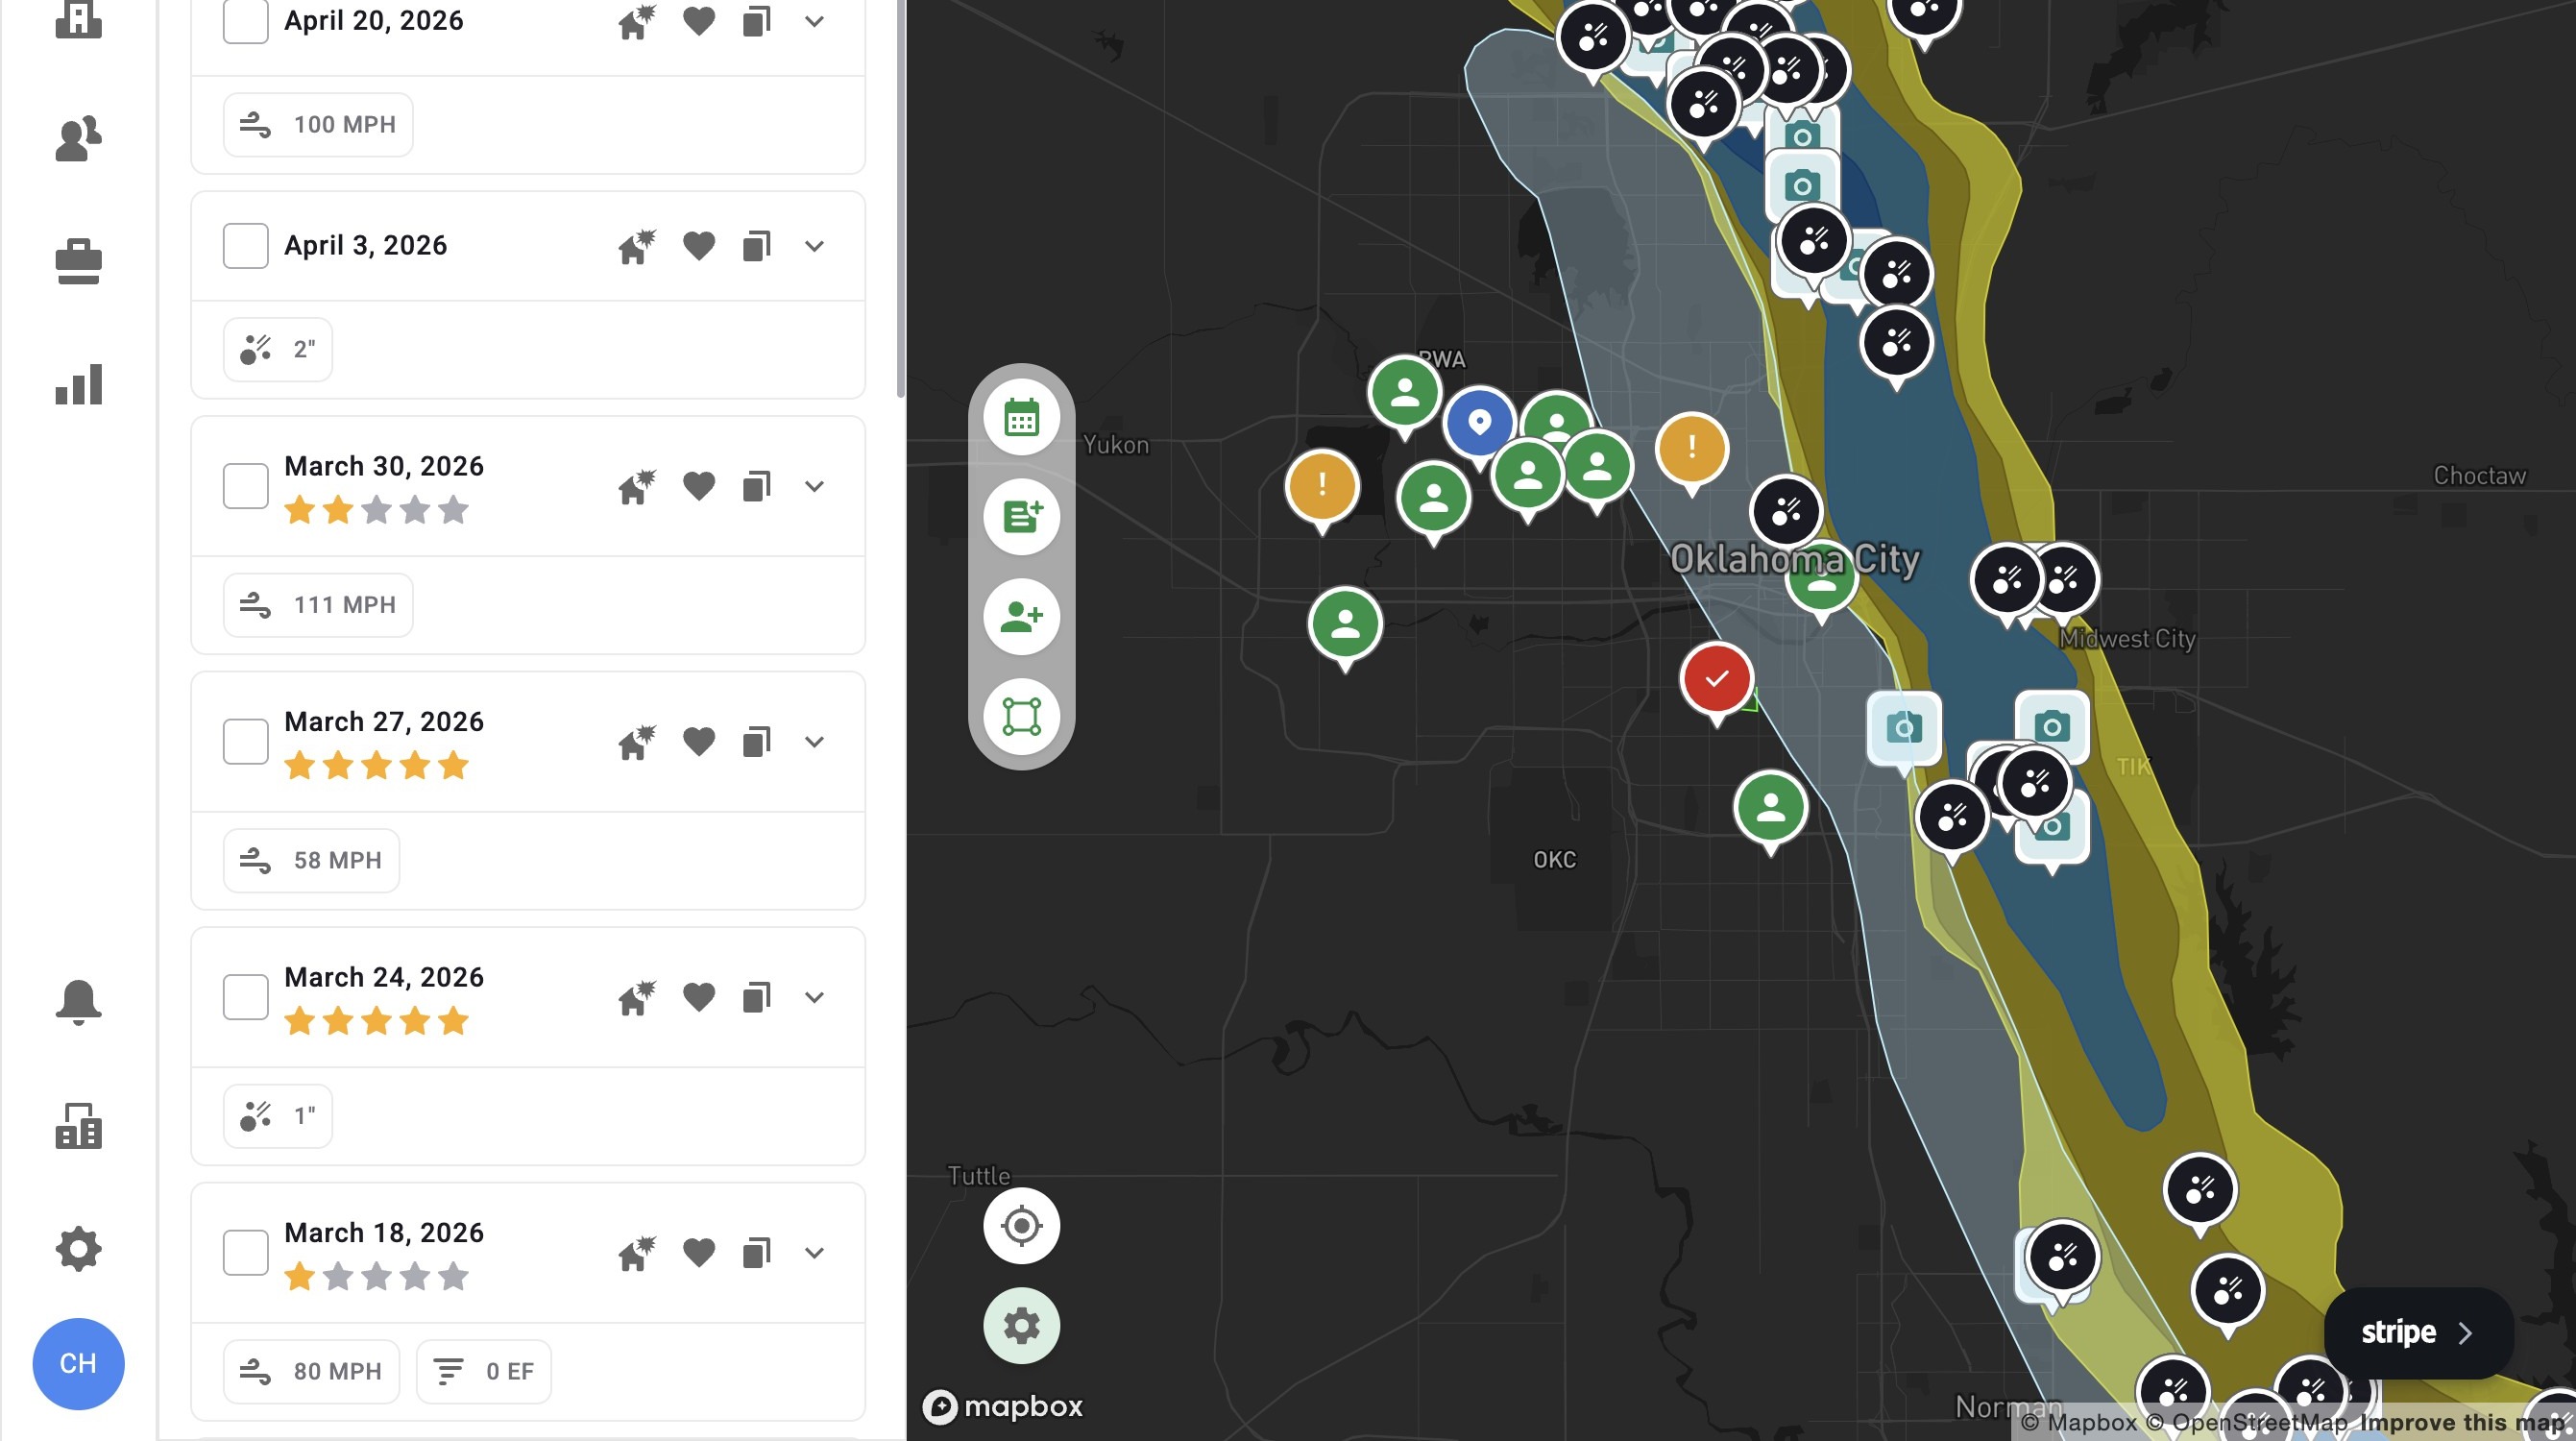
[5.0] Control Your App with Map Settings
Map Settings puts all your controls in one place.
Mobile App
2. Under "Map Layer," customize the opacity to see maps darker or lighter
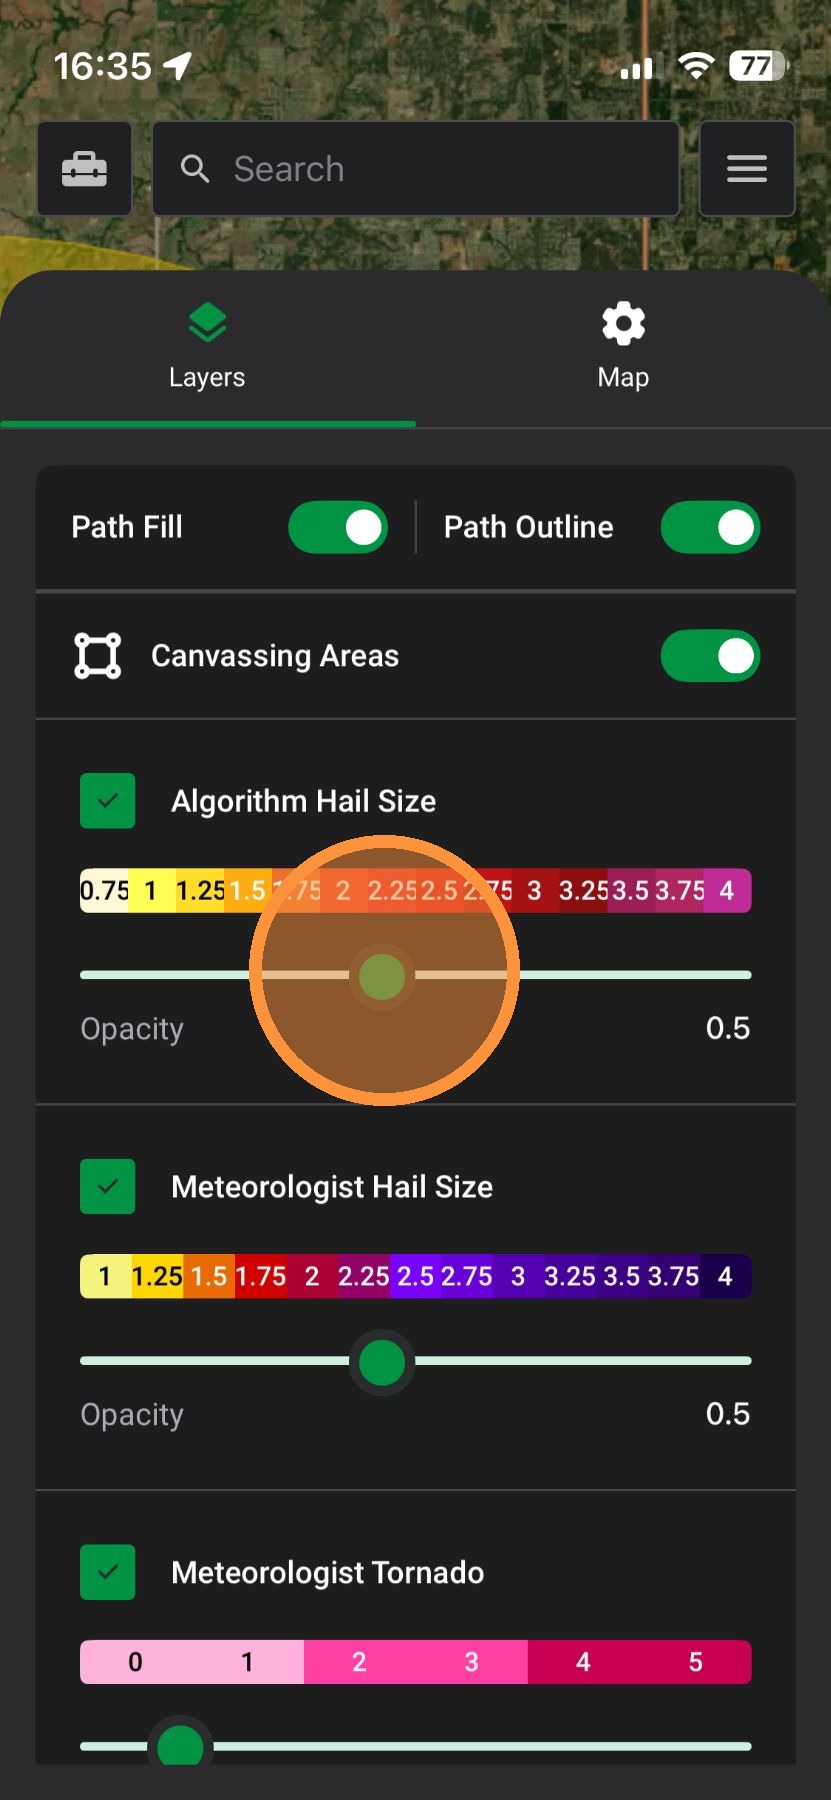
3. Under "Map Layer," turn off/on any map layer
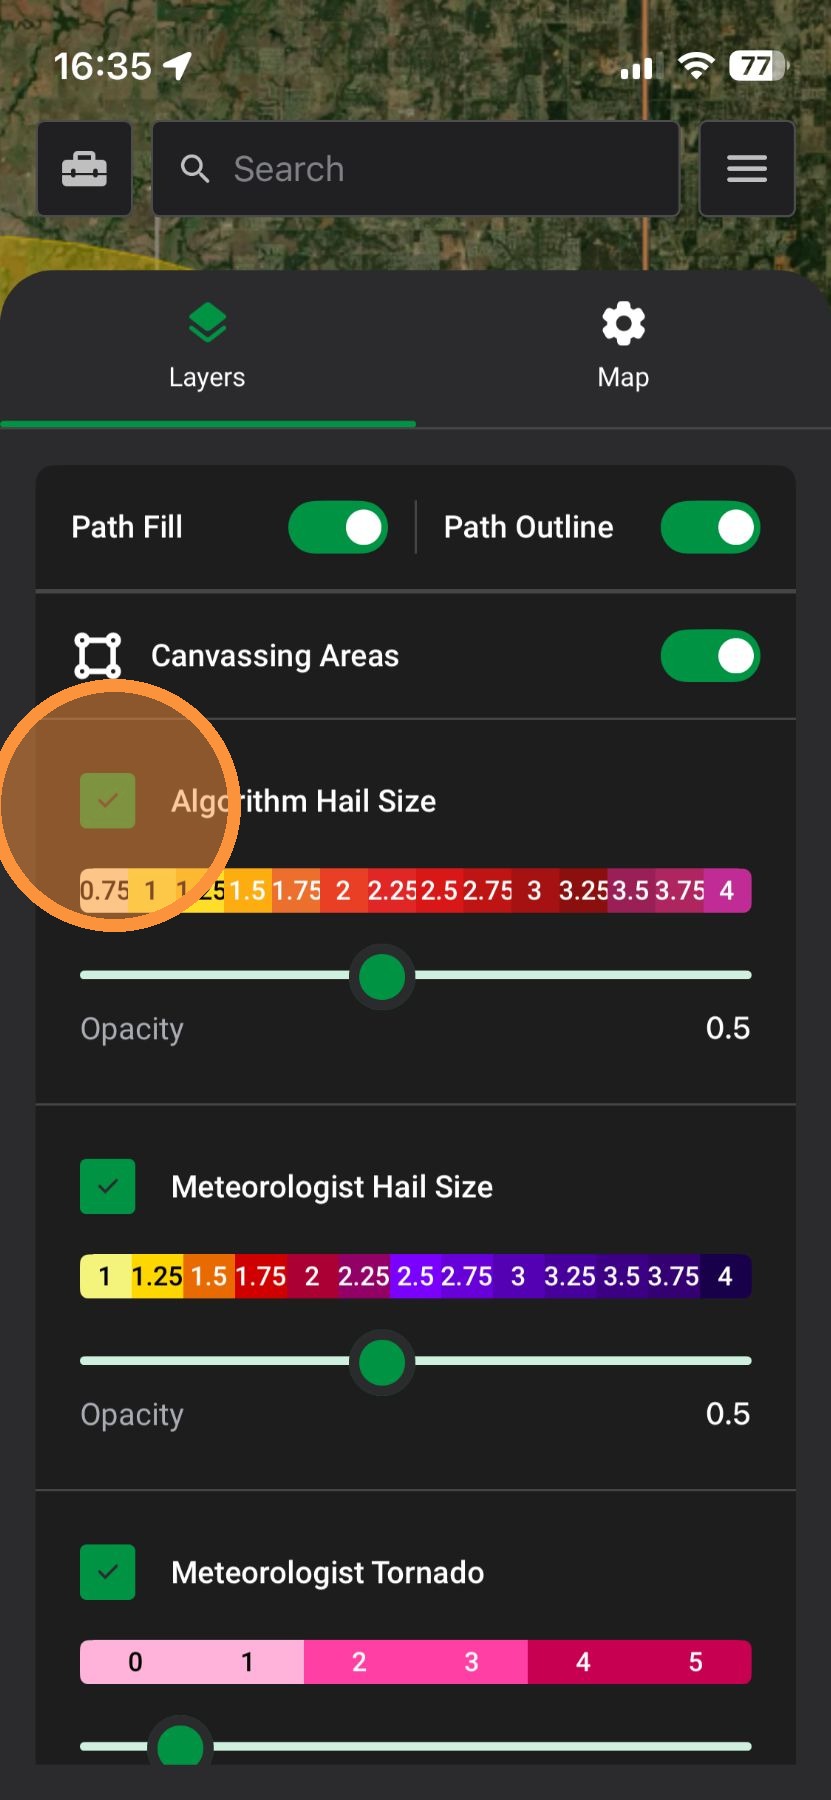
4. Select "Map Settings"
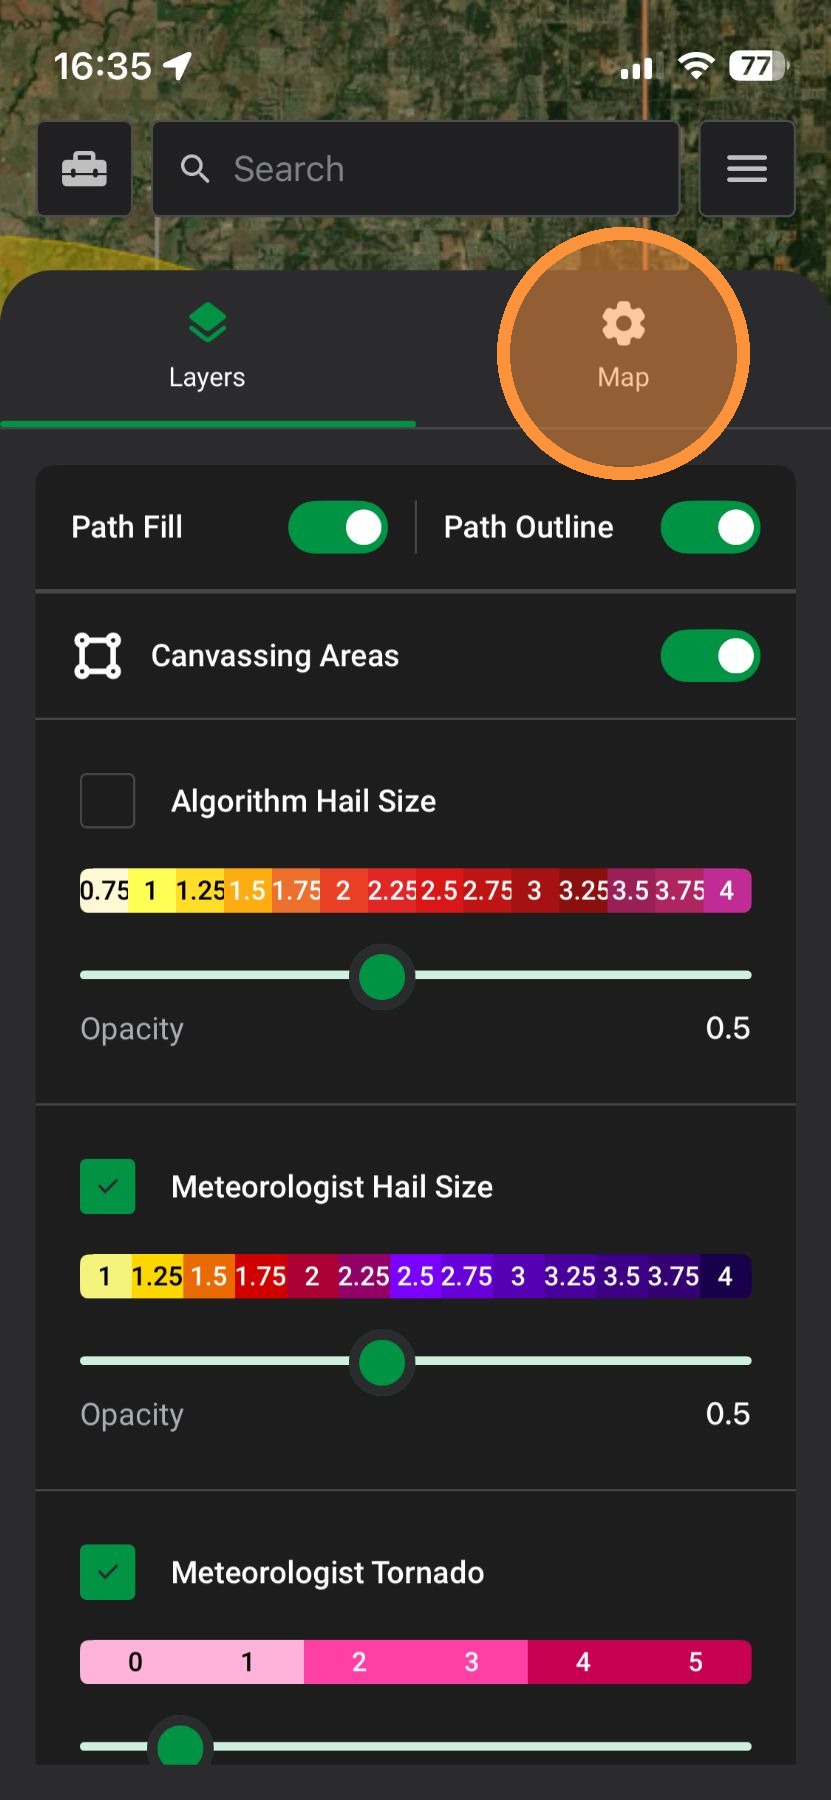
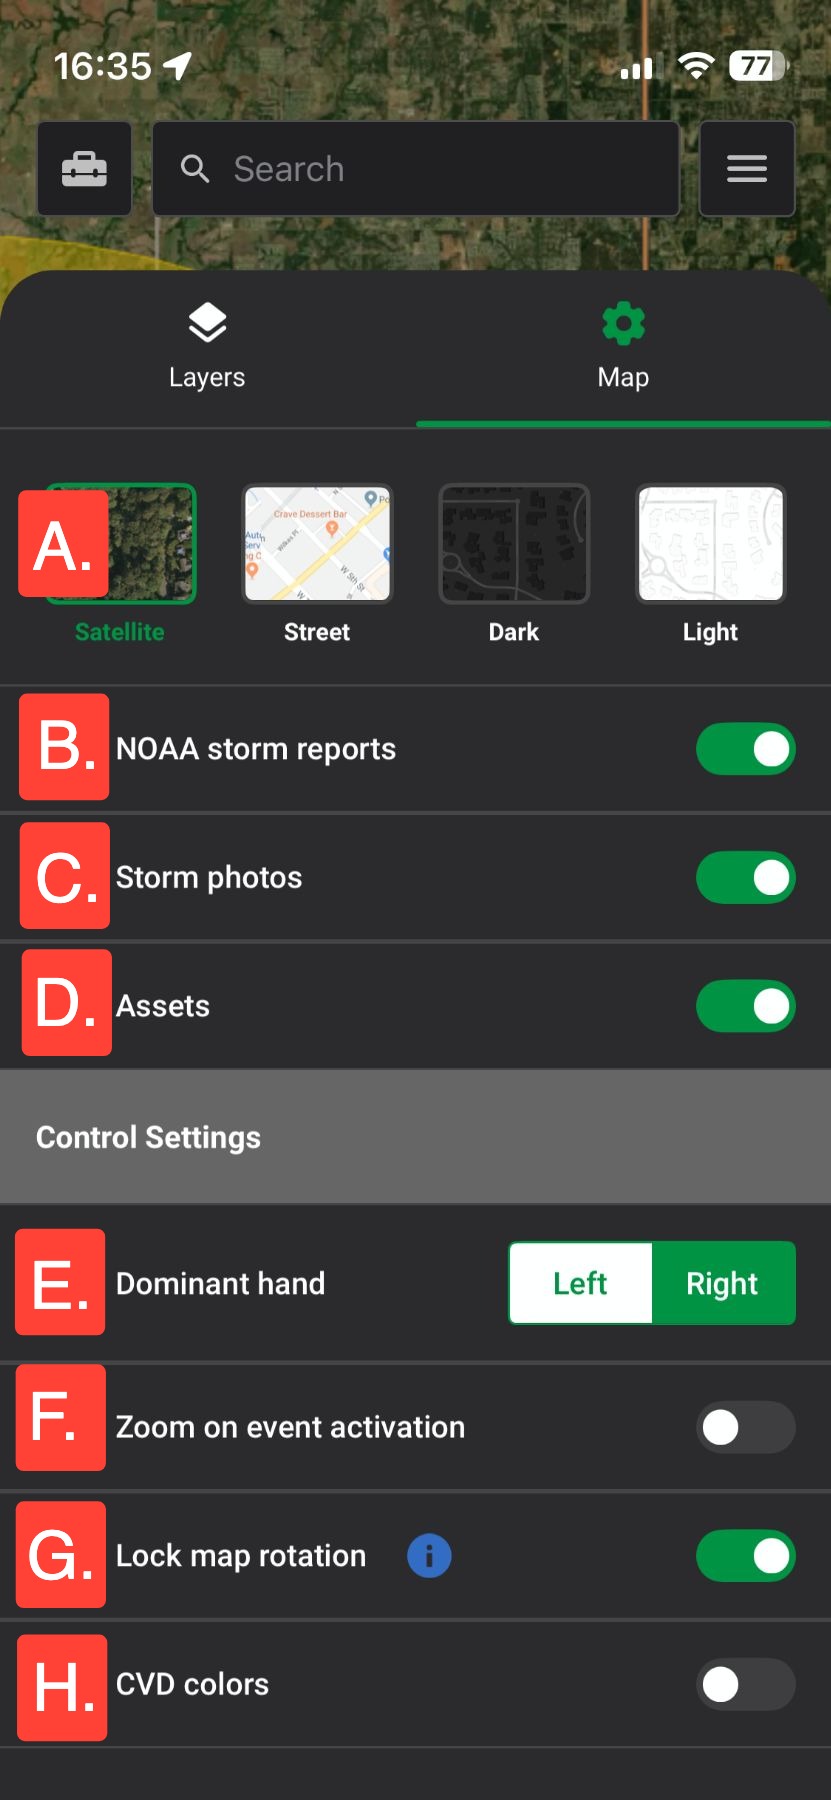
5. Adjust any of the following settings:
A. Base map: Adjust to to satellite, street, dark, or light. *dark & light mode is ideal when in the sun
B. NOAA storm reports: View reports from spotters on a storm map
C. Storm photos: View images of a storm on a storm map
D. Assets: View asset pins on the map page
E. Dominant hand: Switch the Quick Action button to the left or right of the screen
F. Zoom on event activation: Have the map page zoom out after activating a weather event
G. Lock Map Rotation: Keep the map page pointed north
H. CVD colors: Improve storm maps for color blind users
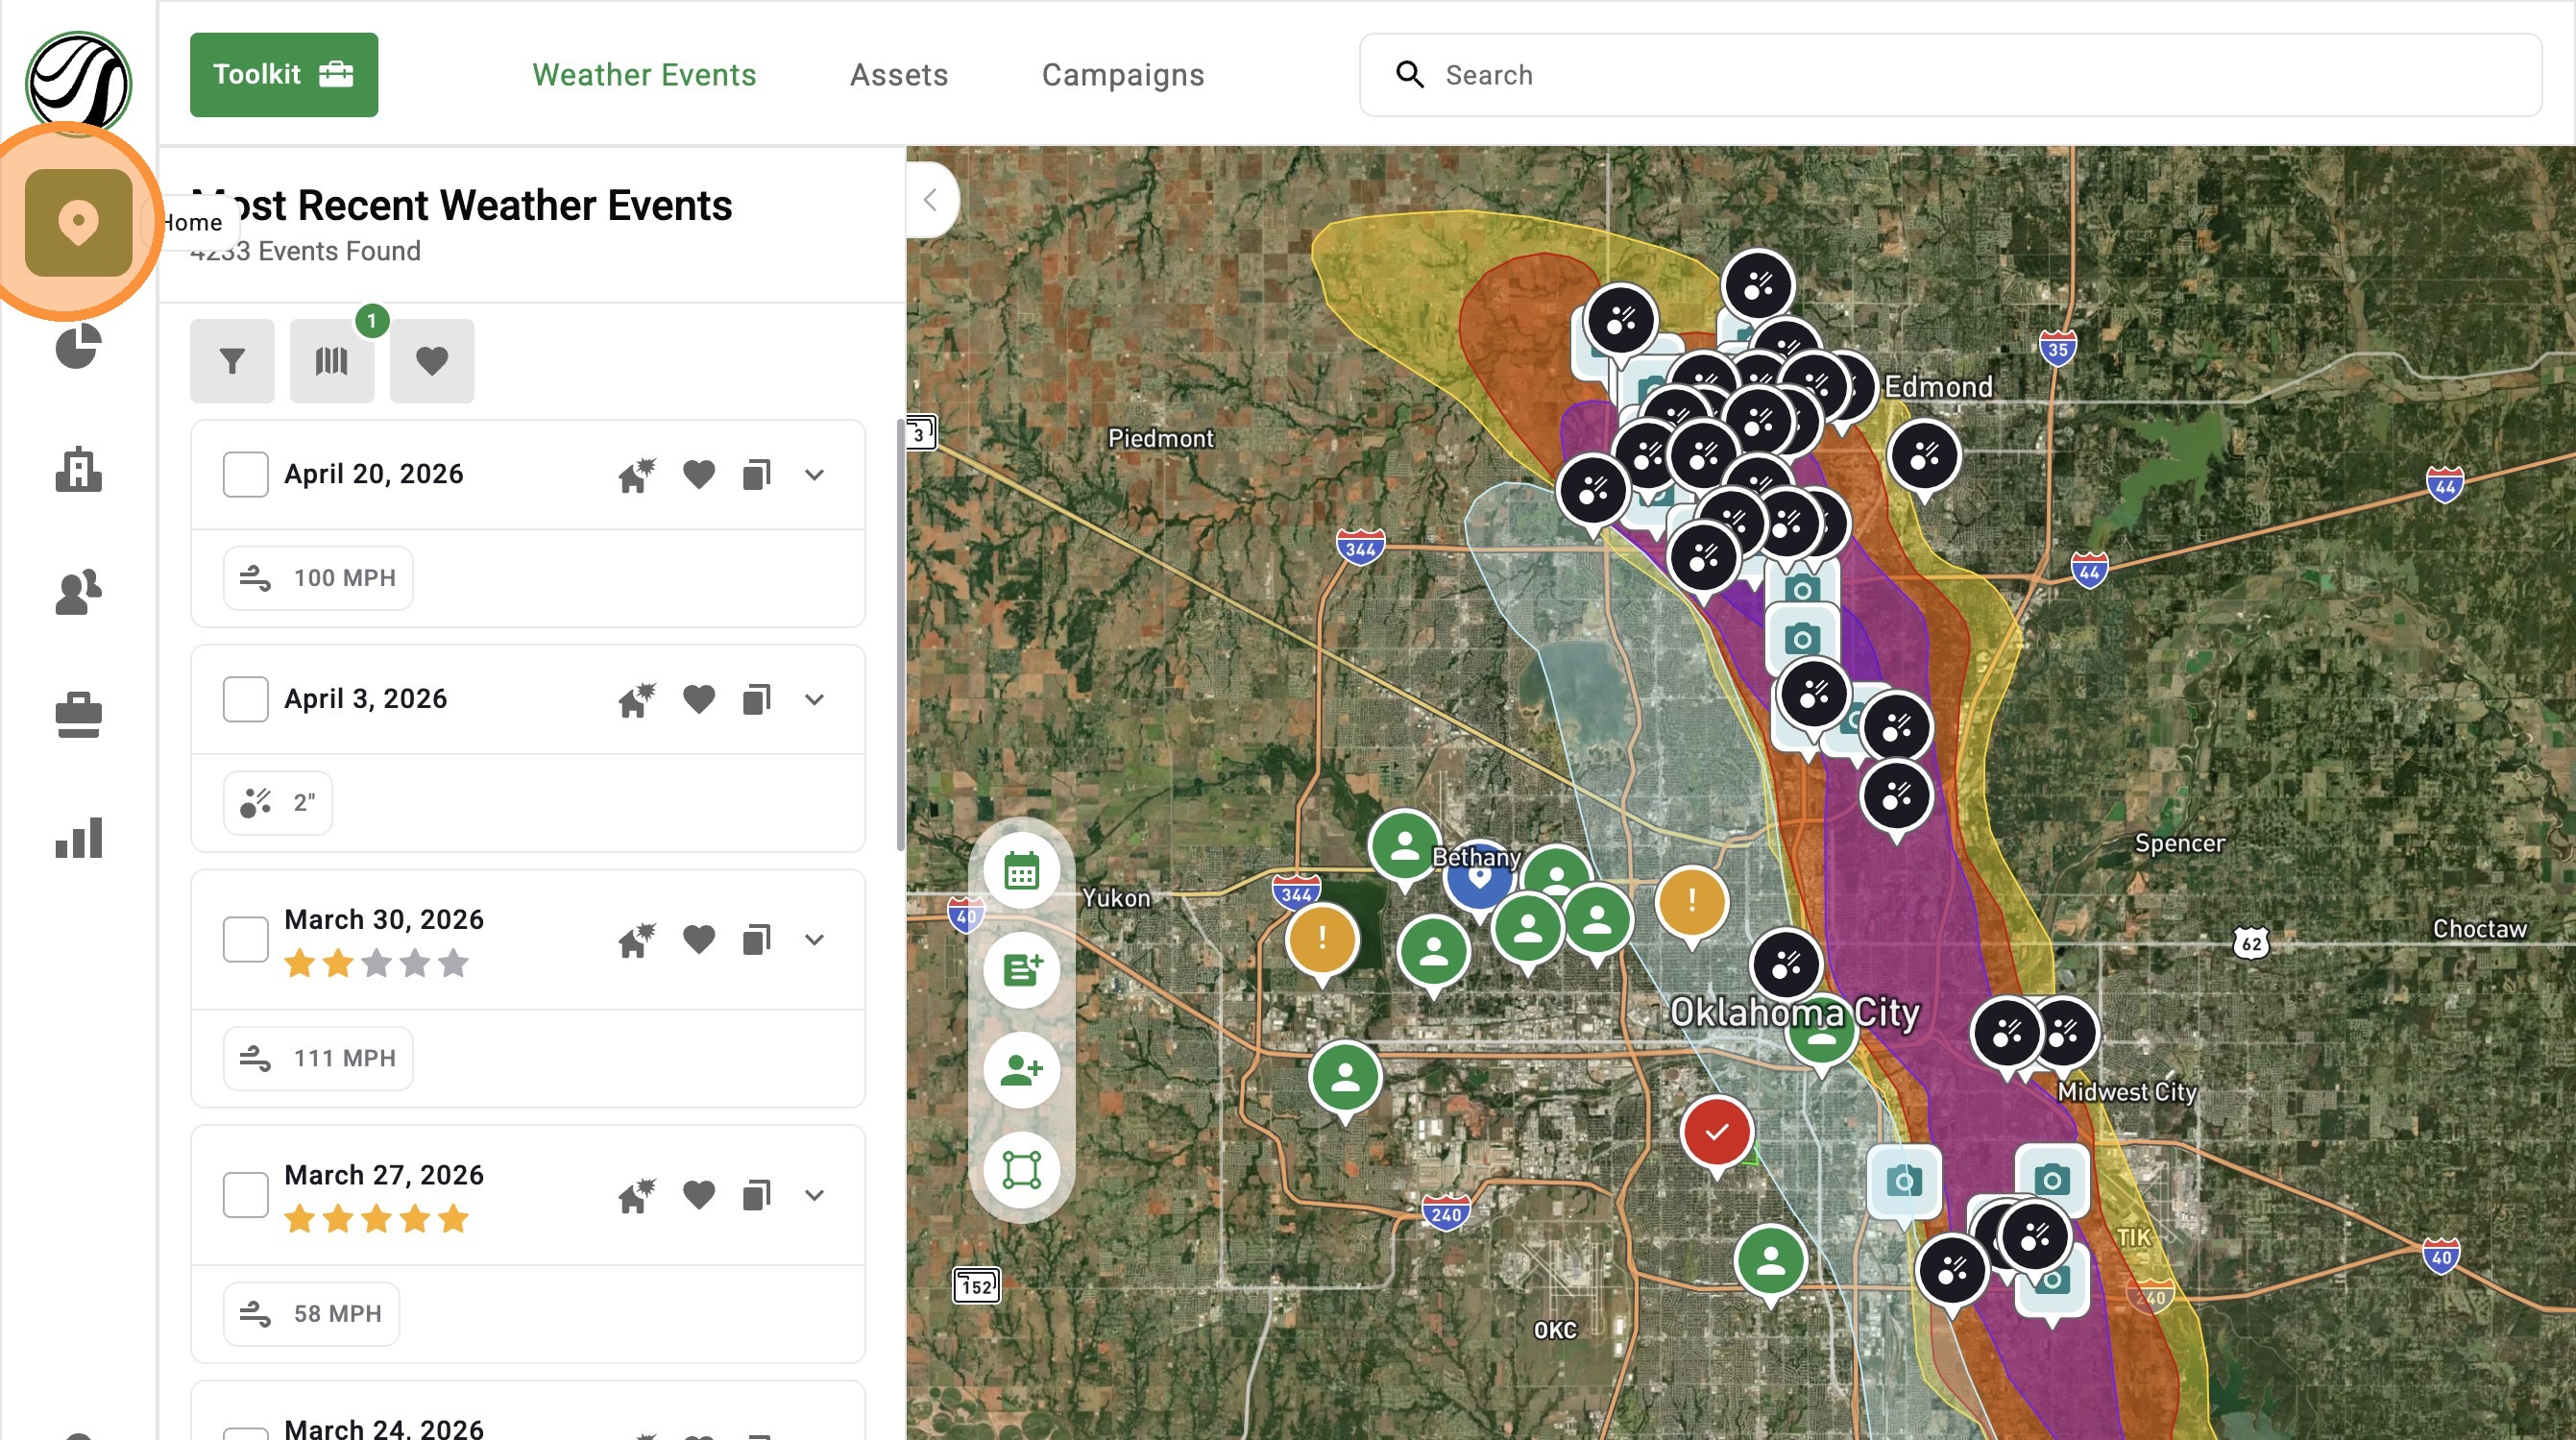
Browser App
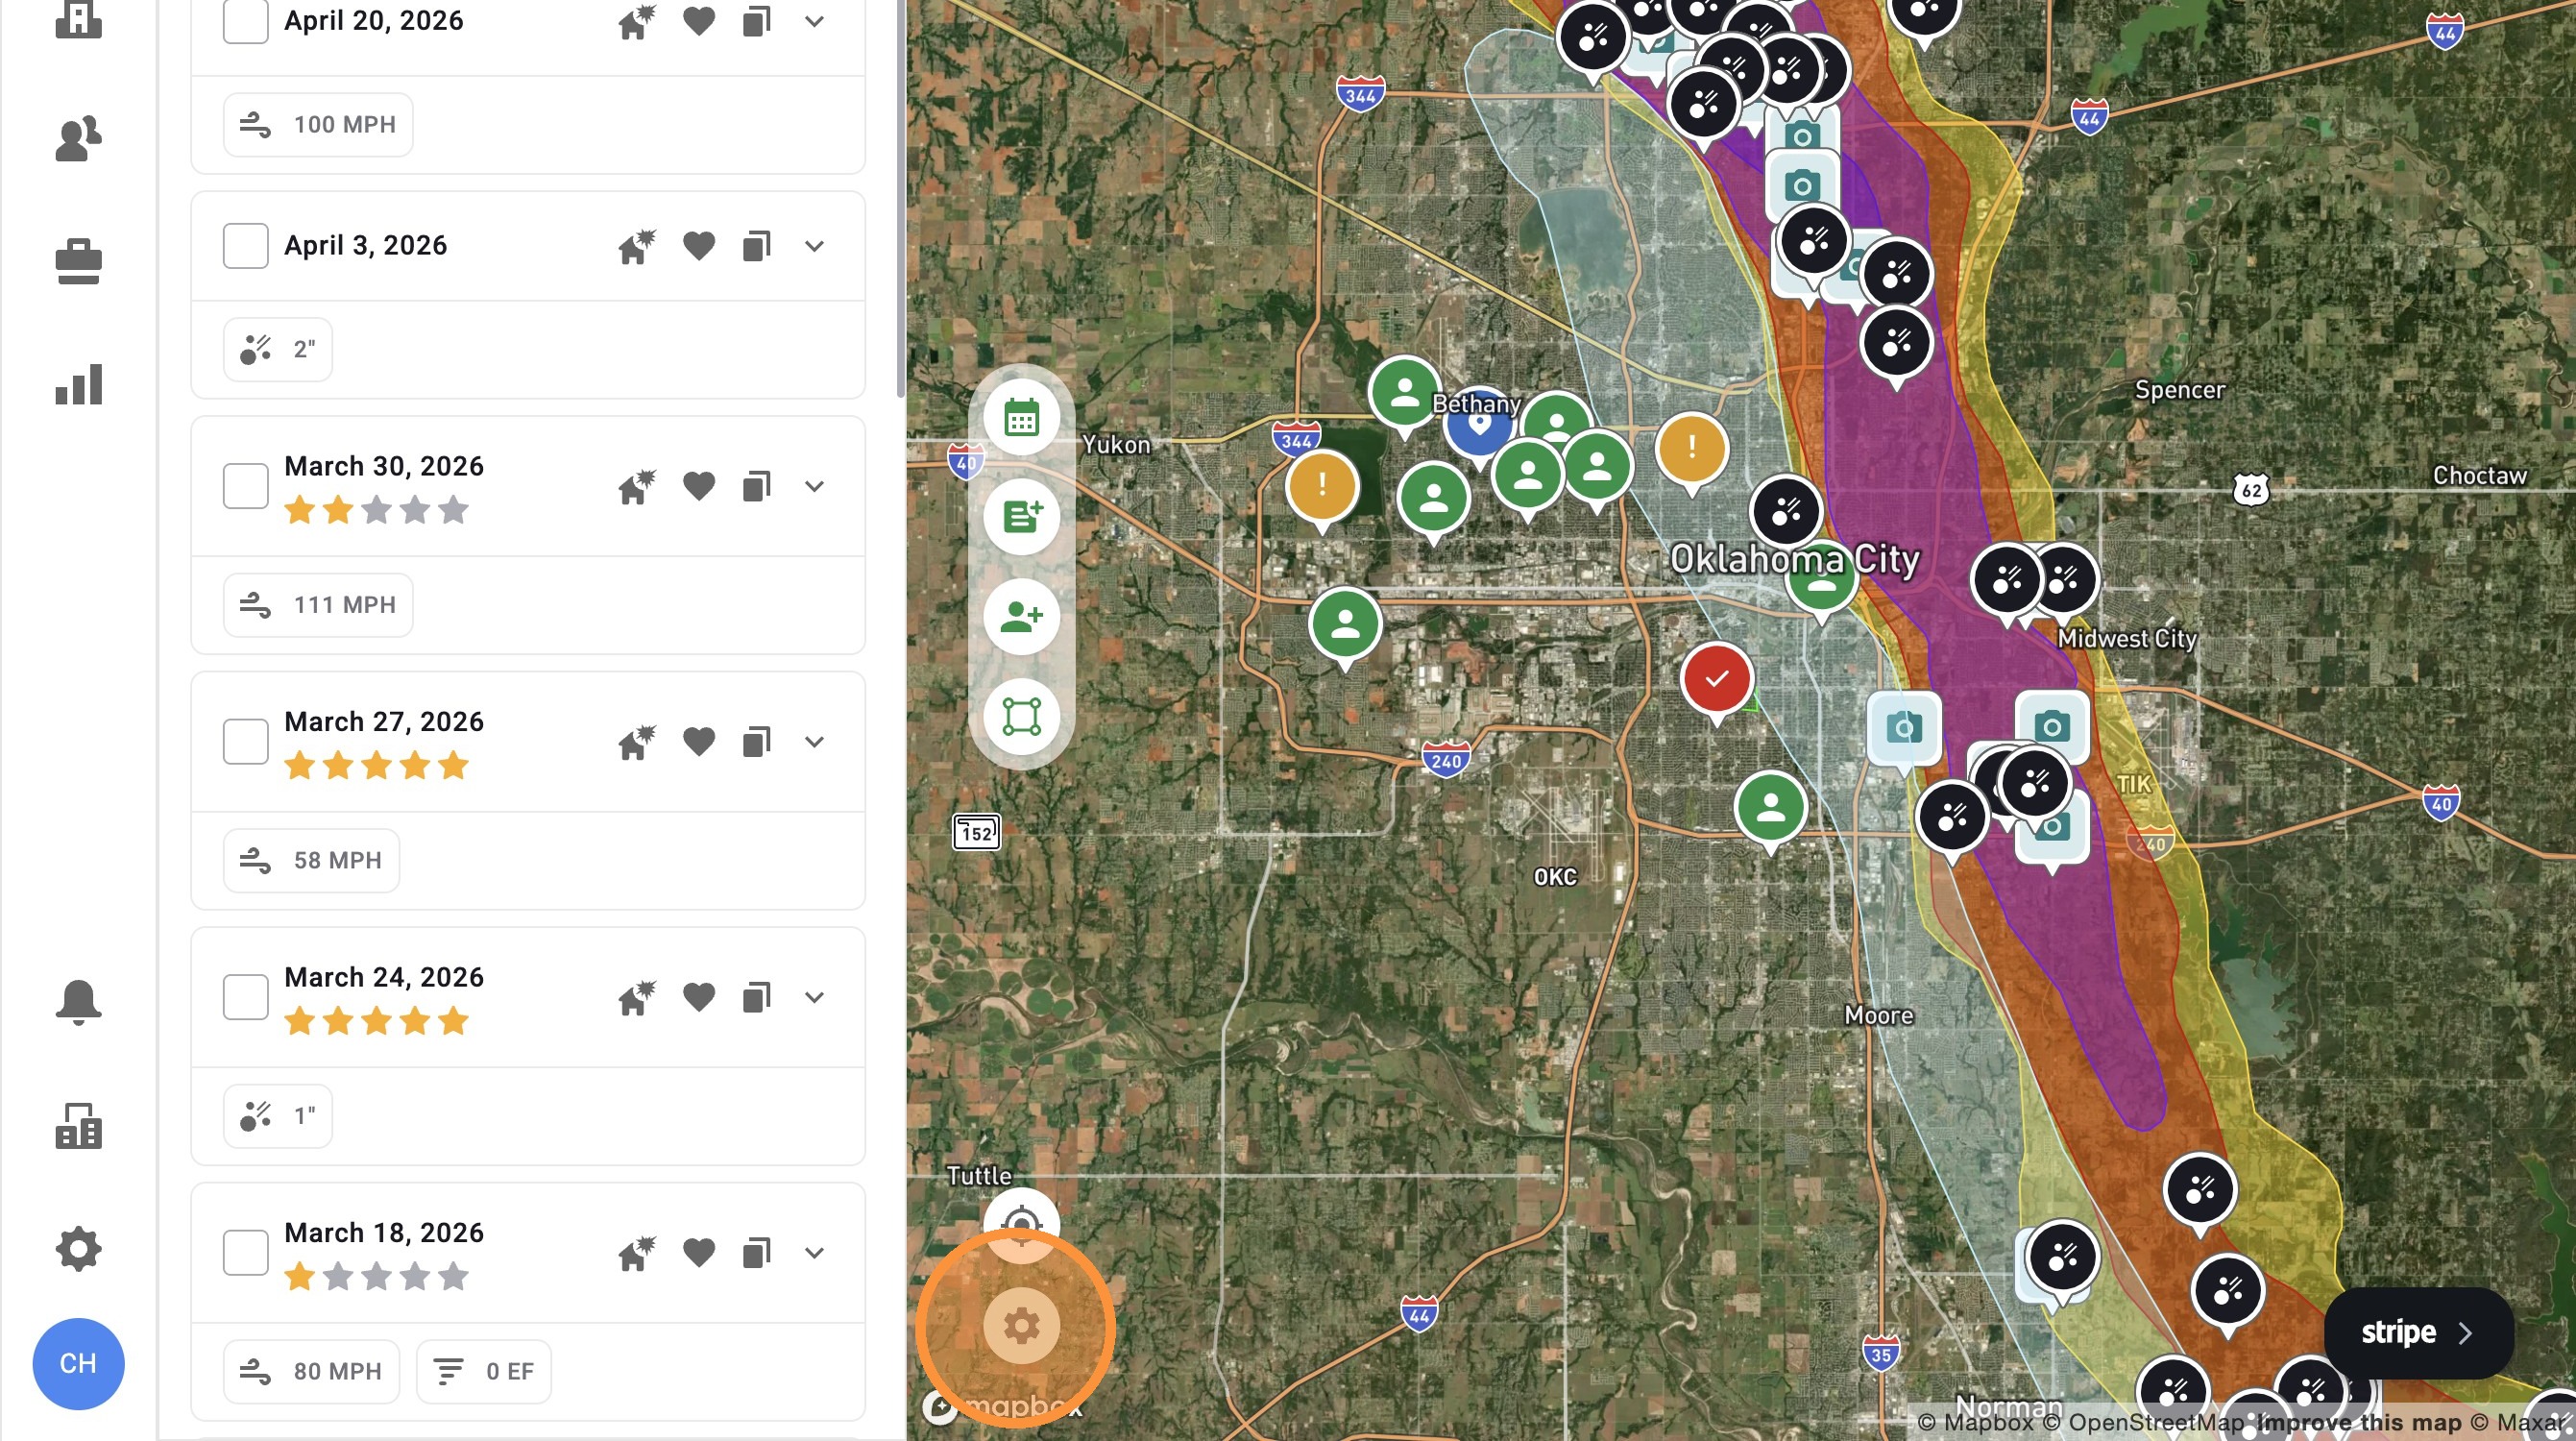
2. Select "Settings" button
3. Under "Map Layer," customize the opacity to see maps darker or lighter
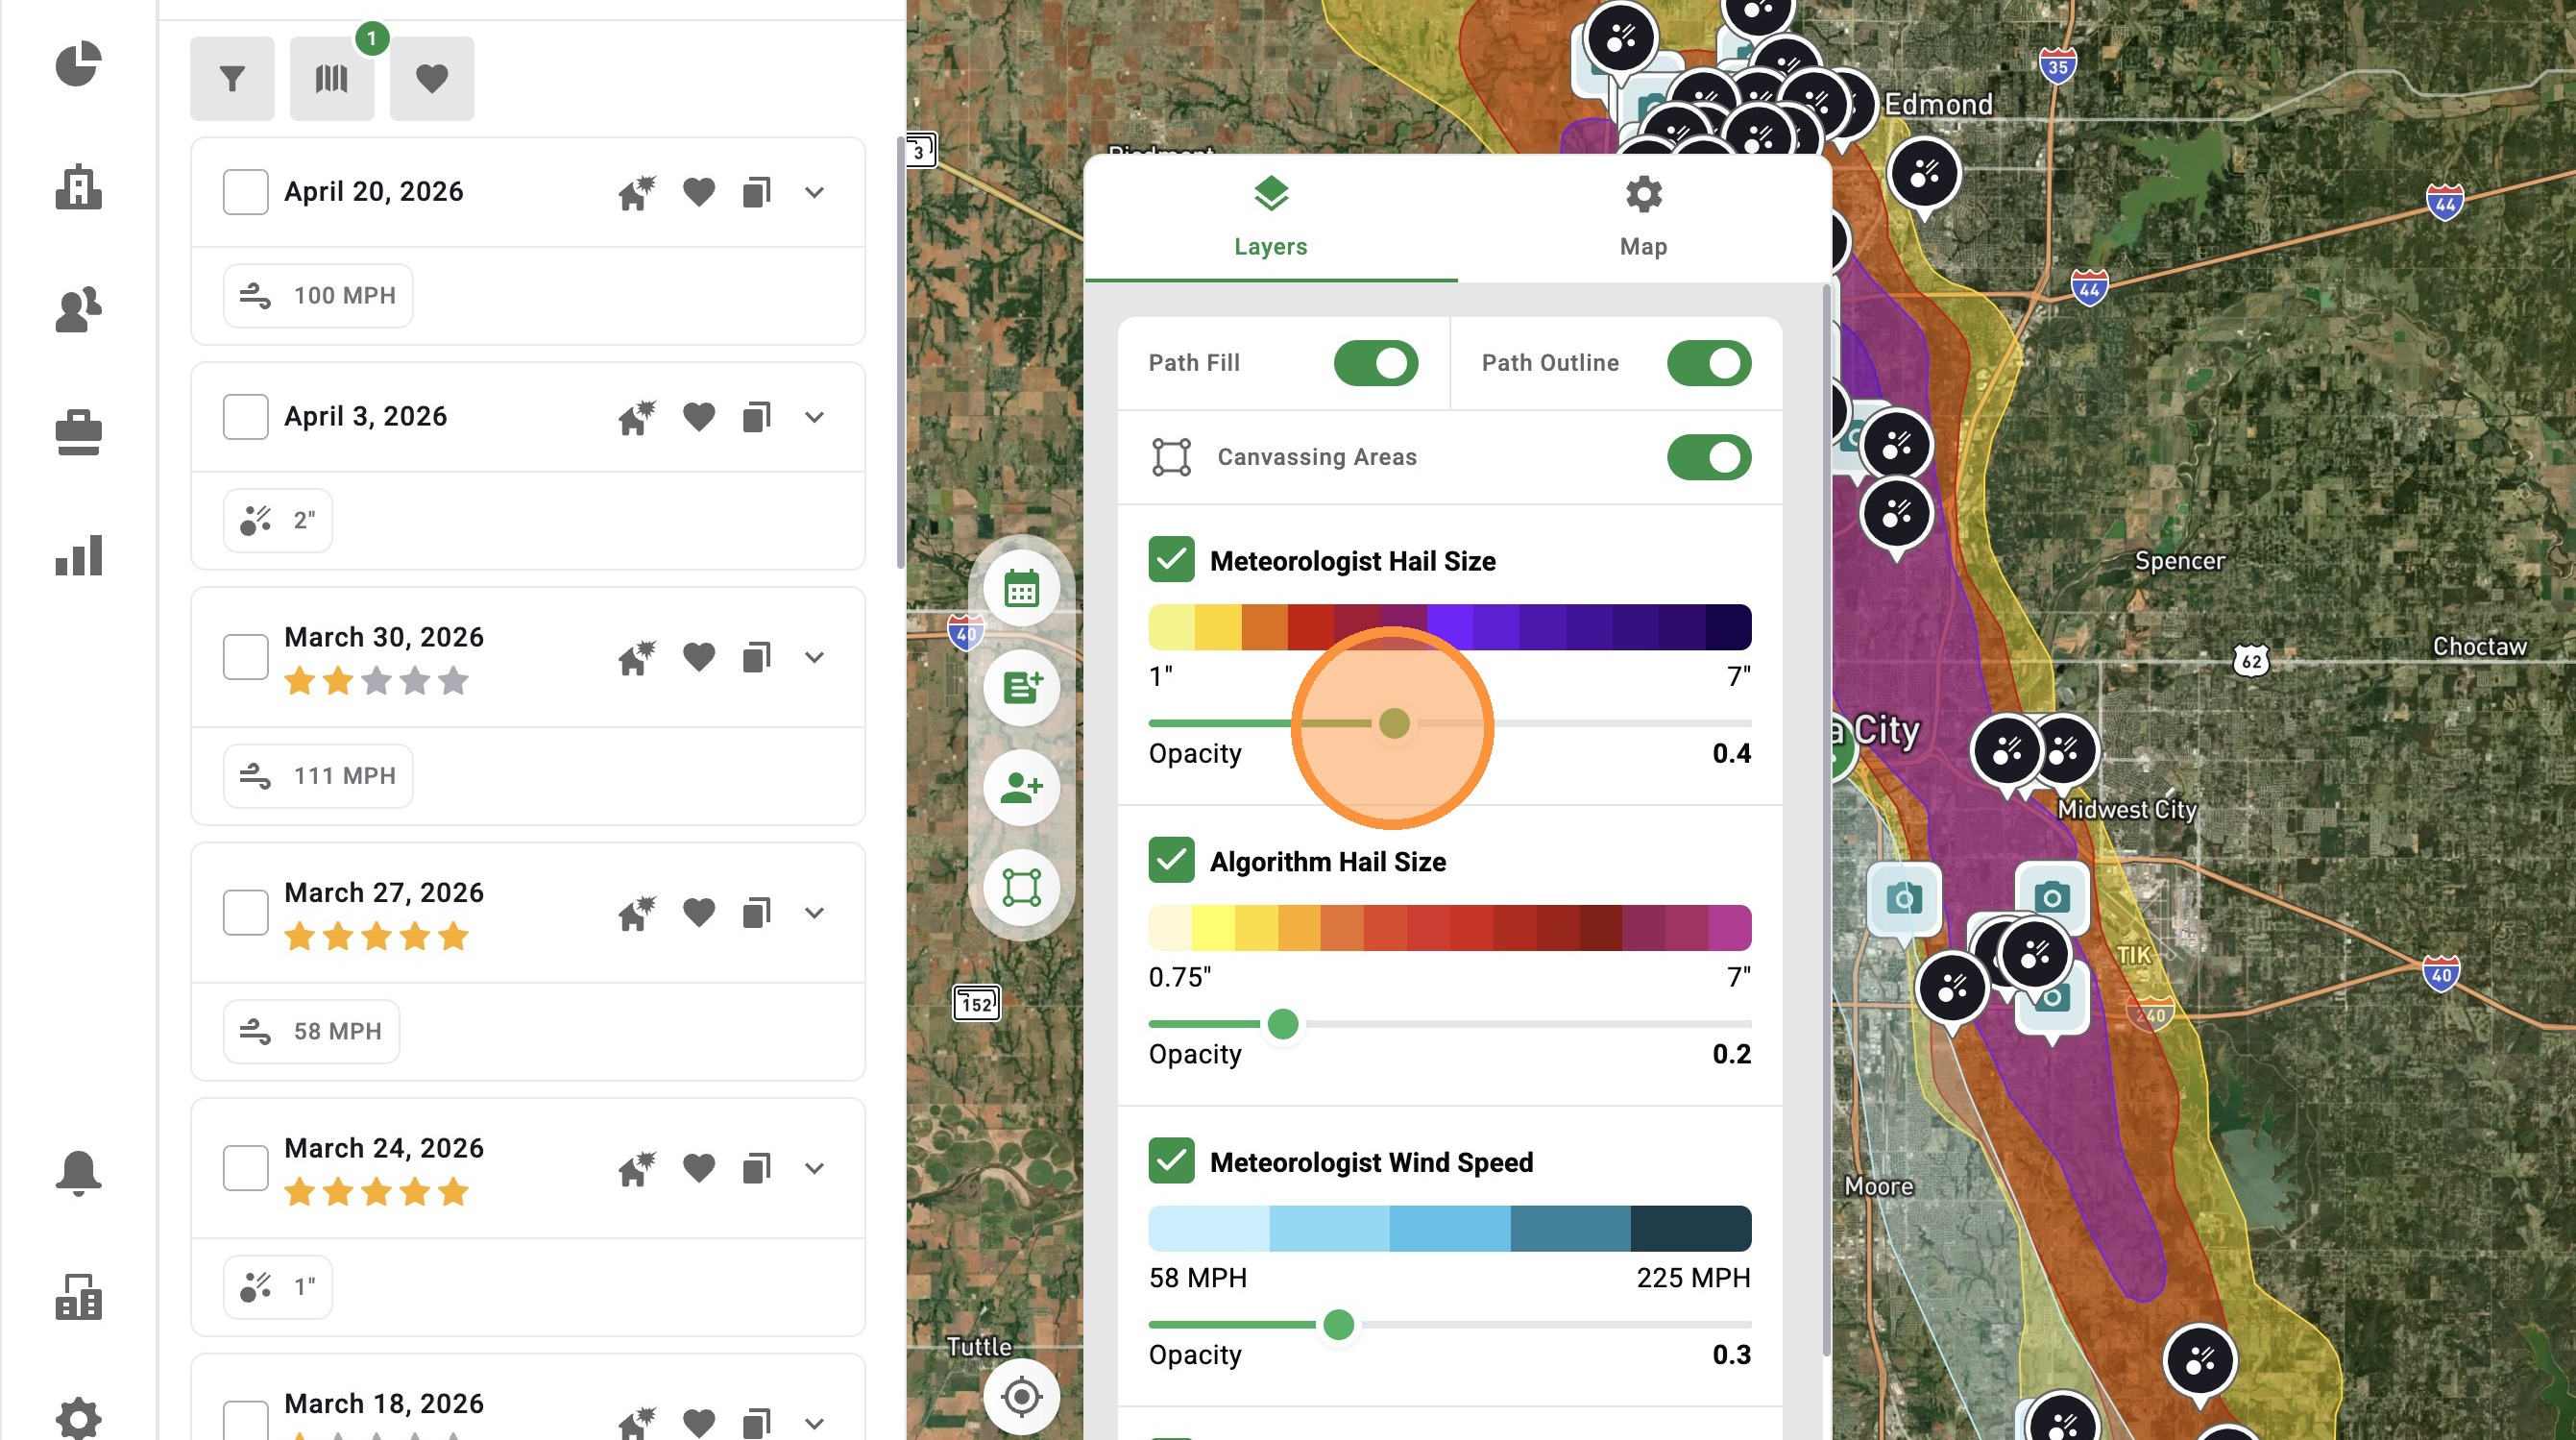
4. Under "Map Layer," turn off/on any map layer
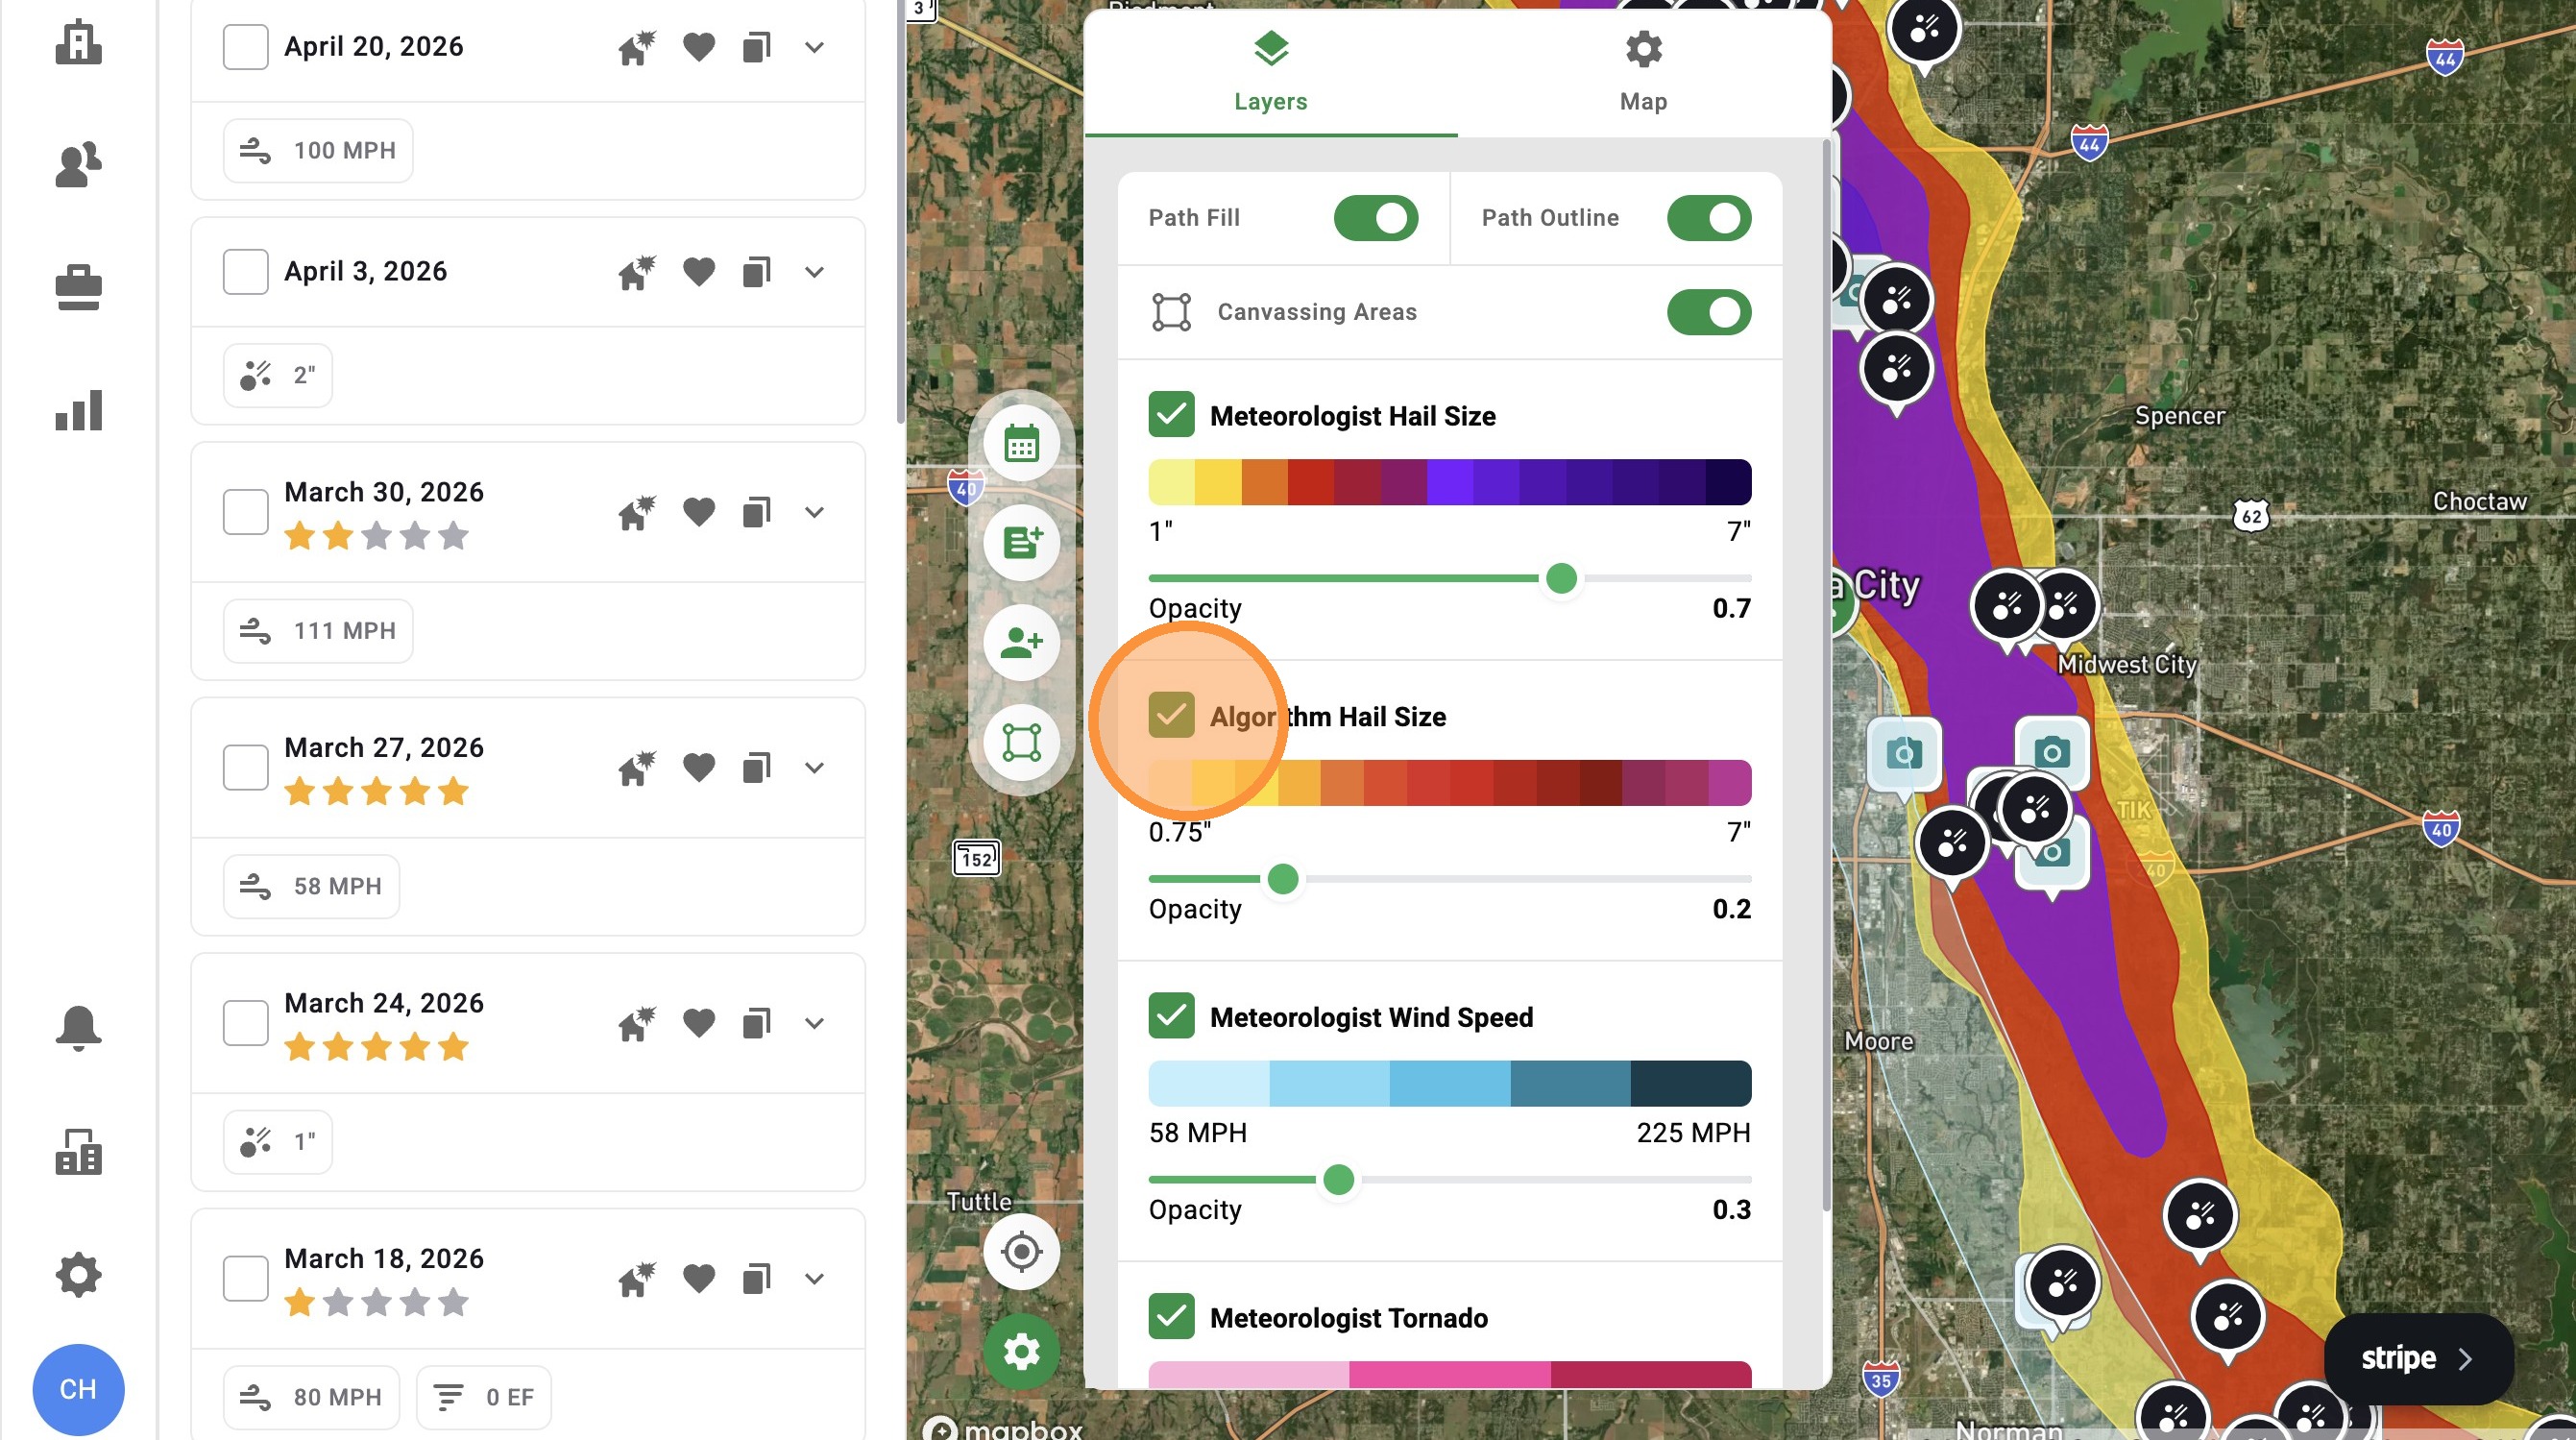
5. Select "Map Settings"
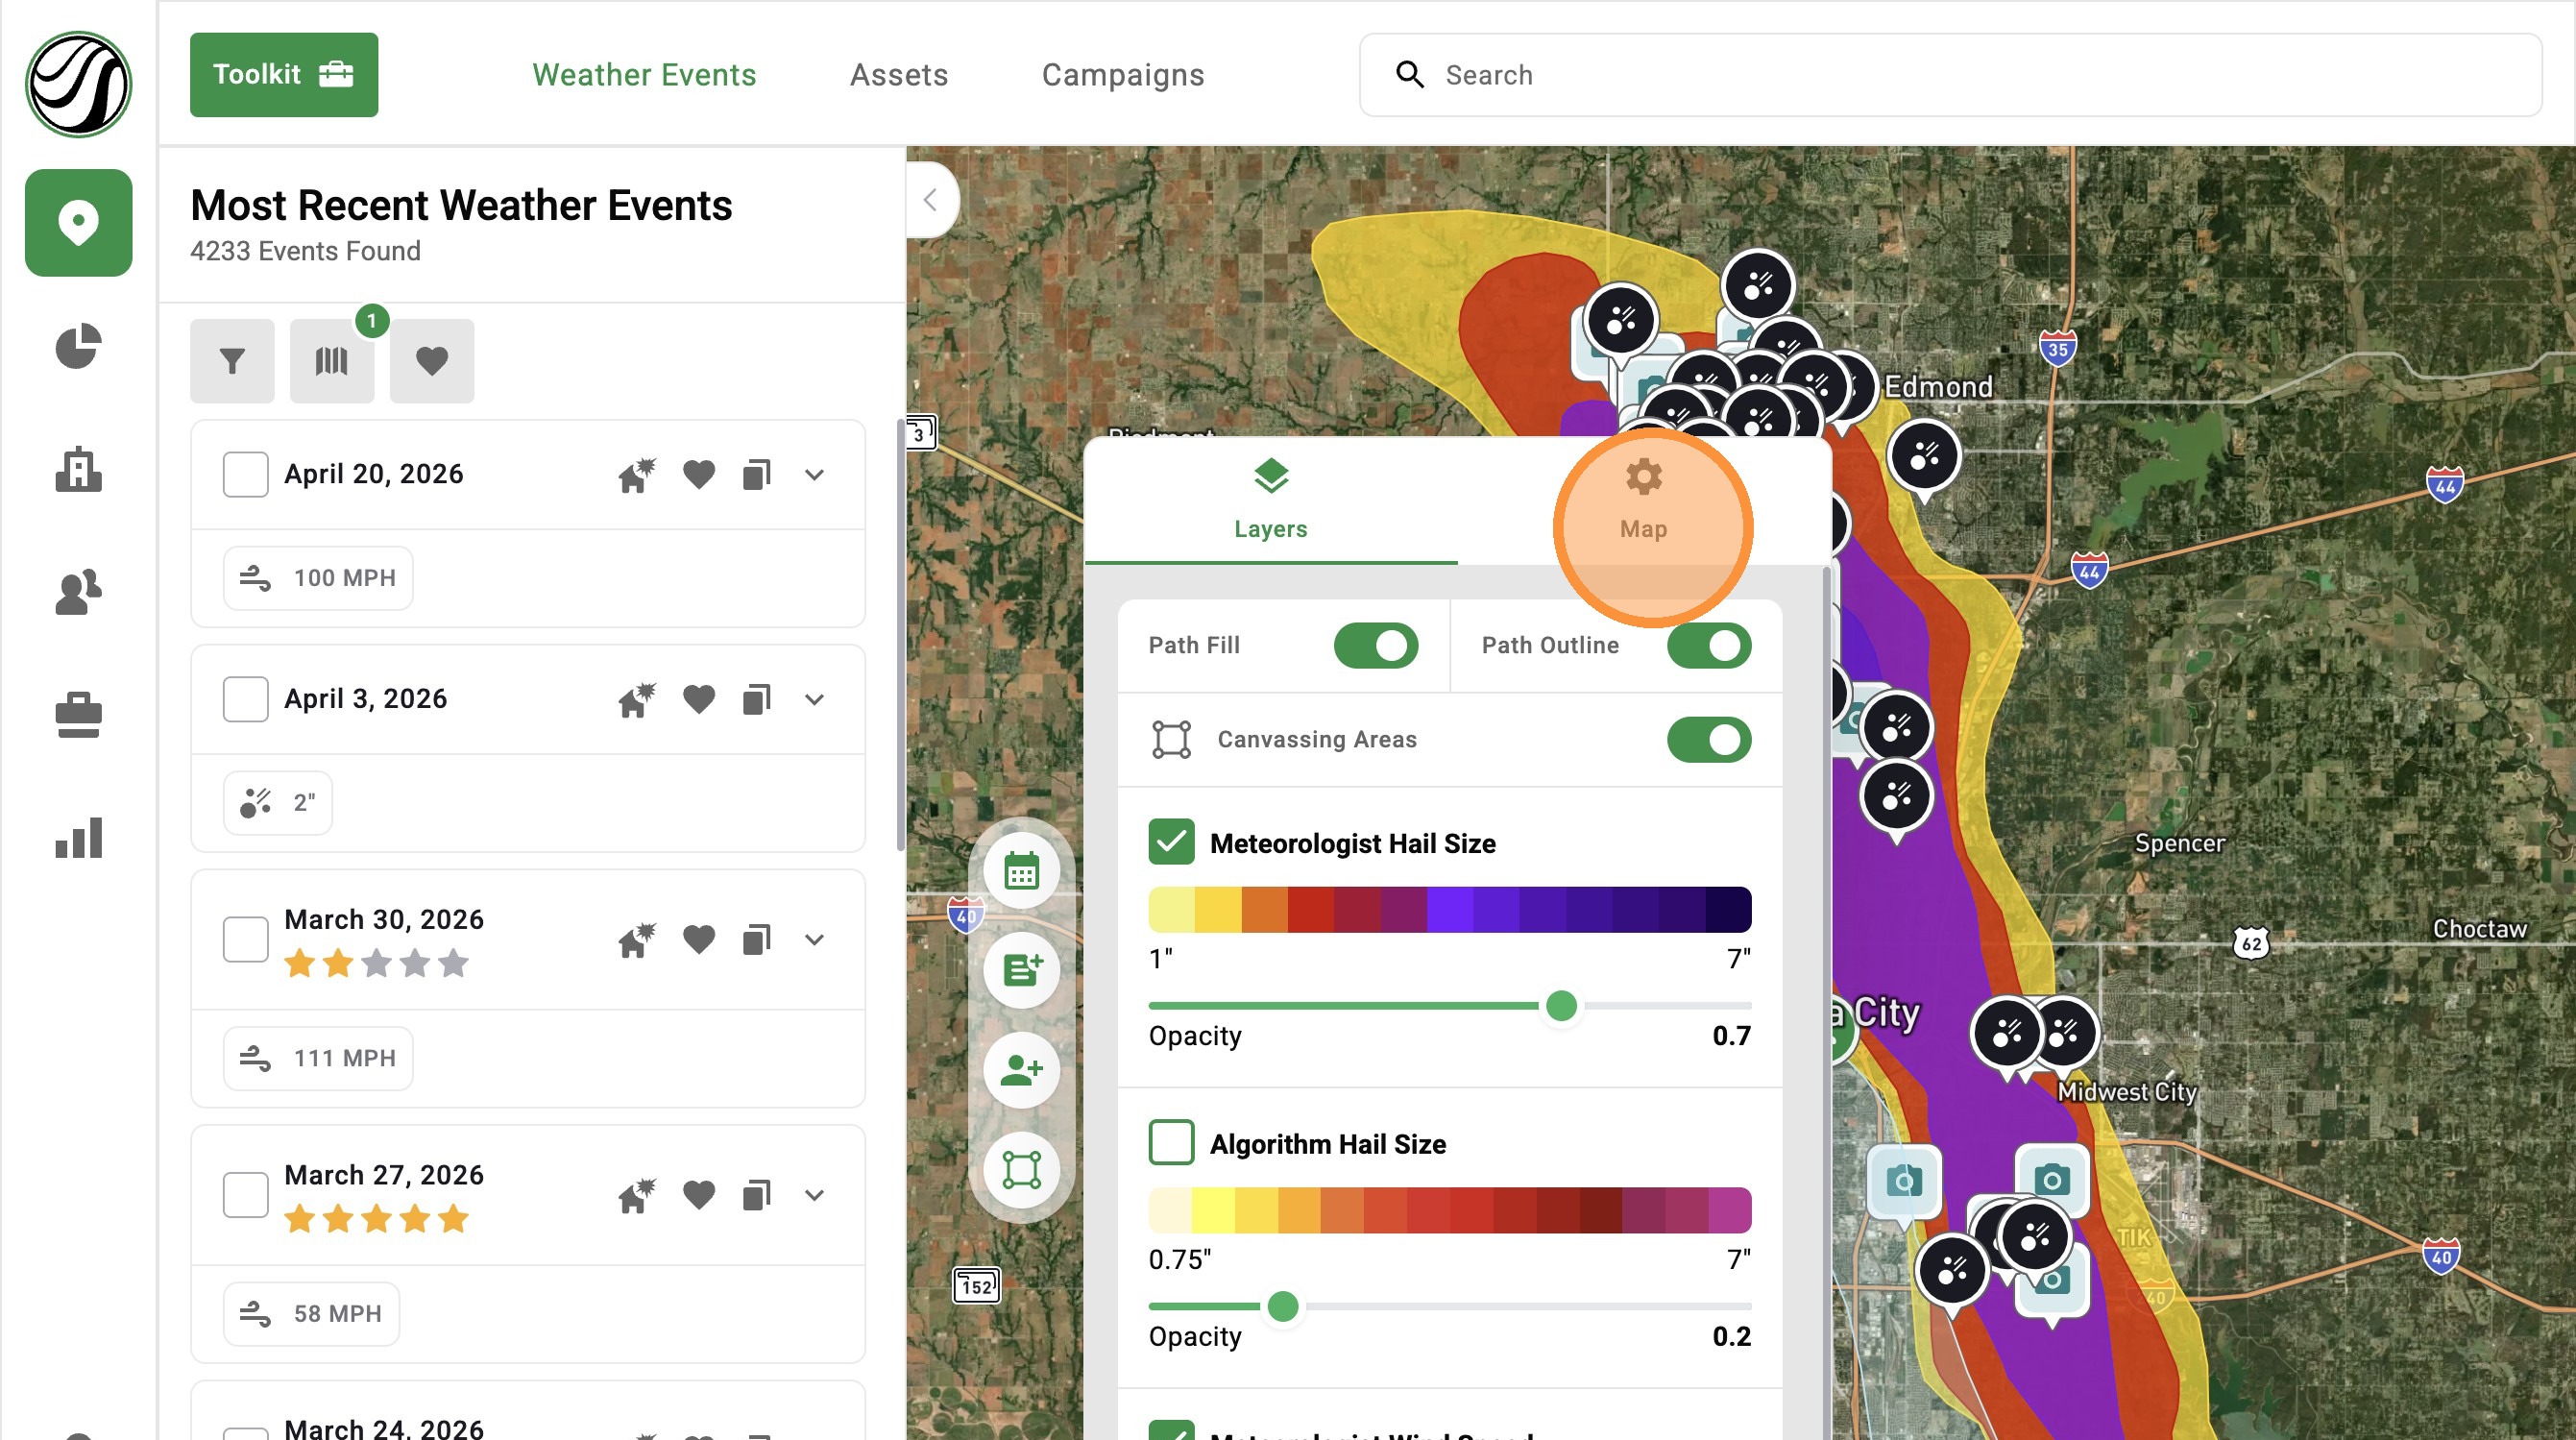
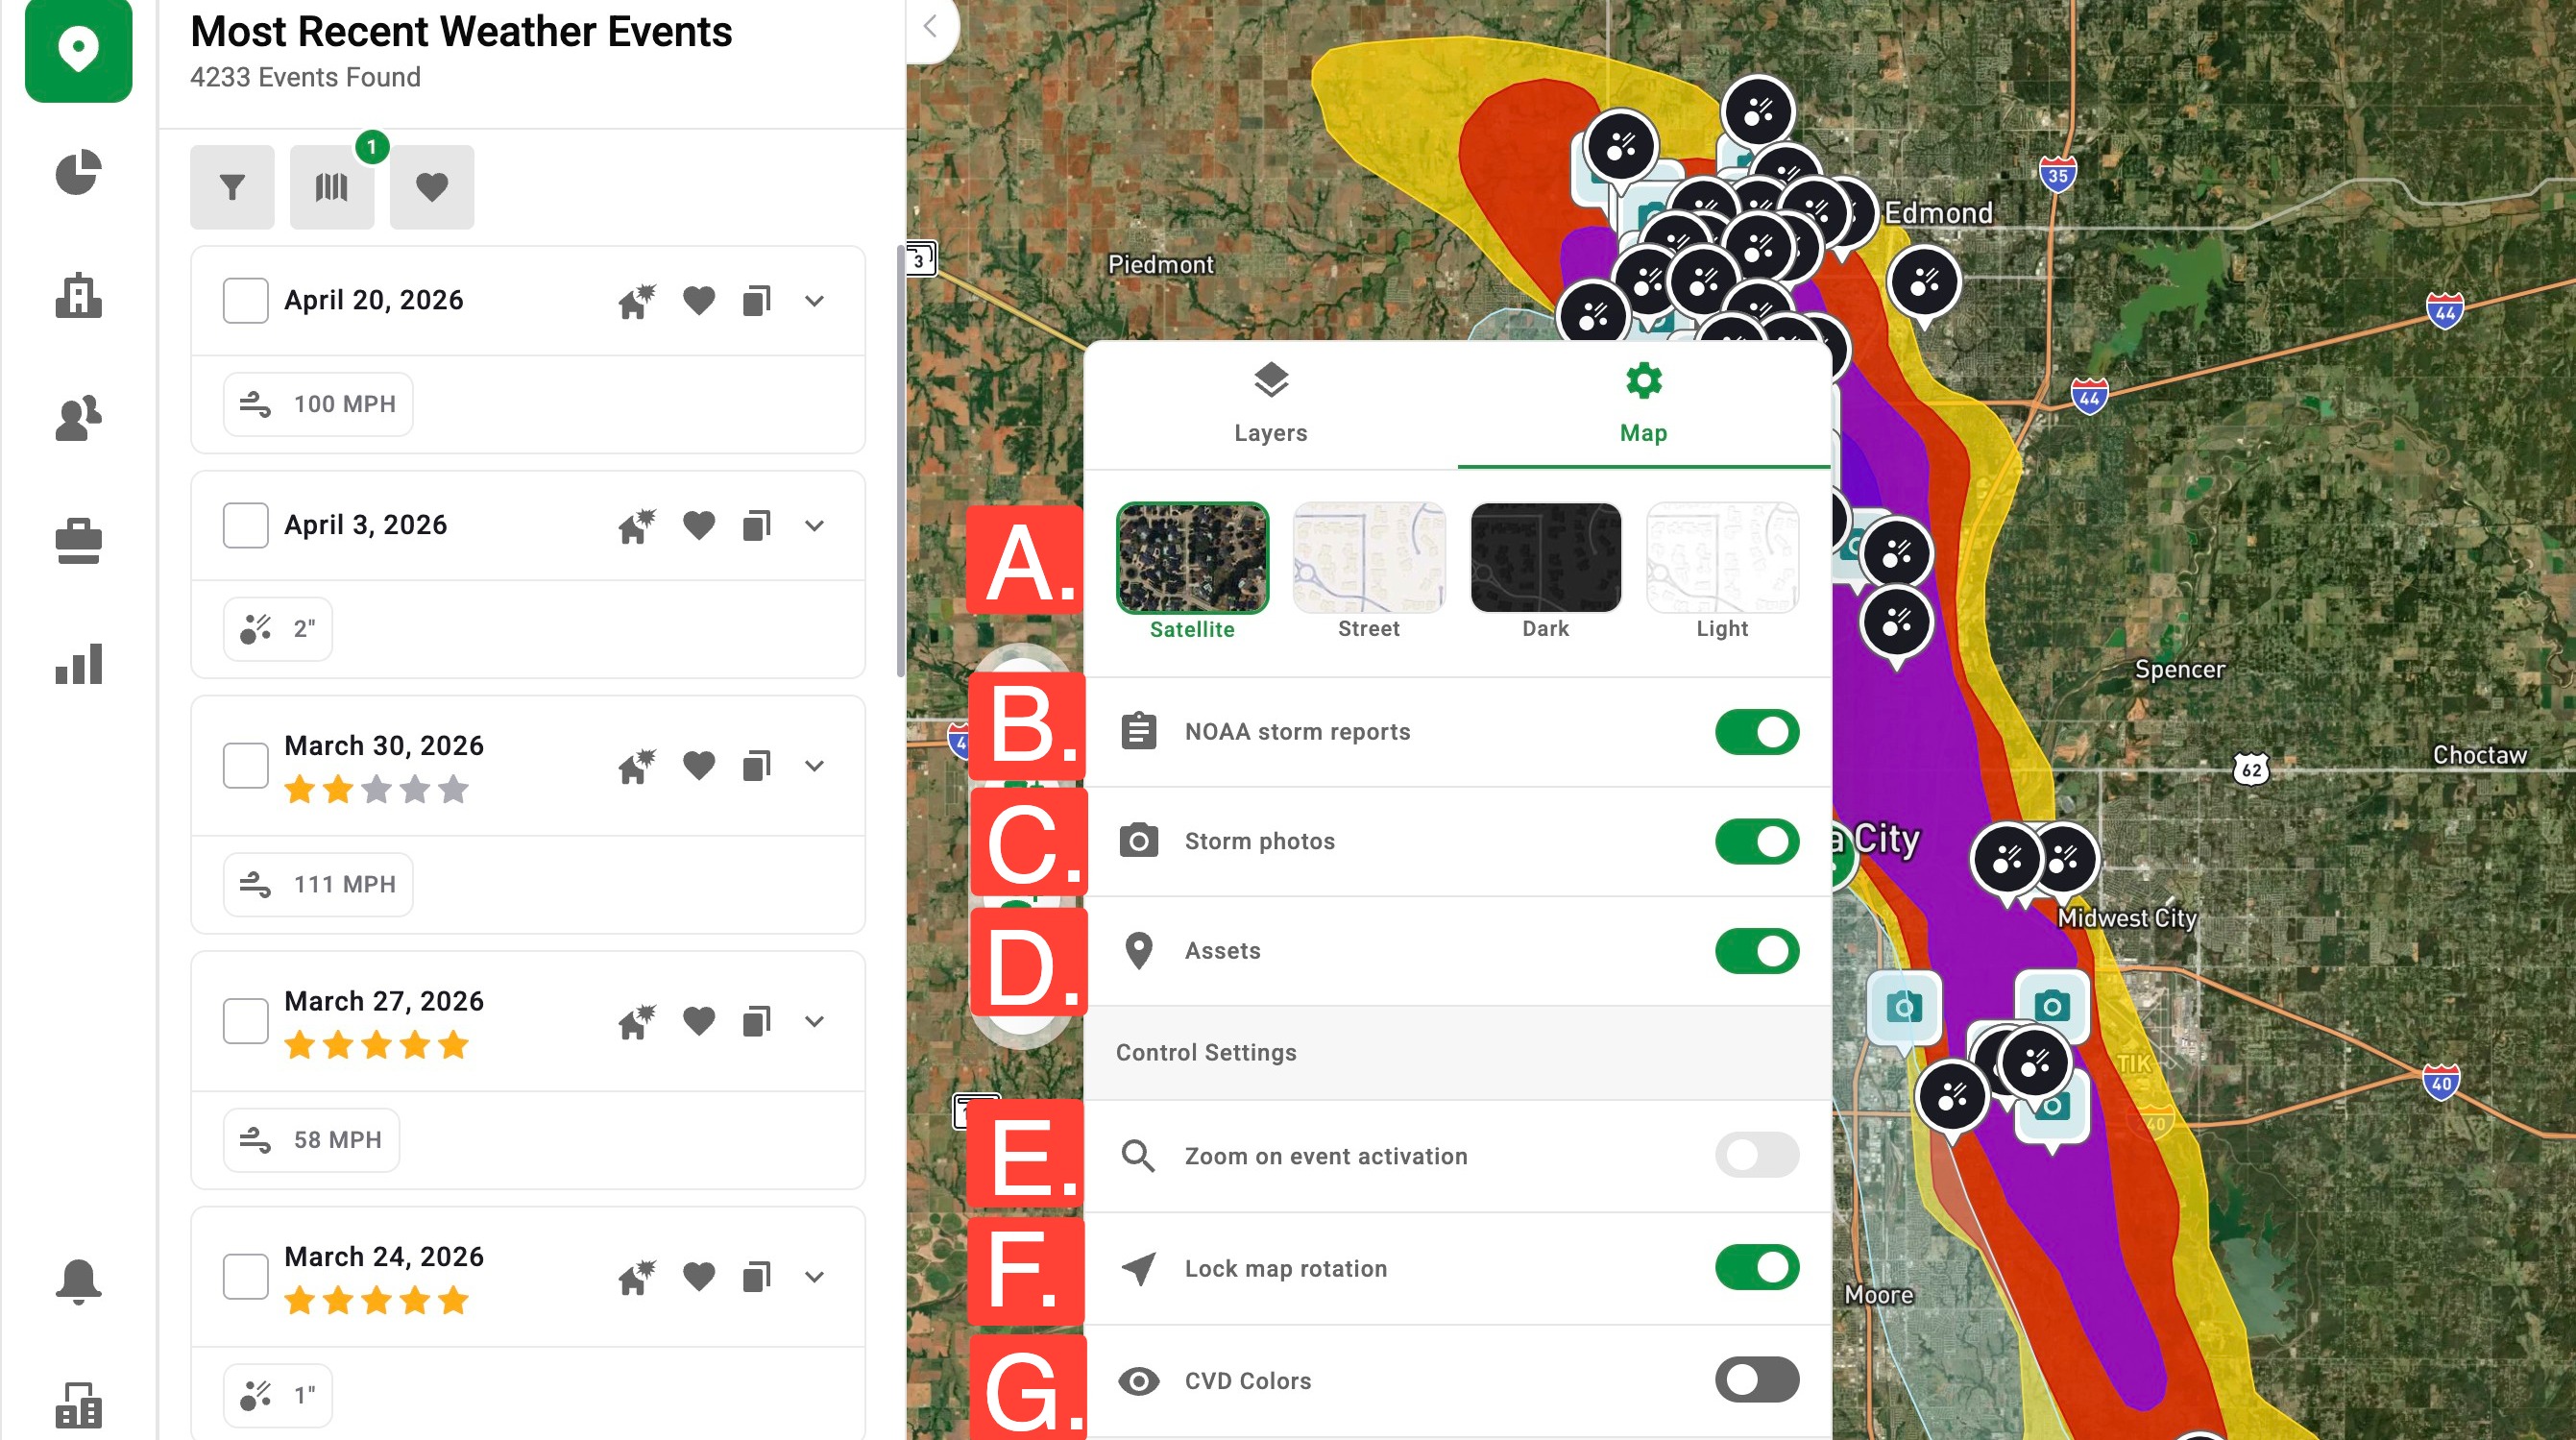
6. Adjust any of the following settings:
A. Base map: Adjust to to satellite, street, dark, or light. *dark & light mode is ideal when in the sun
B. NOAA storm reports: View reports from spotters on a storm mapC. Storm photos: View images of a storm on a storm map
D. Assets: View asset pins on the map page
E. Zoom on event activation: Have the map page zoom out after activating a weather event
F. Lock Map Rotation: Keep the map page pointed north
G. CVD colors: Improve storm maps for color blind users
7. Click away to see your new settings on the Map page