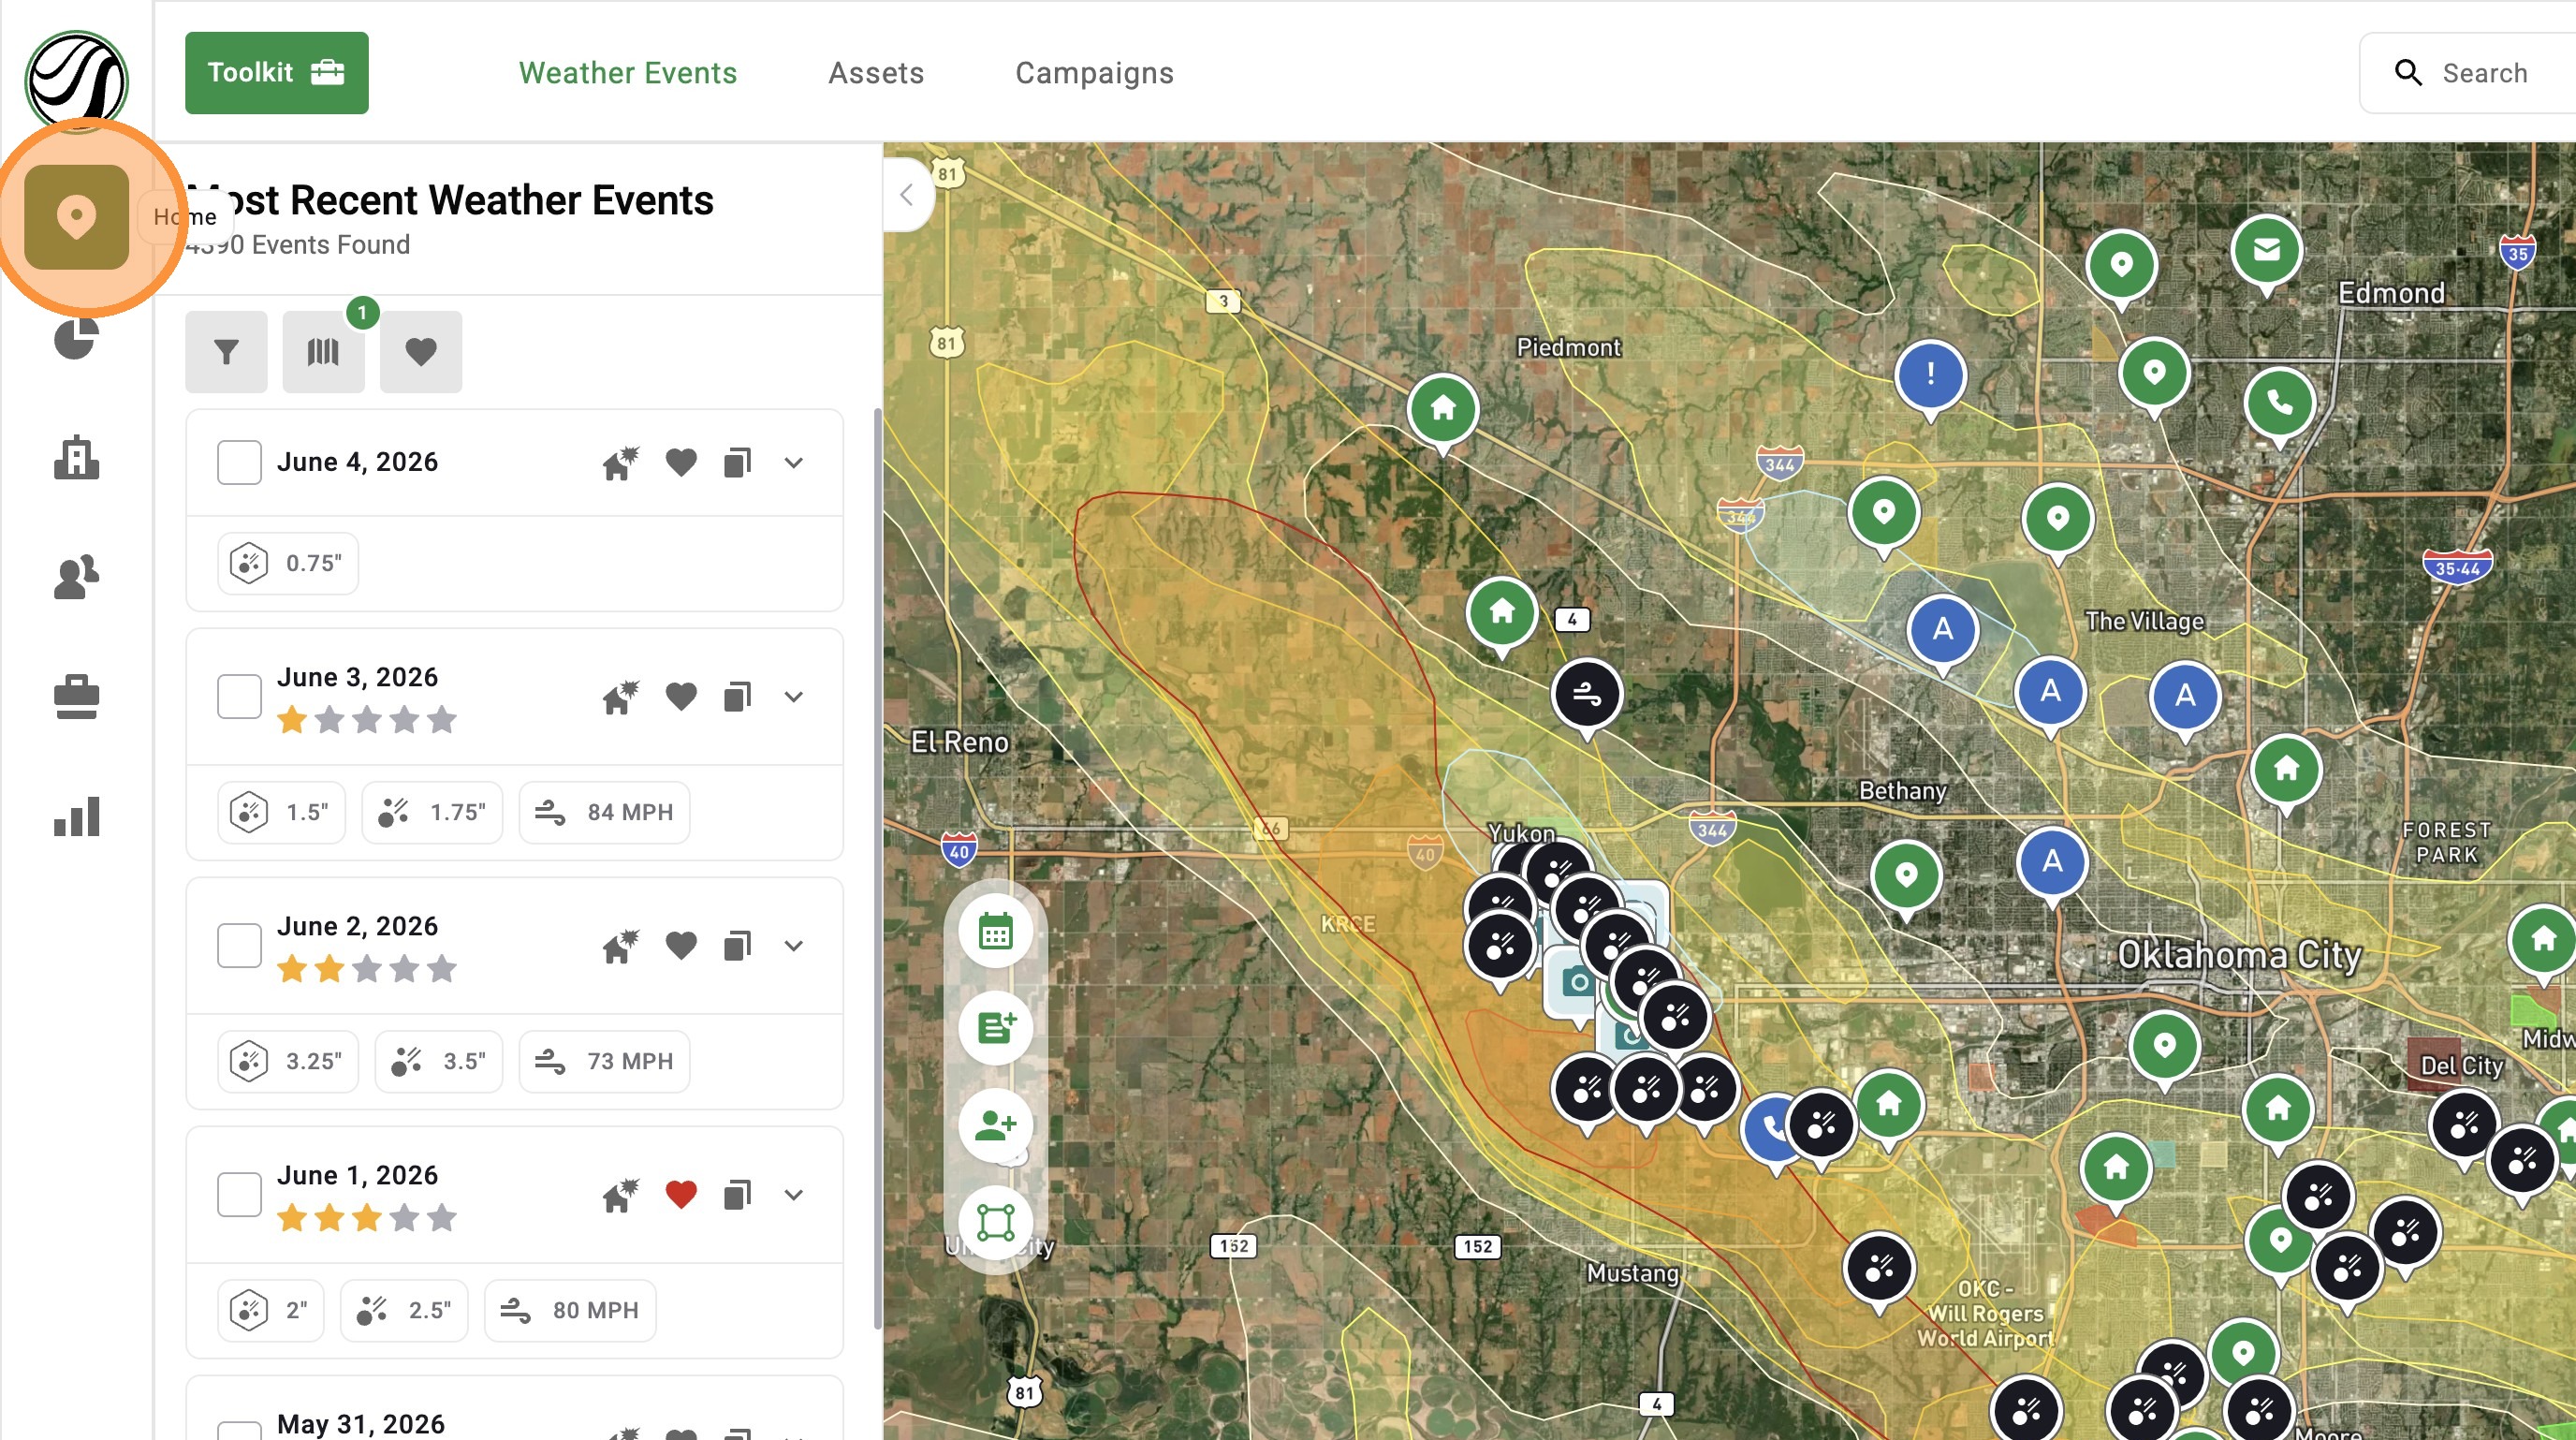
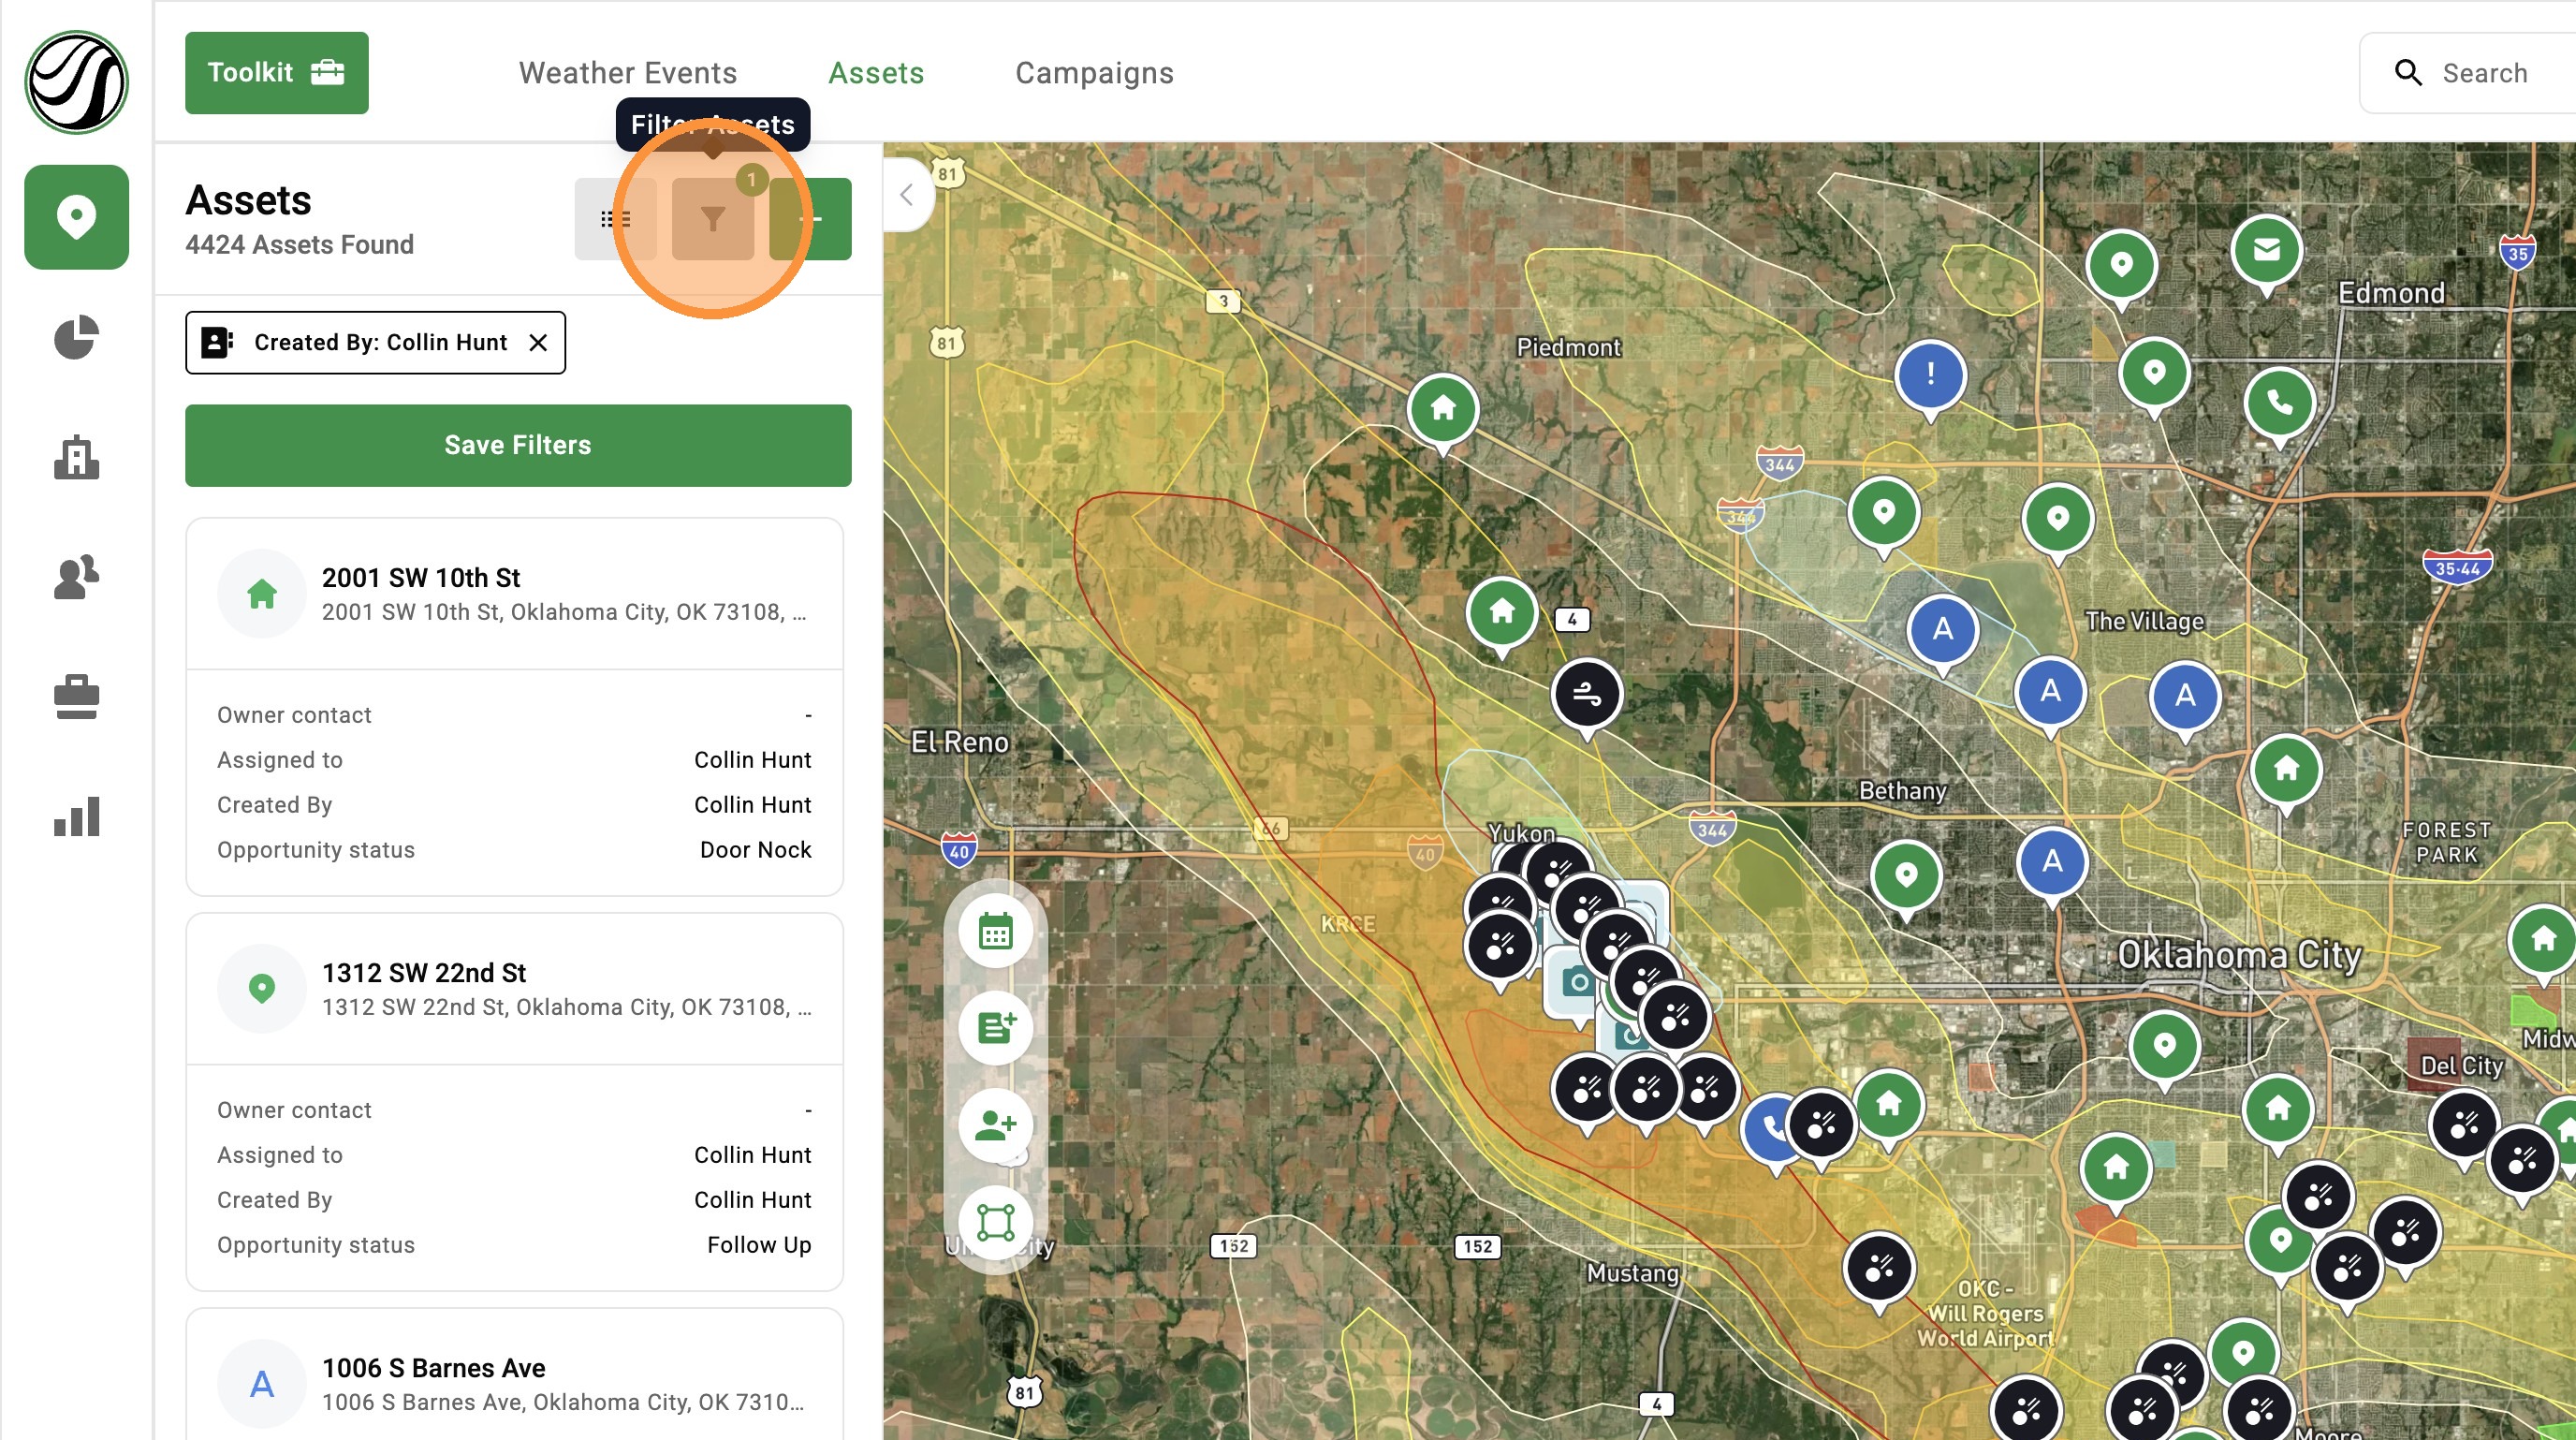
[5.0] Use Asset Filters to Find the Right Properties Faster
Assets are the properties tied to your clients, contacts, and opportunities in HailTrace.
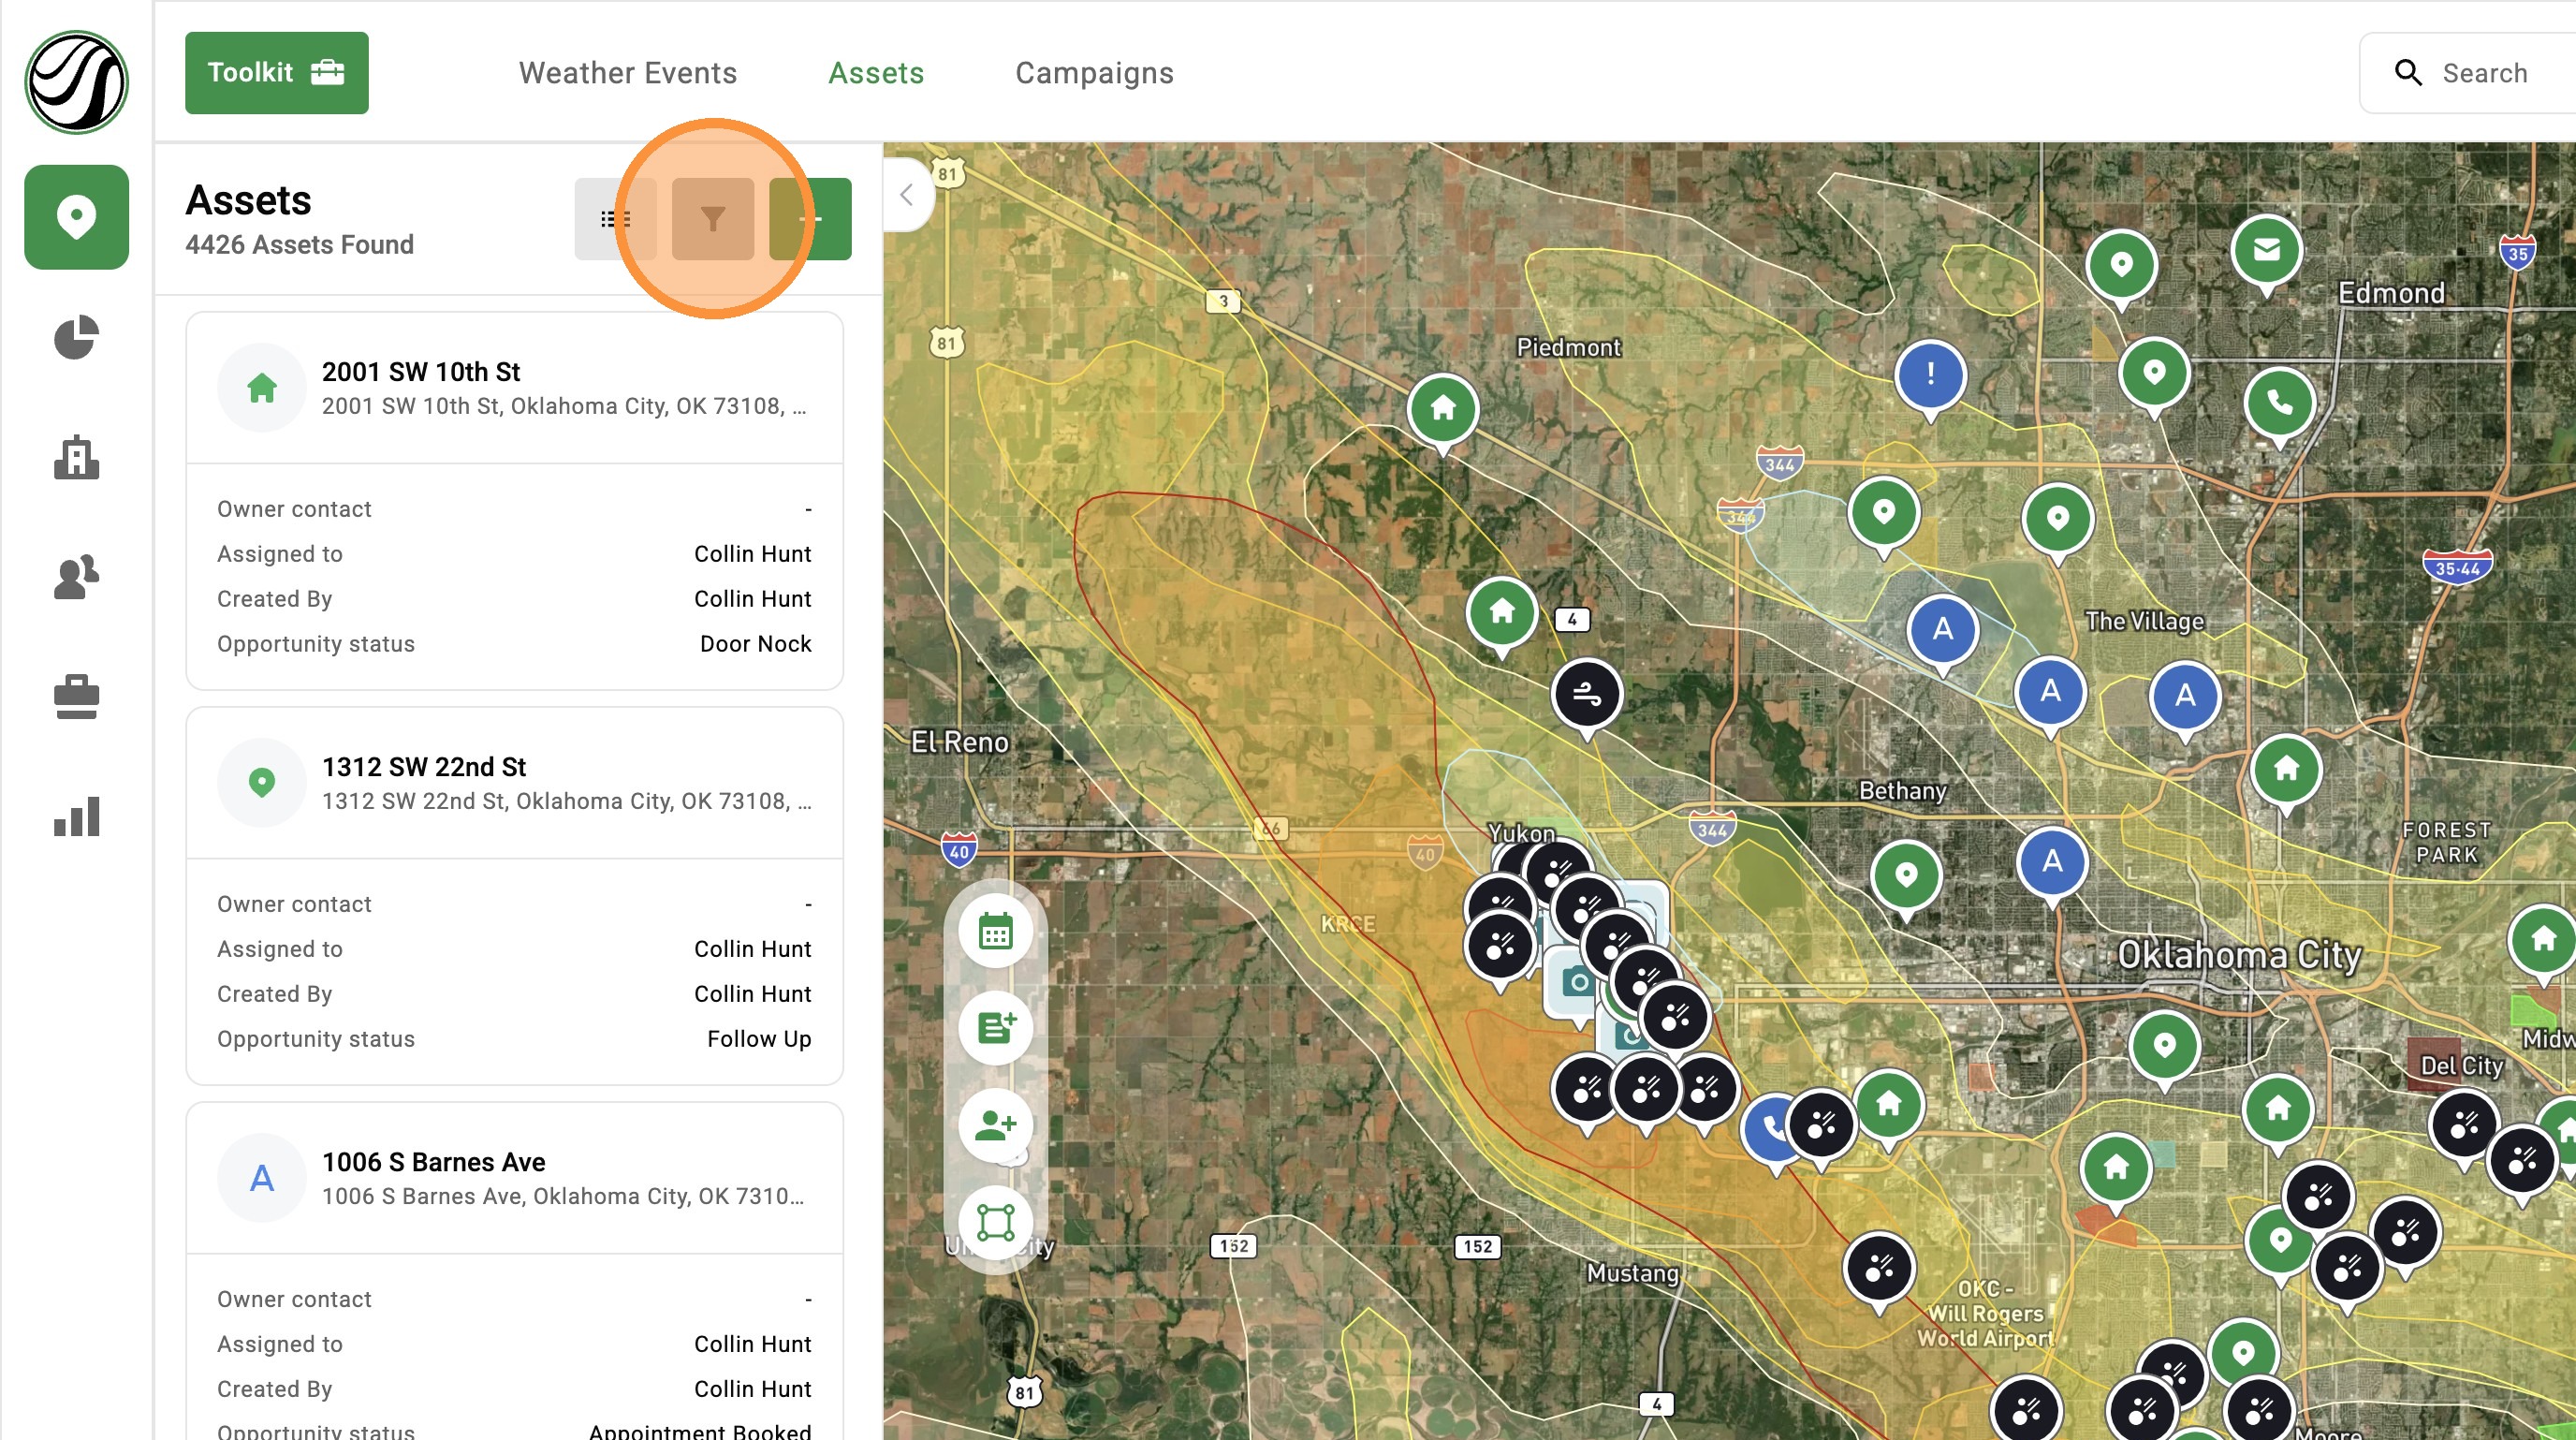
Asset Filters help you quickly find the properties you need, whether you are working from the Asset page or viewing them on the Map. You can filter by details like roof type, assigned user, opportunity stage, and more.
Use Asset Filters to focus on the right leads, track follow-ups, and see where your team is working.
You can also export filtered assets to a CSV file to work the list outside of HailTrace or add it to your CRM.
How To Use Asset Filters
Optimize targeting, monitor team productivity, and streamline follow-ups.
What leads has a canvasser or sales rep created?
👉 Use Created At + Created By User to track leads created within a chosen timeframe, such as yesterday or this week.
OR
👉 Use Updated By + Updated At to see if canvassers are reworking neighborhoods or existing leads.
You’ll get a clear view of all leads generated by that team member within a specific timeframe.
When is a neighborhood saturated?
Managers need to make sure resources are focused efficiently without repeat visits.
Use Updated At to see all clients created or updated since the last storm.
Combine Updated At + Status: Door Knock #1 to check properties ready for a revisit.
What clients are stalled or need a follow-up?
Spot any stuck clients to decide if they need reassignment or another follow-up strategy.
Use Assigned to User + Updated At to find leads with no progress in a selected timeframe, such as the last 30 to 90 days.
Quickly find high-potential prospects hit by recent hail, wind, or tornado storms.
What prospects were hit by a storm?
👉 Use Last Impact Date to find impacted assets within a selected date range.
👉 If you use canvassing features, you can also use Status: Monitor for Storm to keep track of prospects who have not had recent damage but may need help after a future storm.
Driving for Dollars
Sales reps can check nearby leads after an appointment to make better use of their time.
👉 Use Map View with Assigned To + Stage: Prospect to find nearby clients who have not committed to a sale.
👉 Use Assigned To + Stage: Closed to revisit past clients and ask for referrals.
Calling for Dollars
When weather keeps you inside, use that time to follow up with open leads by phone.
👉 Use Stage: Lead and Stage: Prospect to find open leads that need another touchpoint.
👉 Use Status: Pending Claim + Updated At to follow up on pending insurance claims within a specific timeframe.
Pro Tip: For mass emails, add your own email in the To field and put client emails in BCC. This lets you update clients or check in without showing everyone’s email address.
Revisit properties that need another follow-up.
What properties need another door knock?
👉 Use Created At + Status: Door Knock to find leads that are ready for another visit.
This helps canvassers get back into the right neighborhoods and follow up with properties that still need attention.
Note: Door Knock statuses are available for canvassing subscribers.
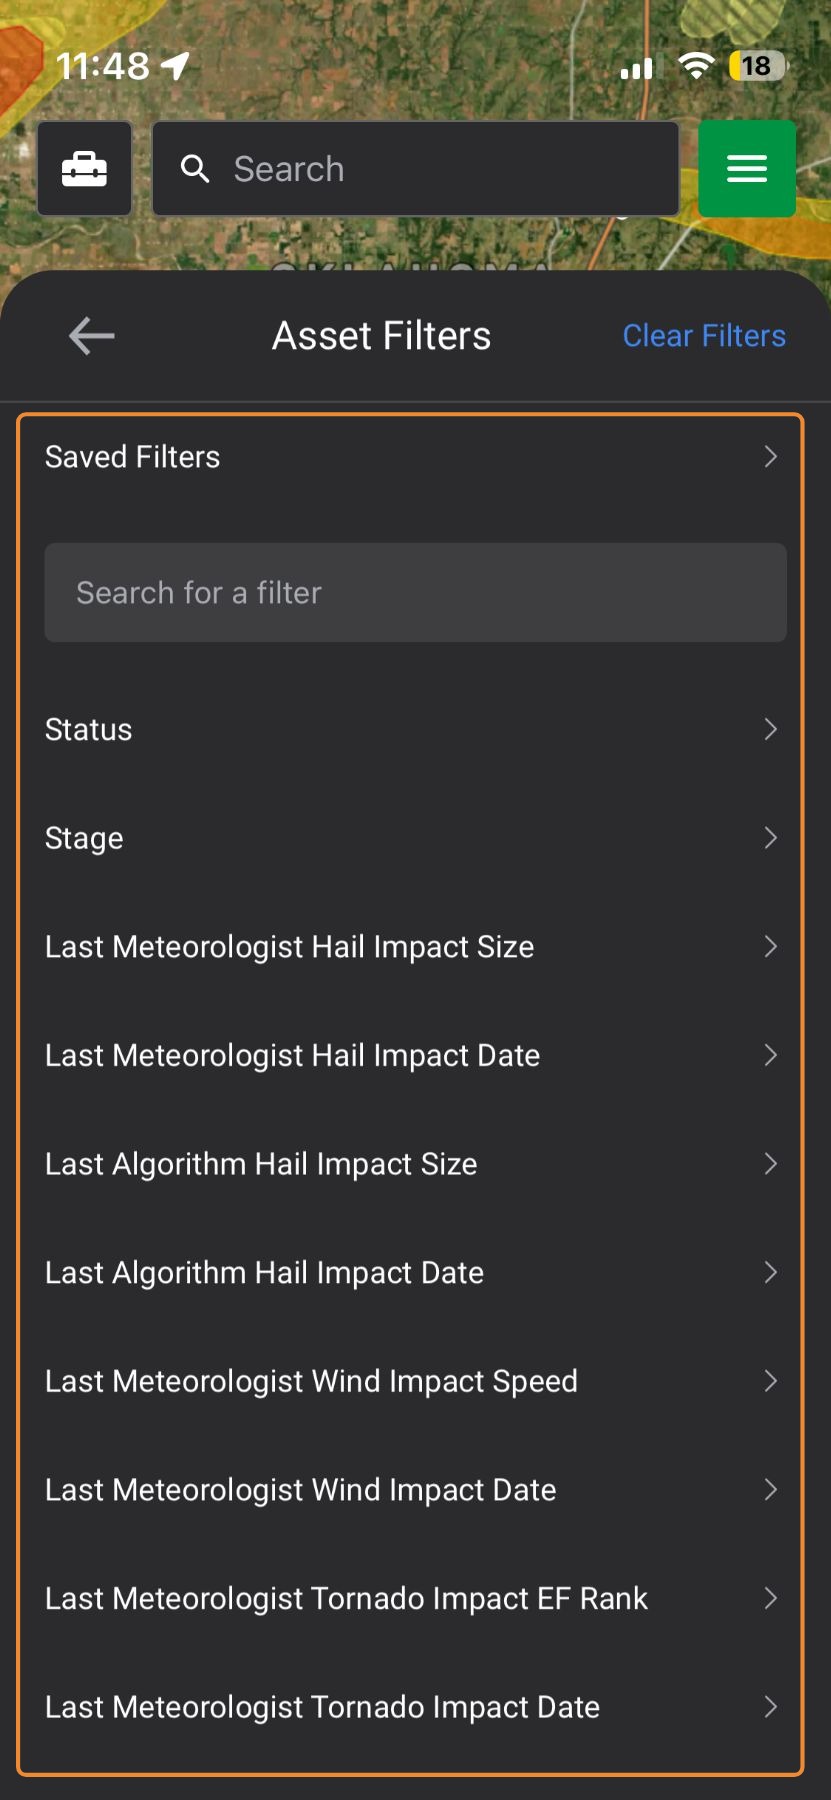
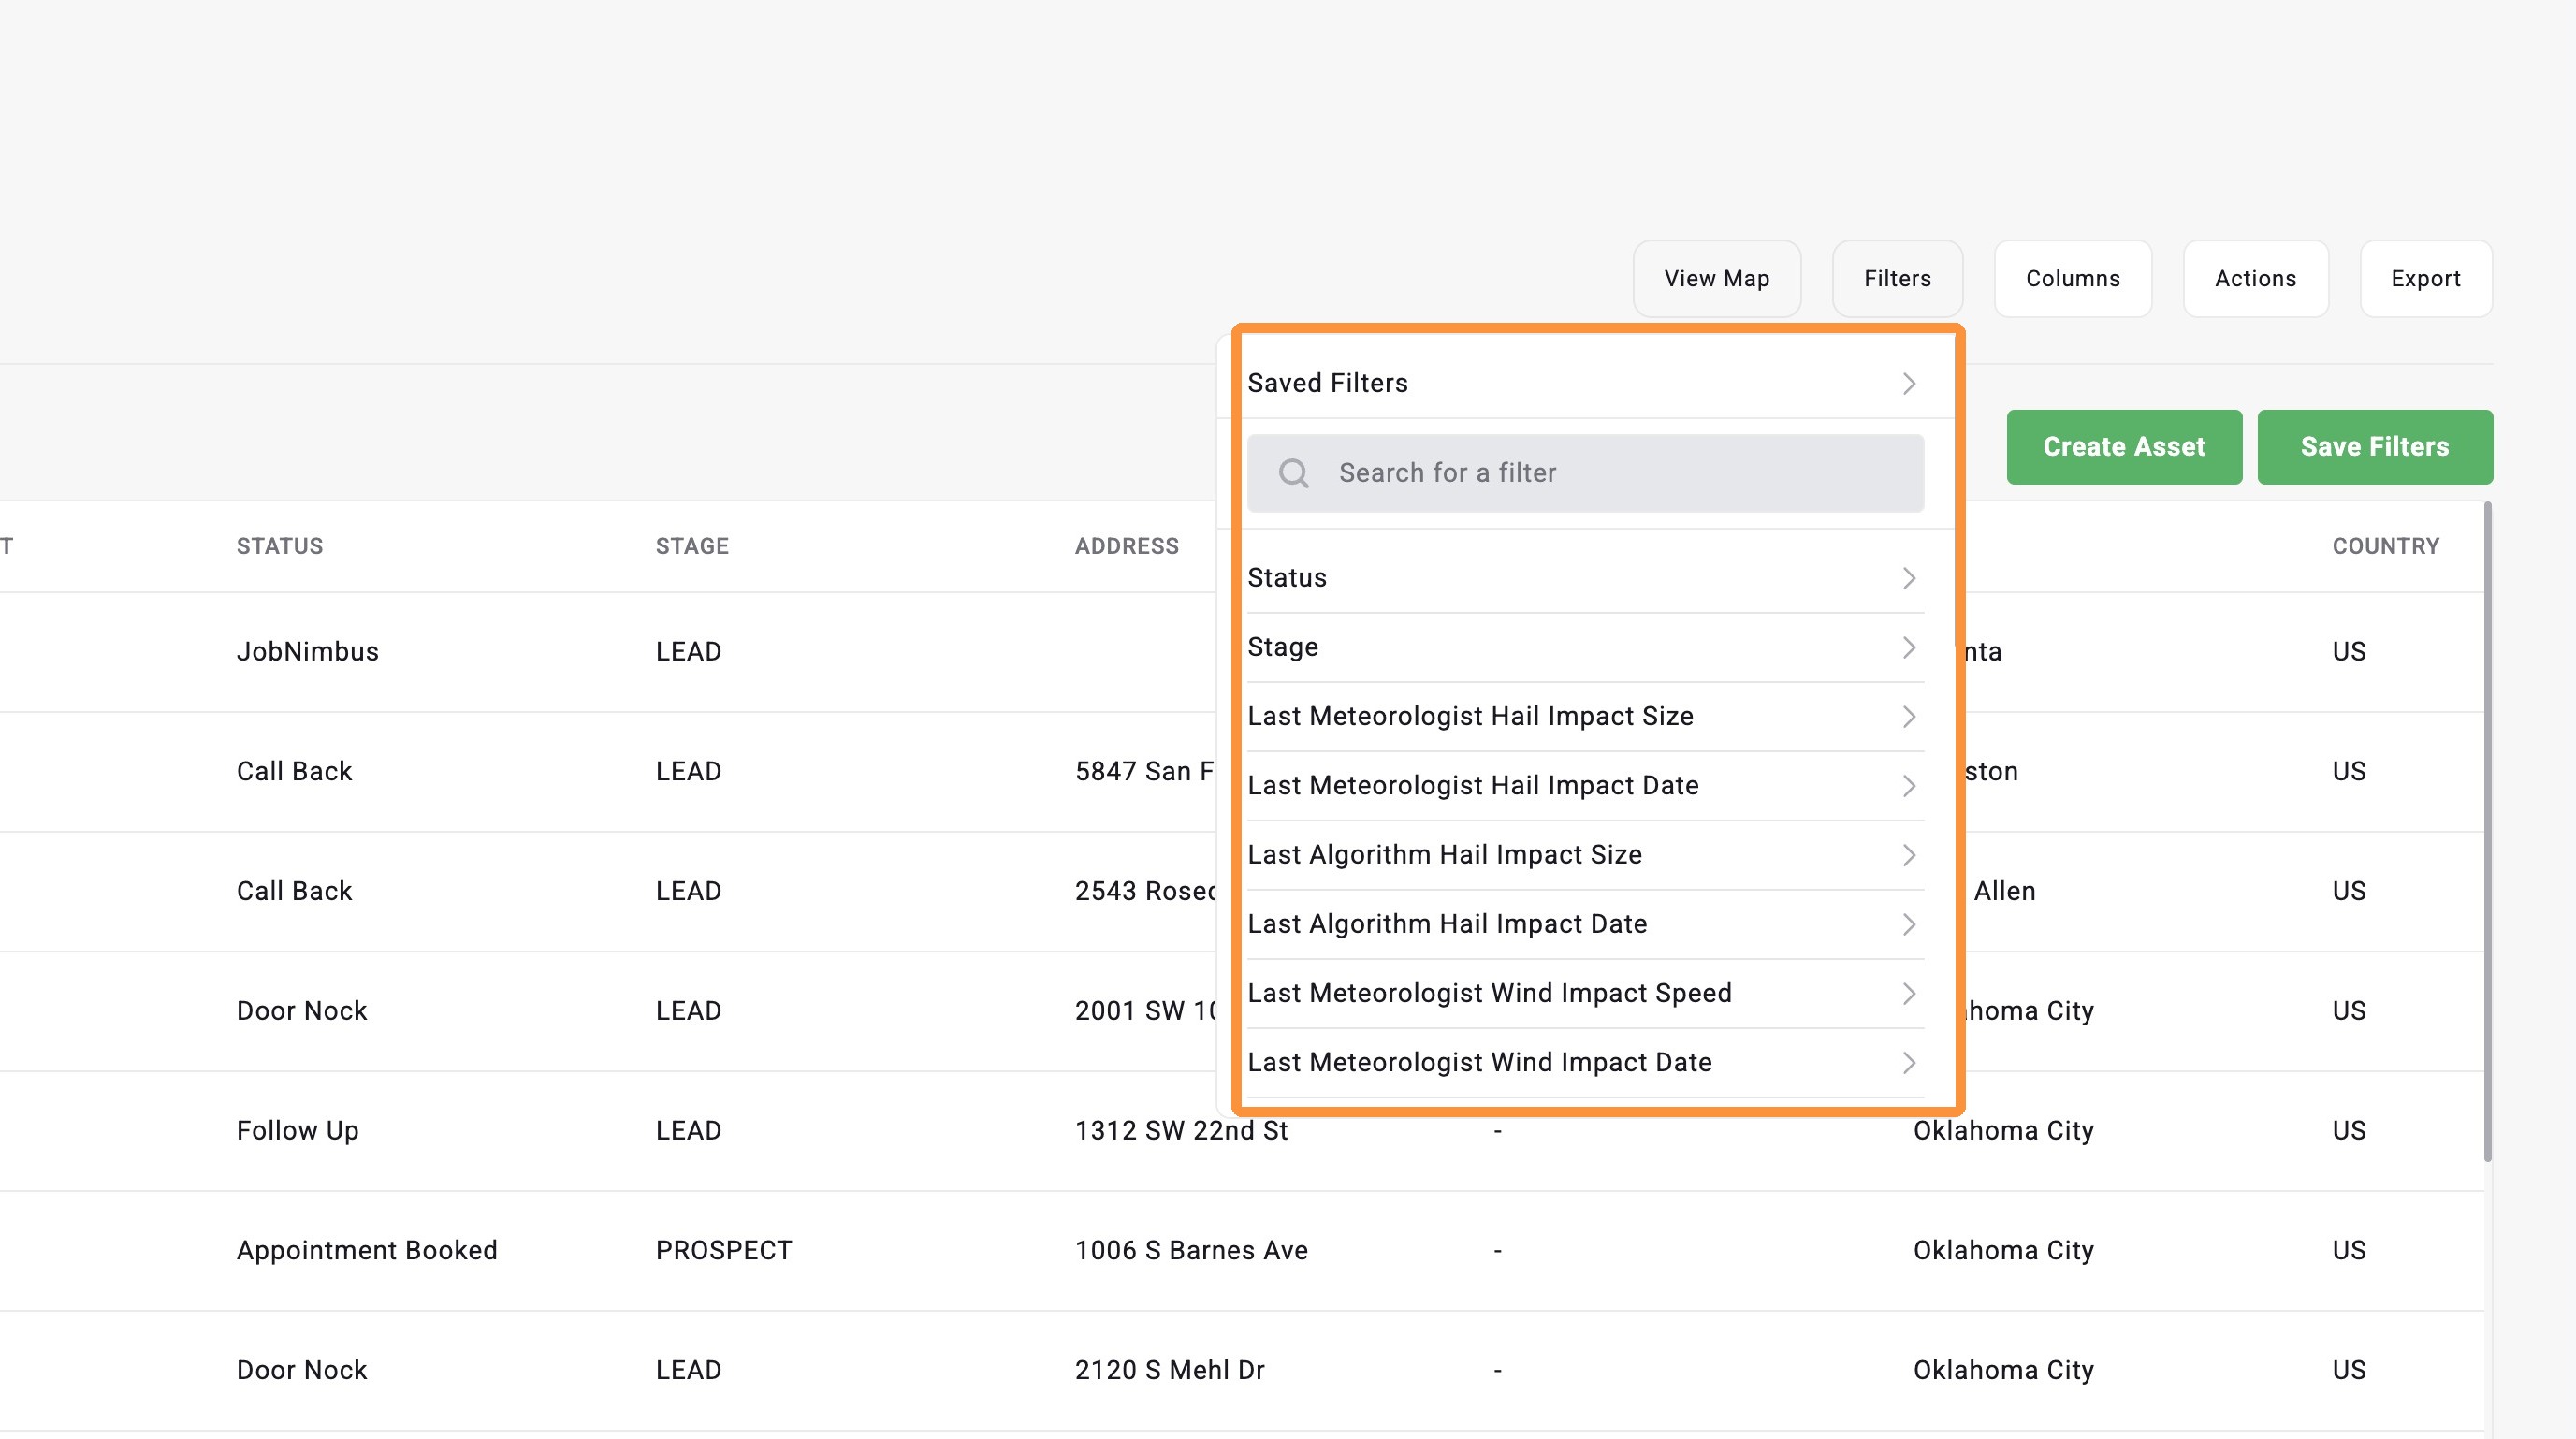
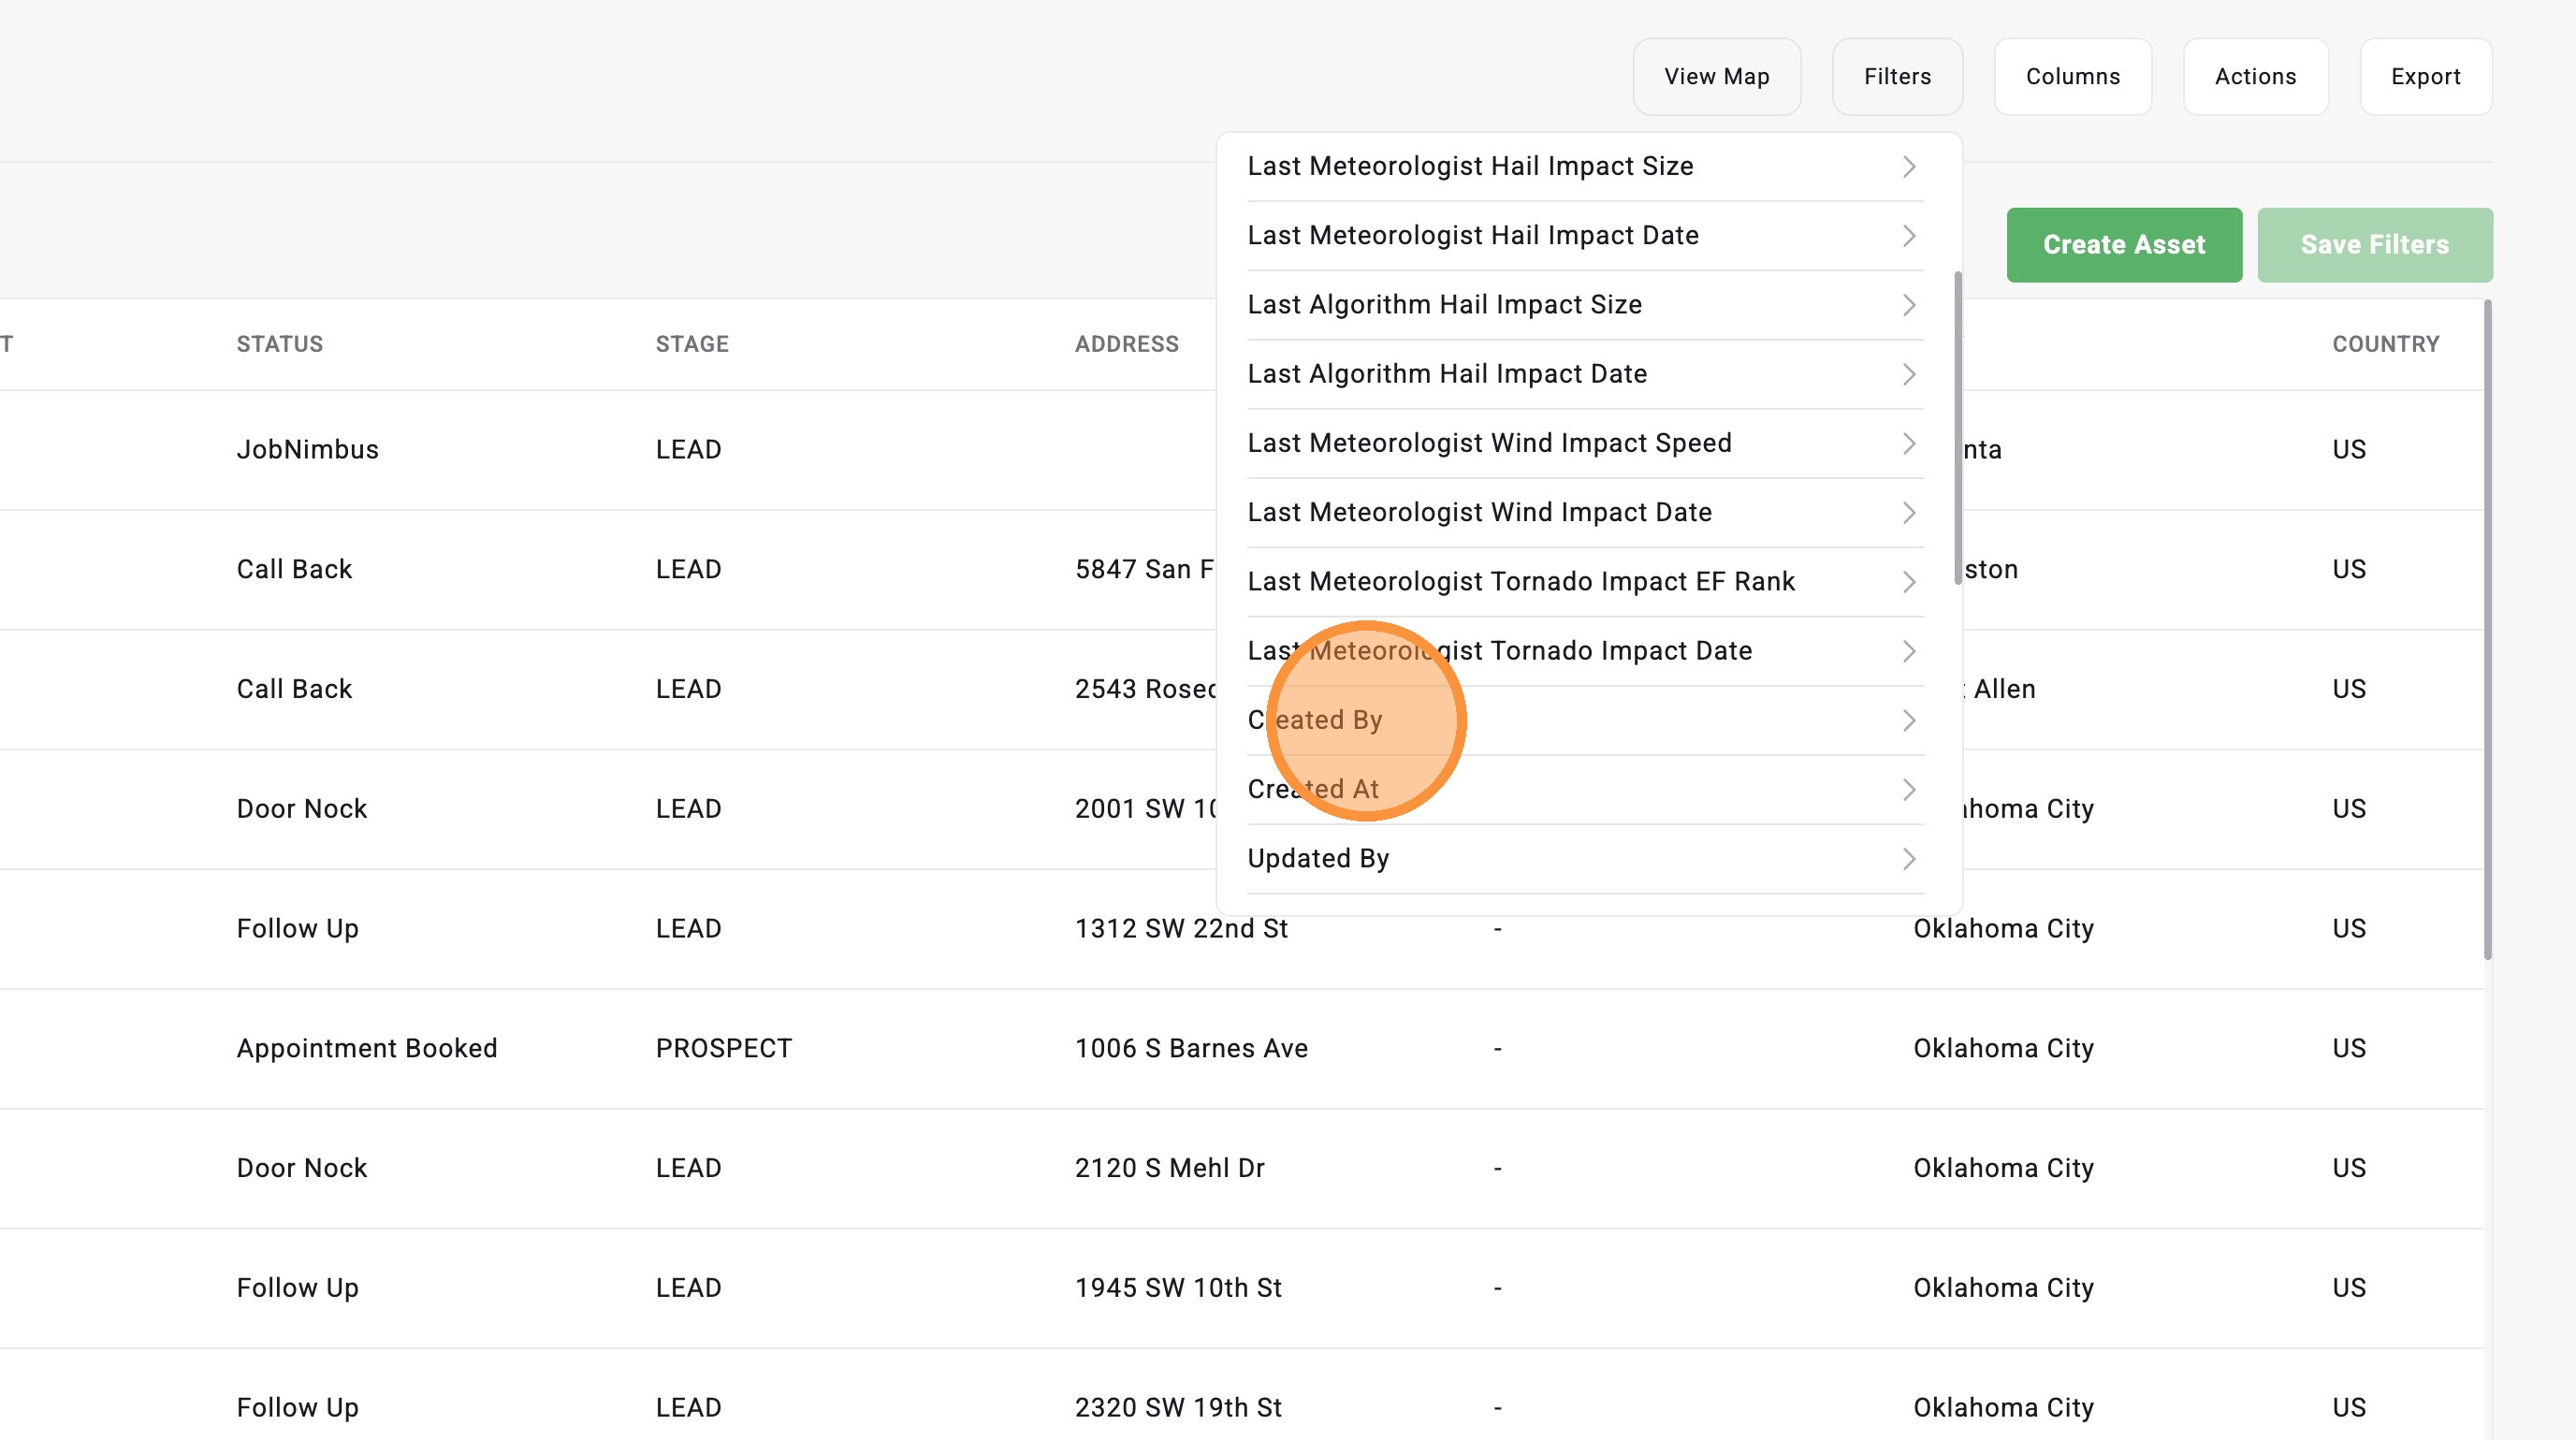
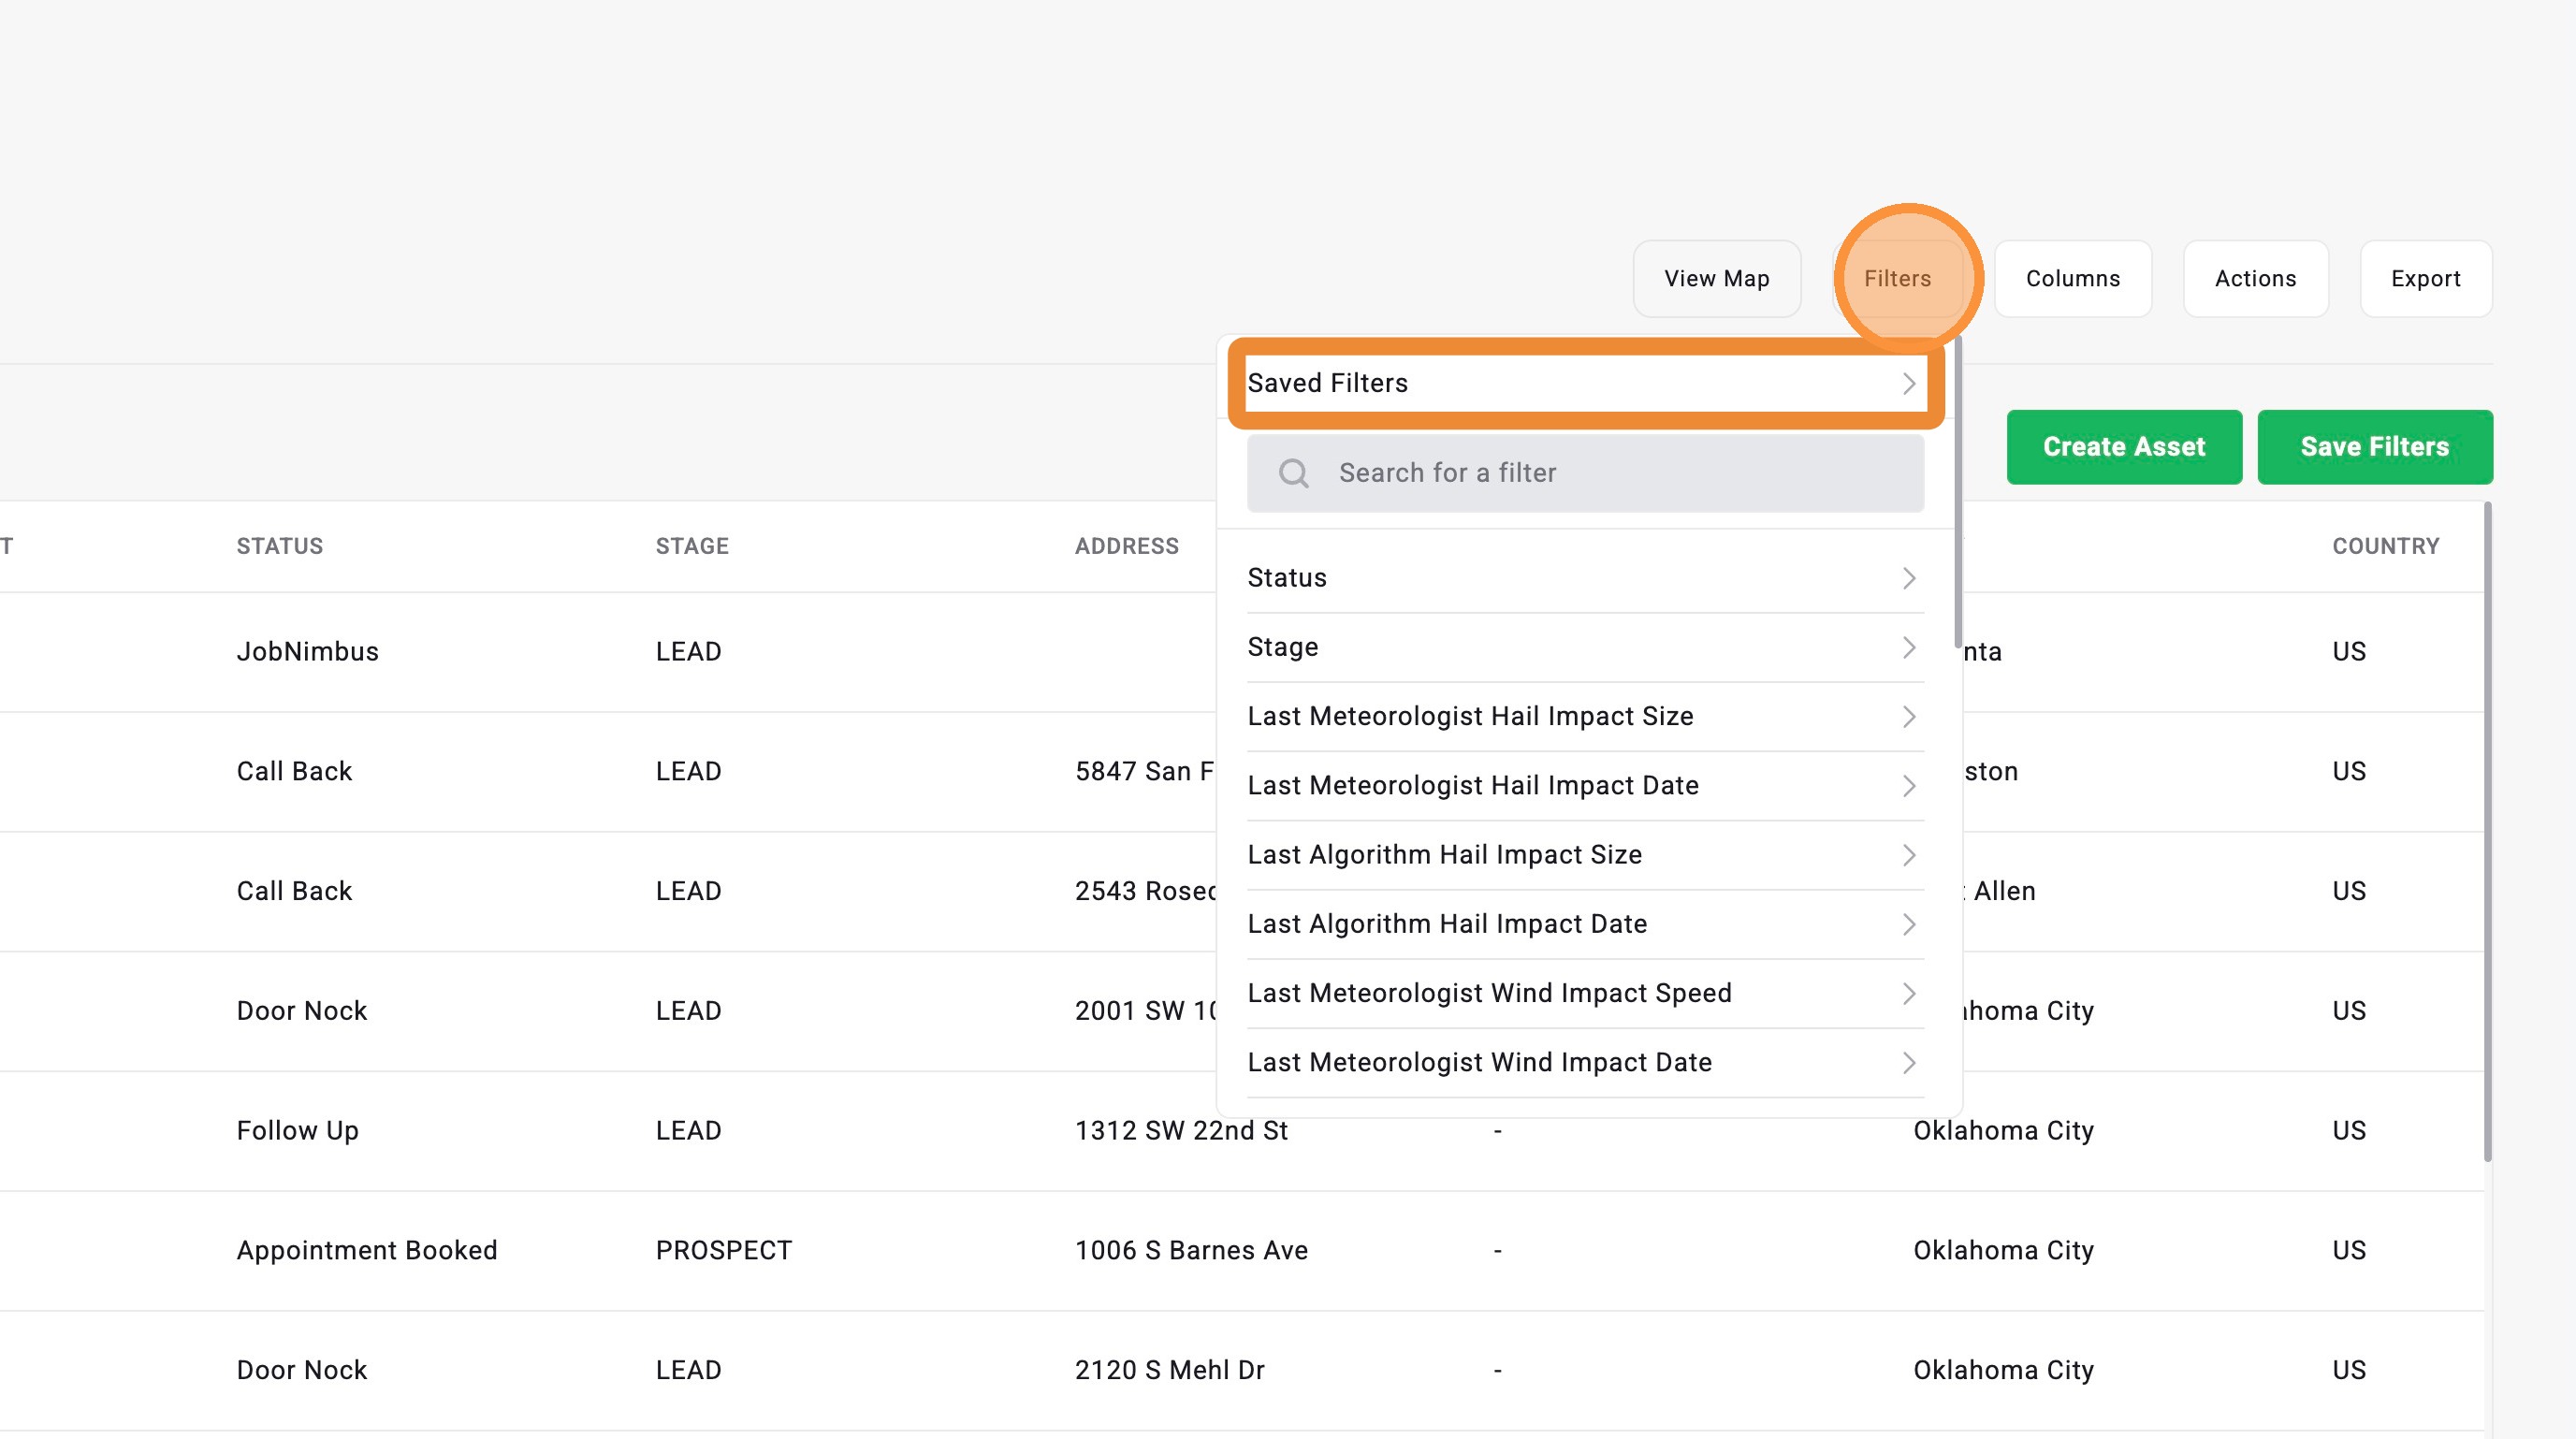
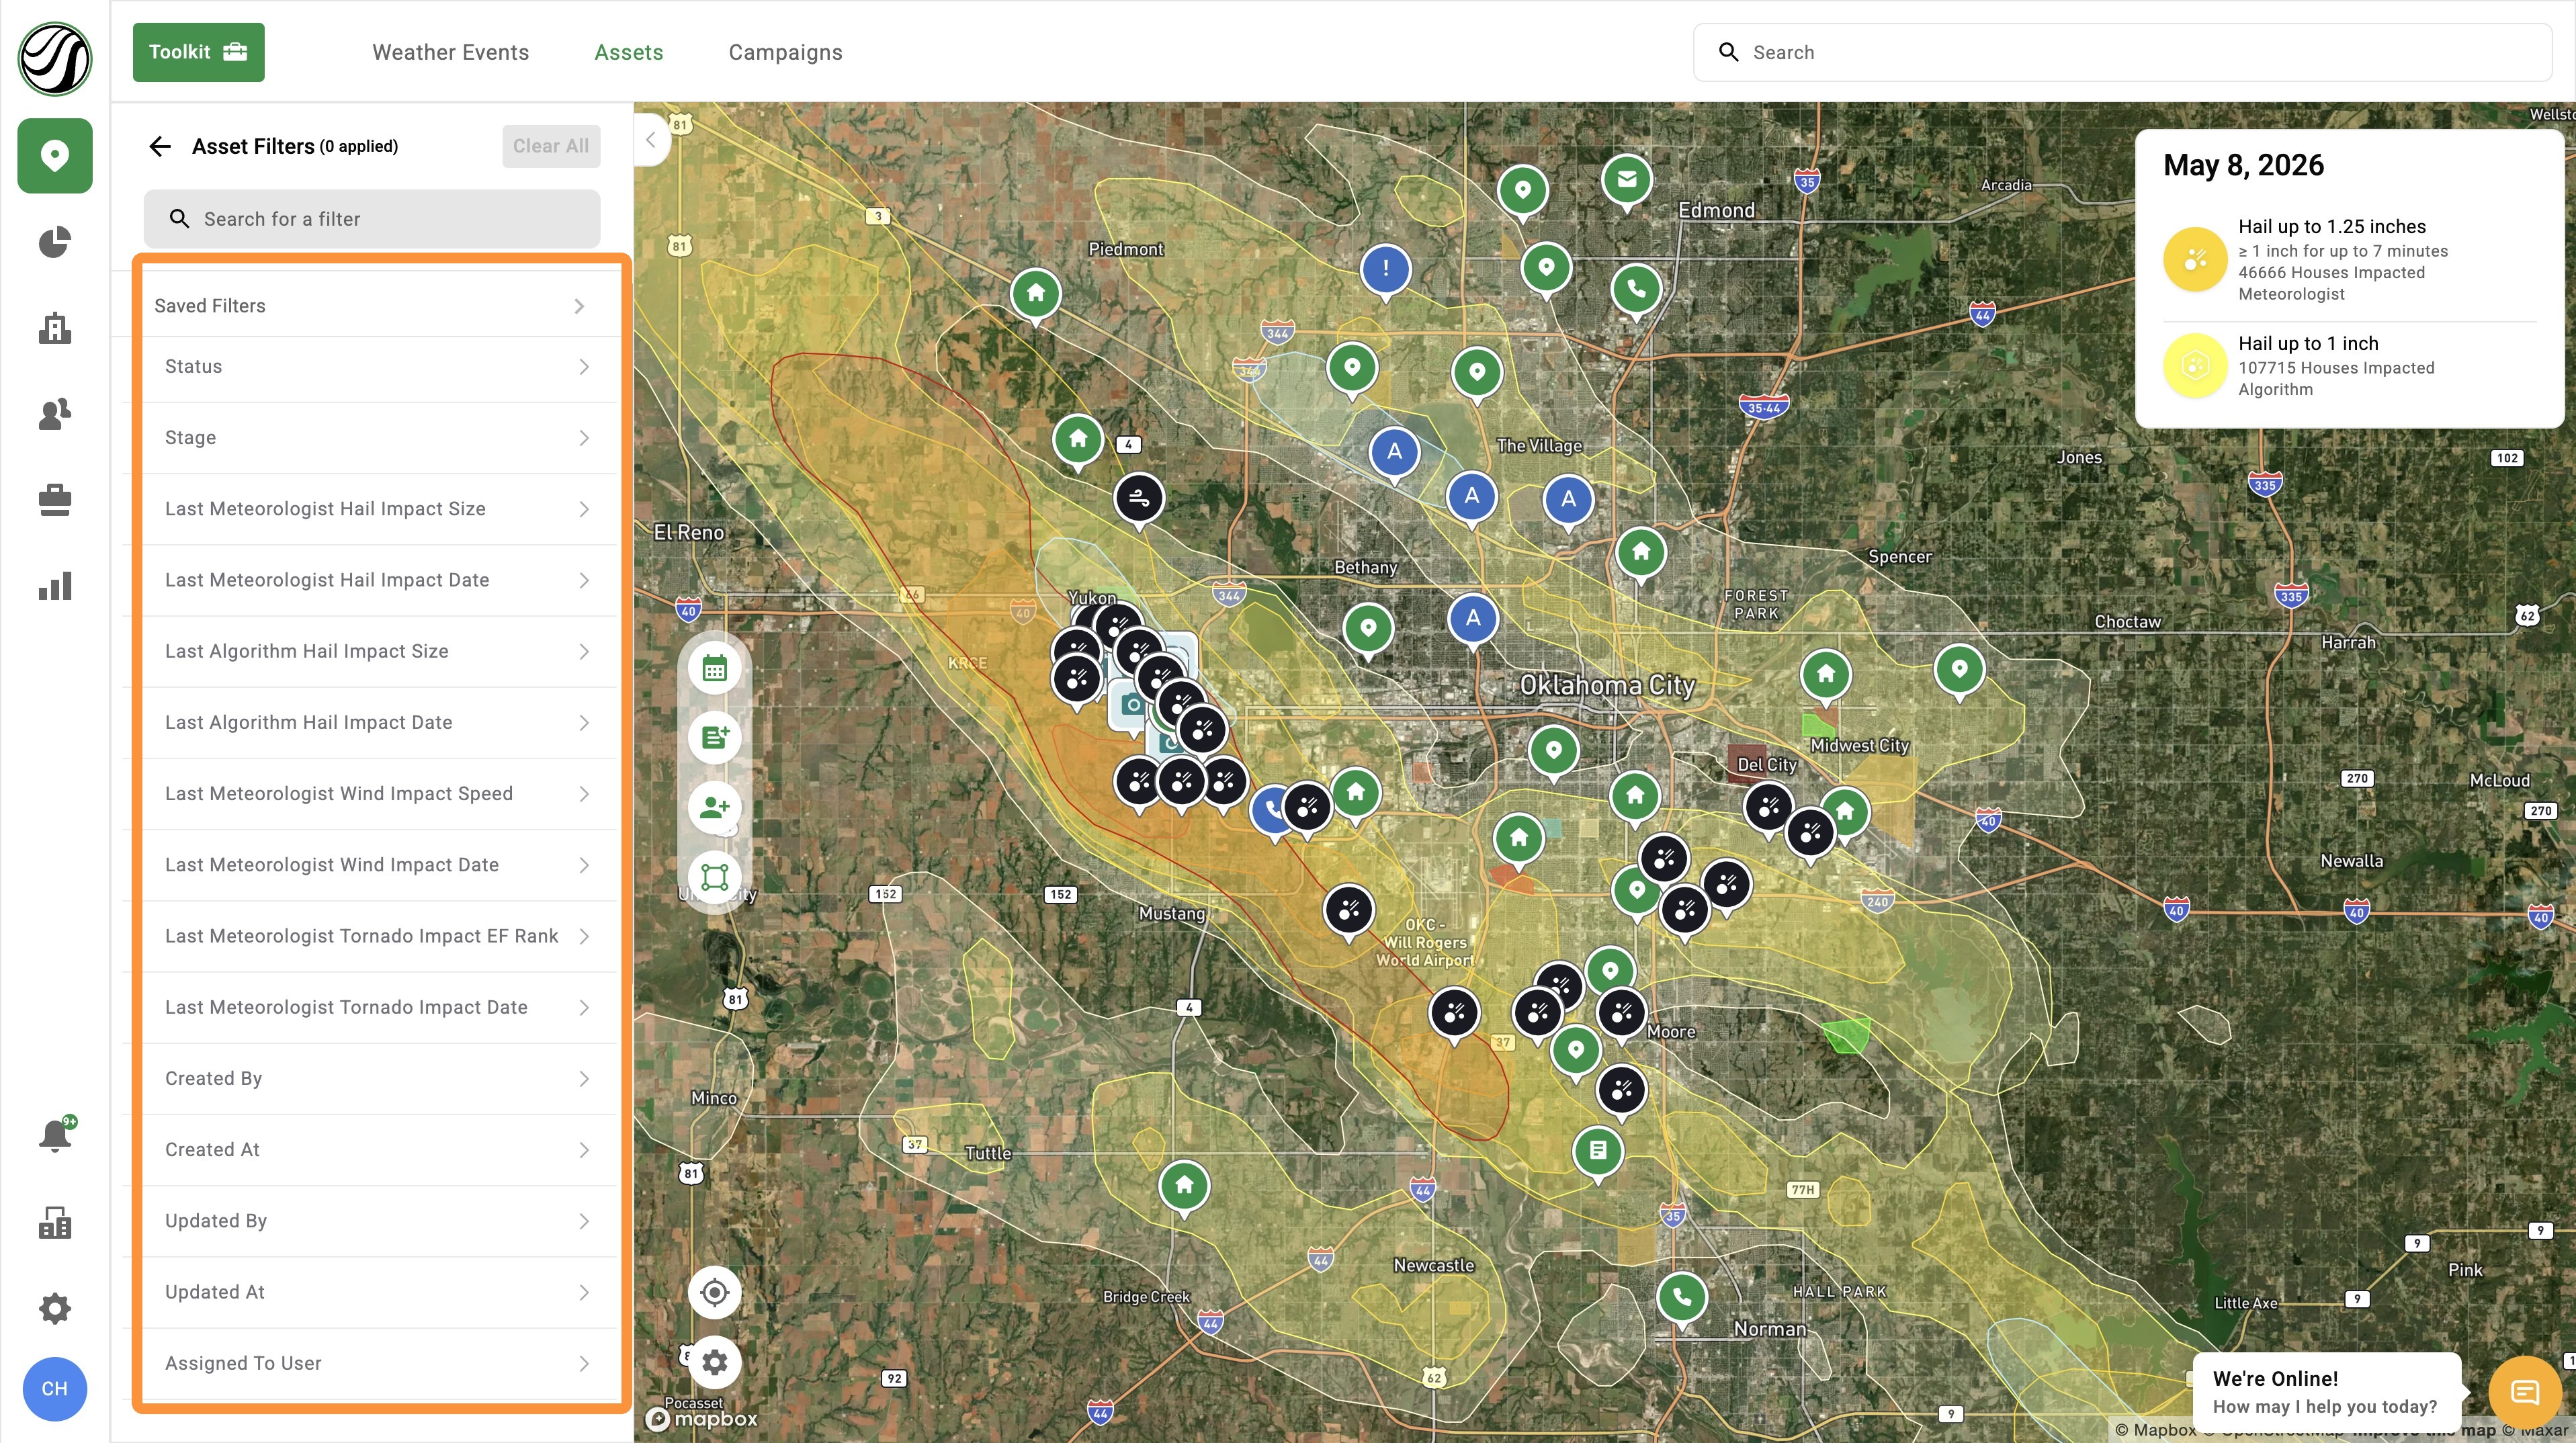
Available Asset Filters
- Status: Find assets in the opportunity pipeline with a custom step, such as door knock, followup, wait for storm, appointment booked, and etc
- Stage: Find assets in the opportunity pipeline in the category of lead, prospect, open, closed, or lost
- Assigned To: See all the assets assigned to a user
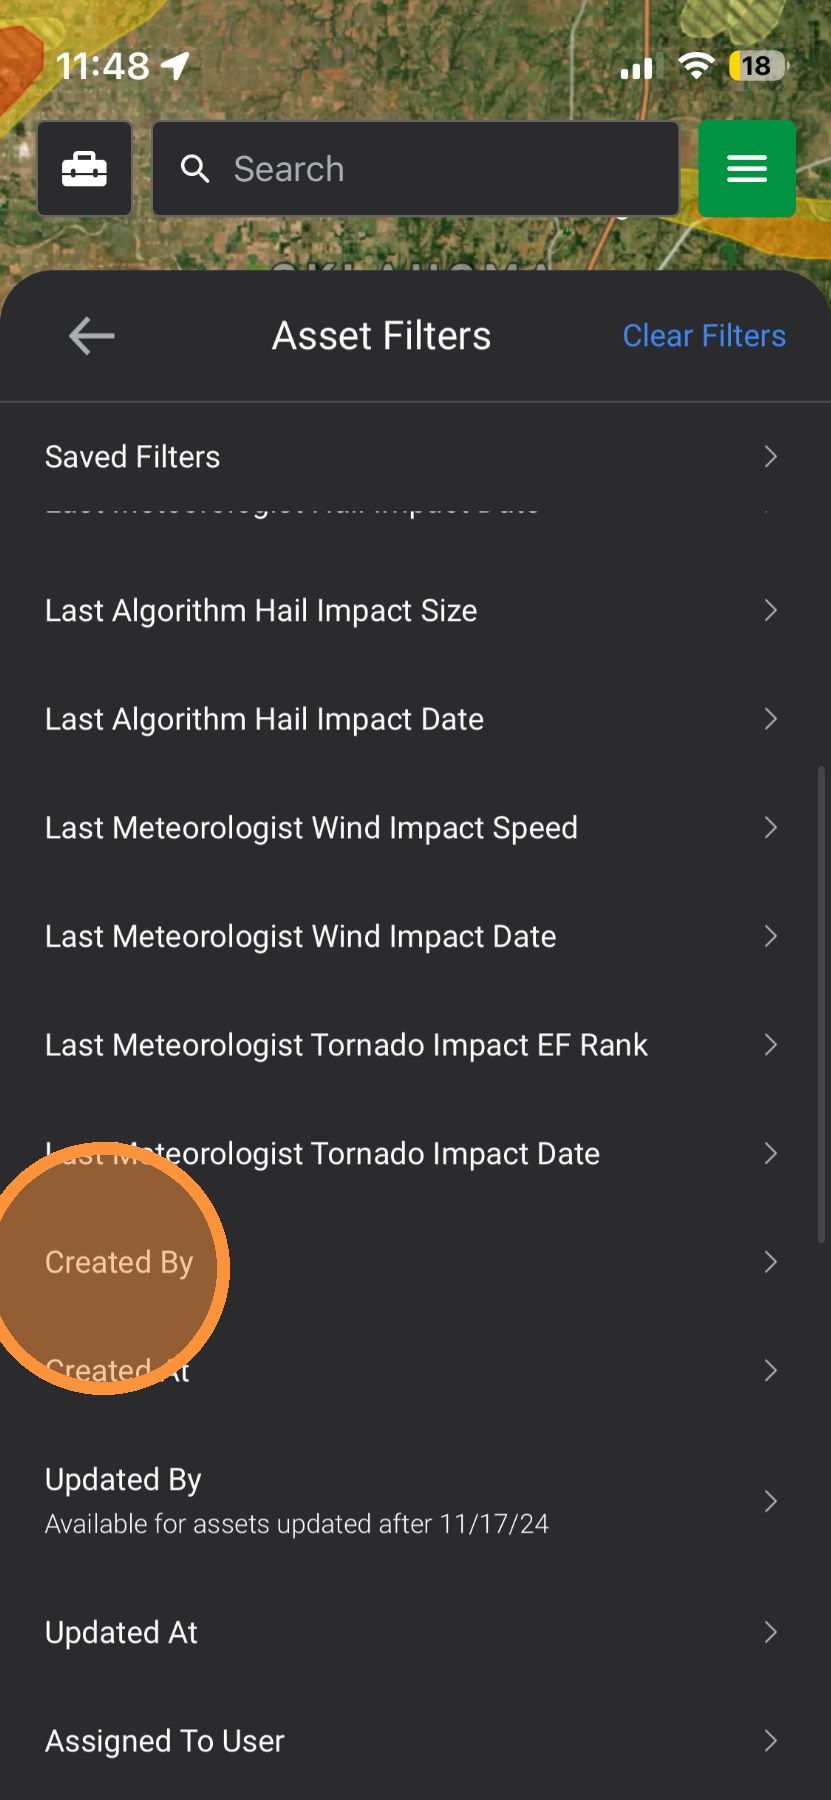
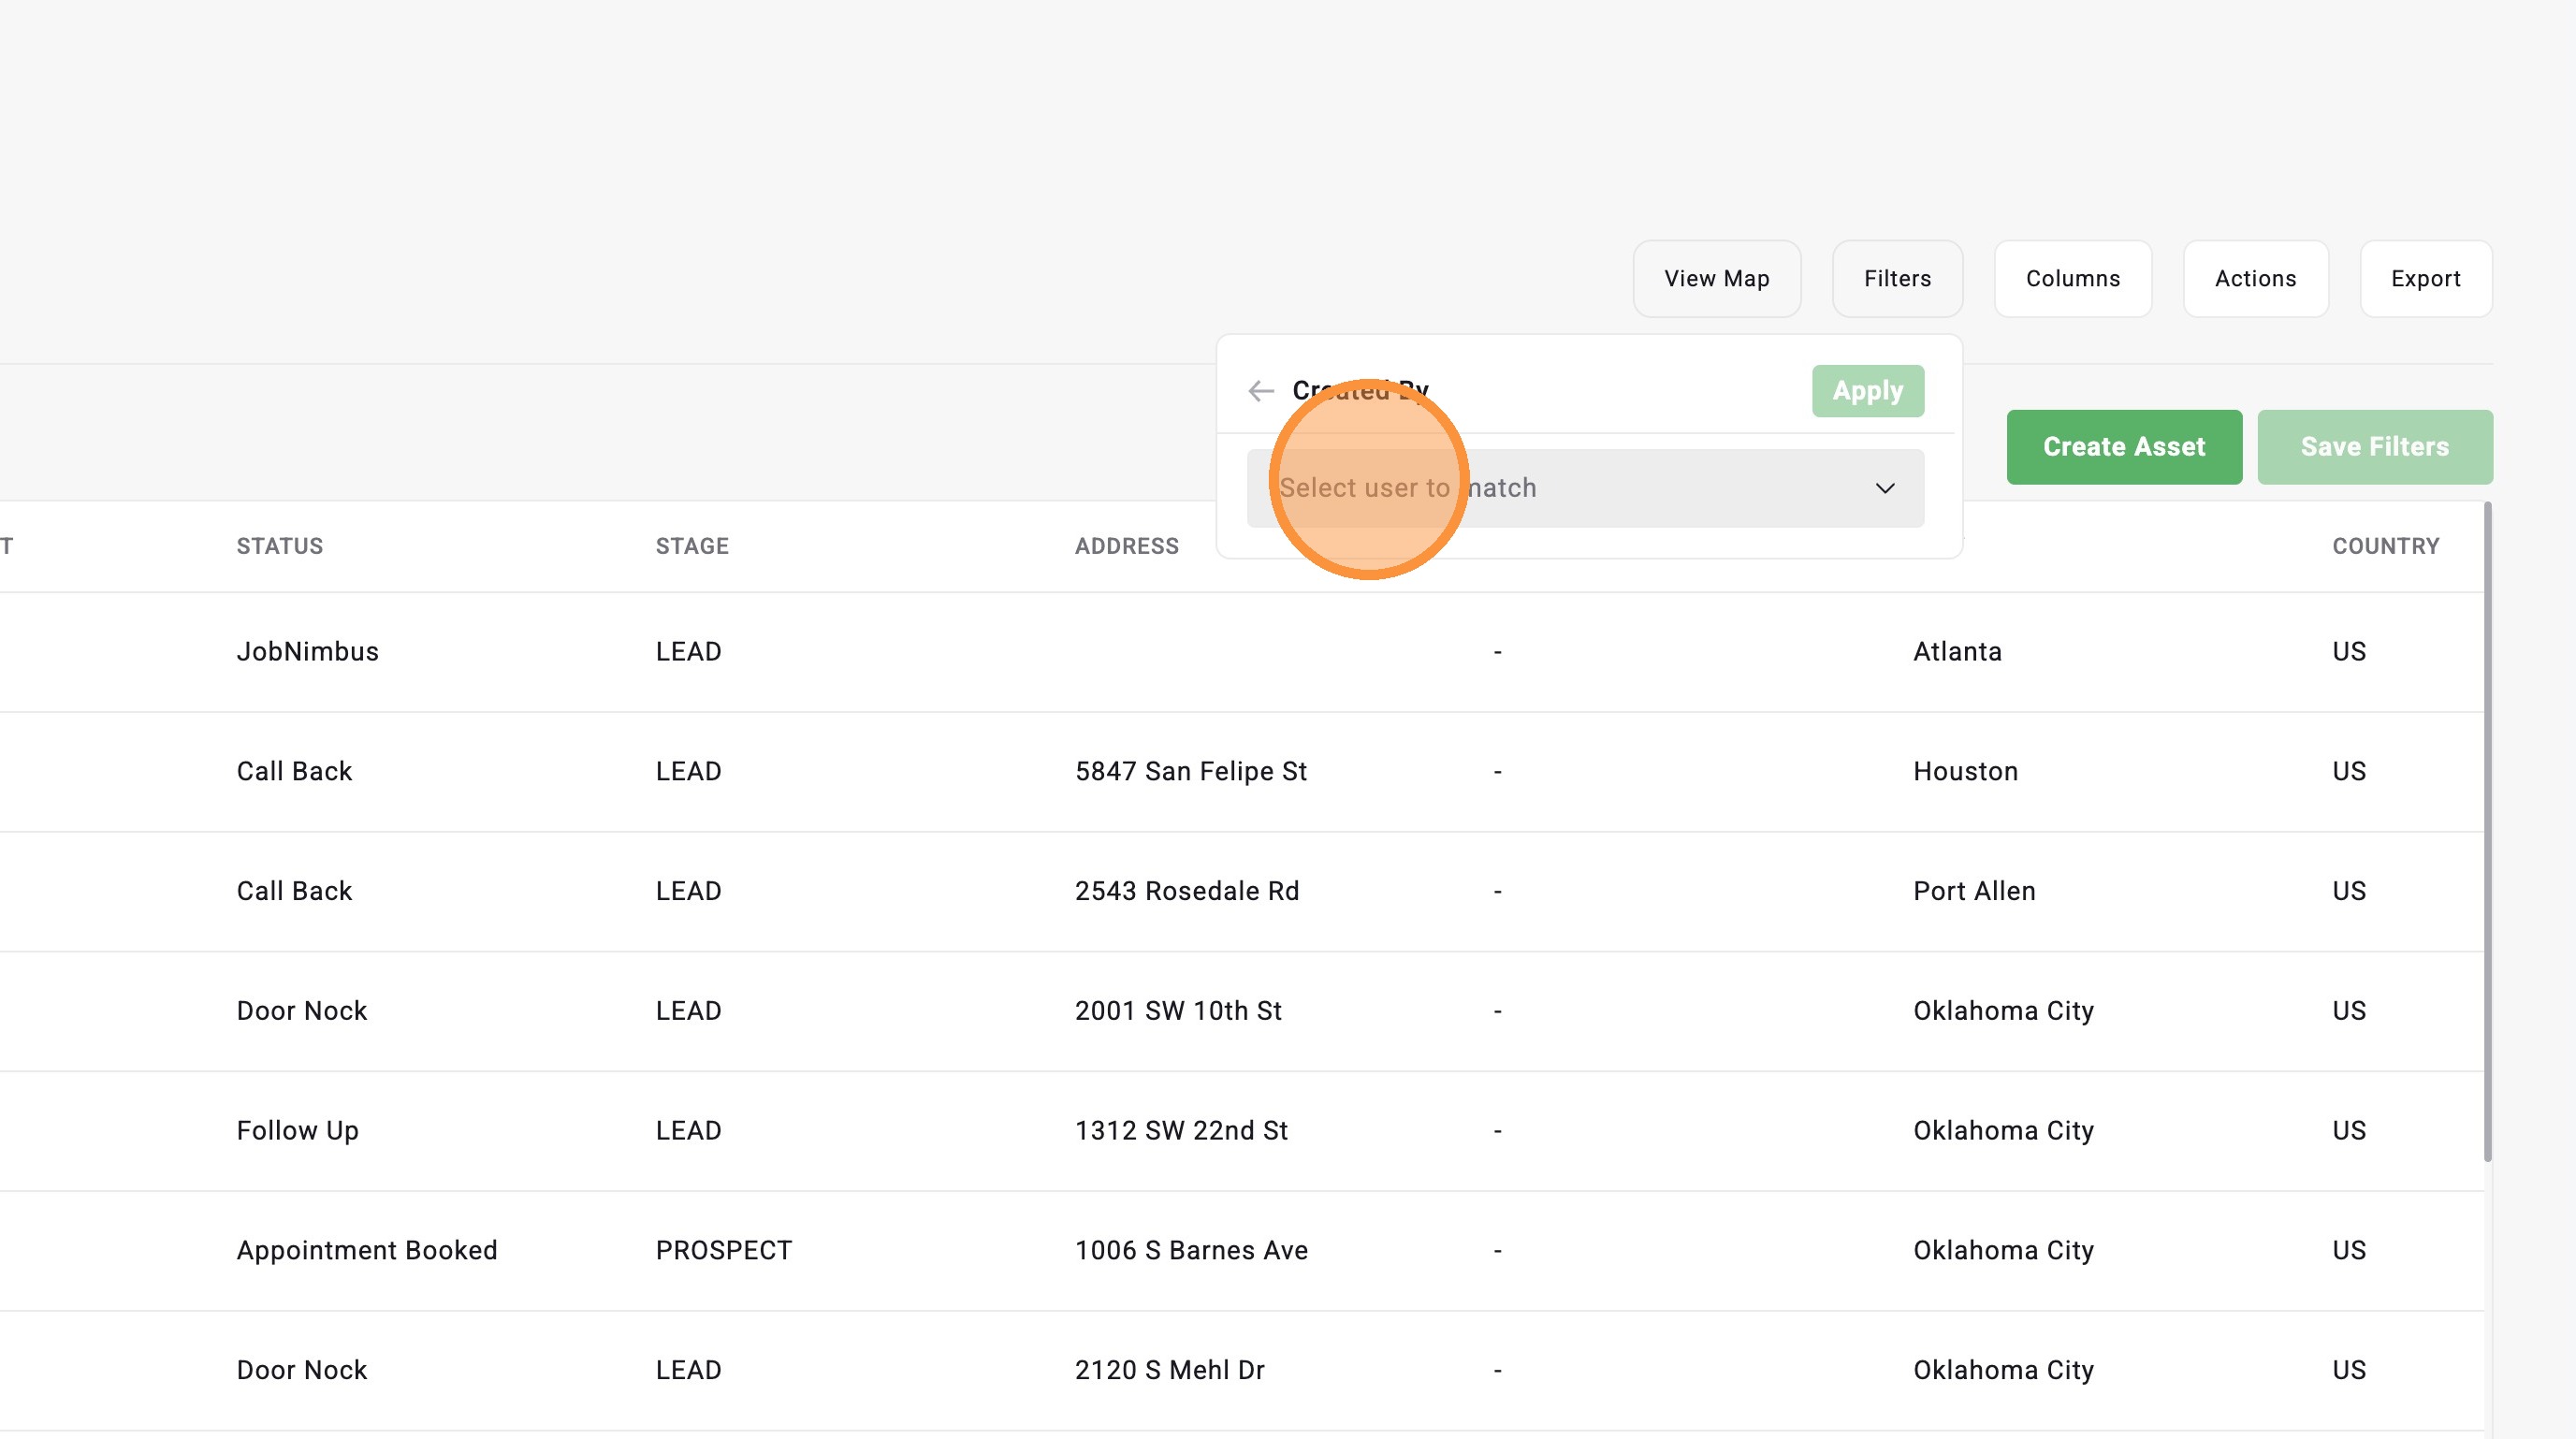
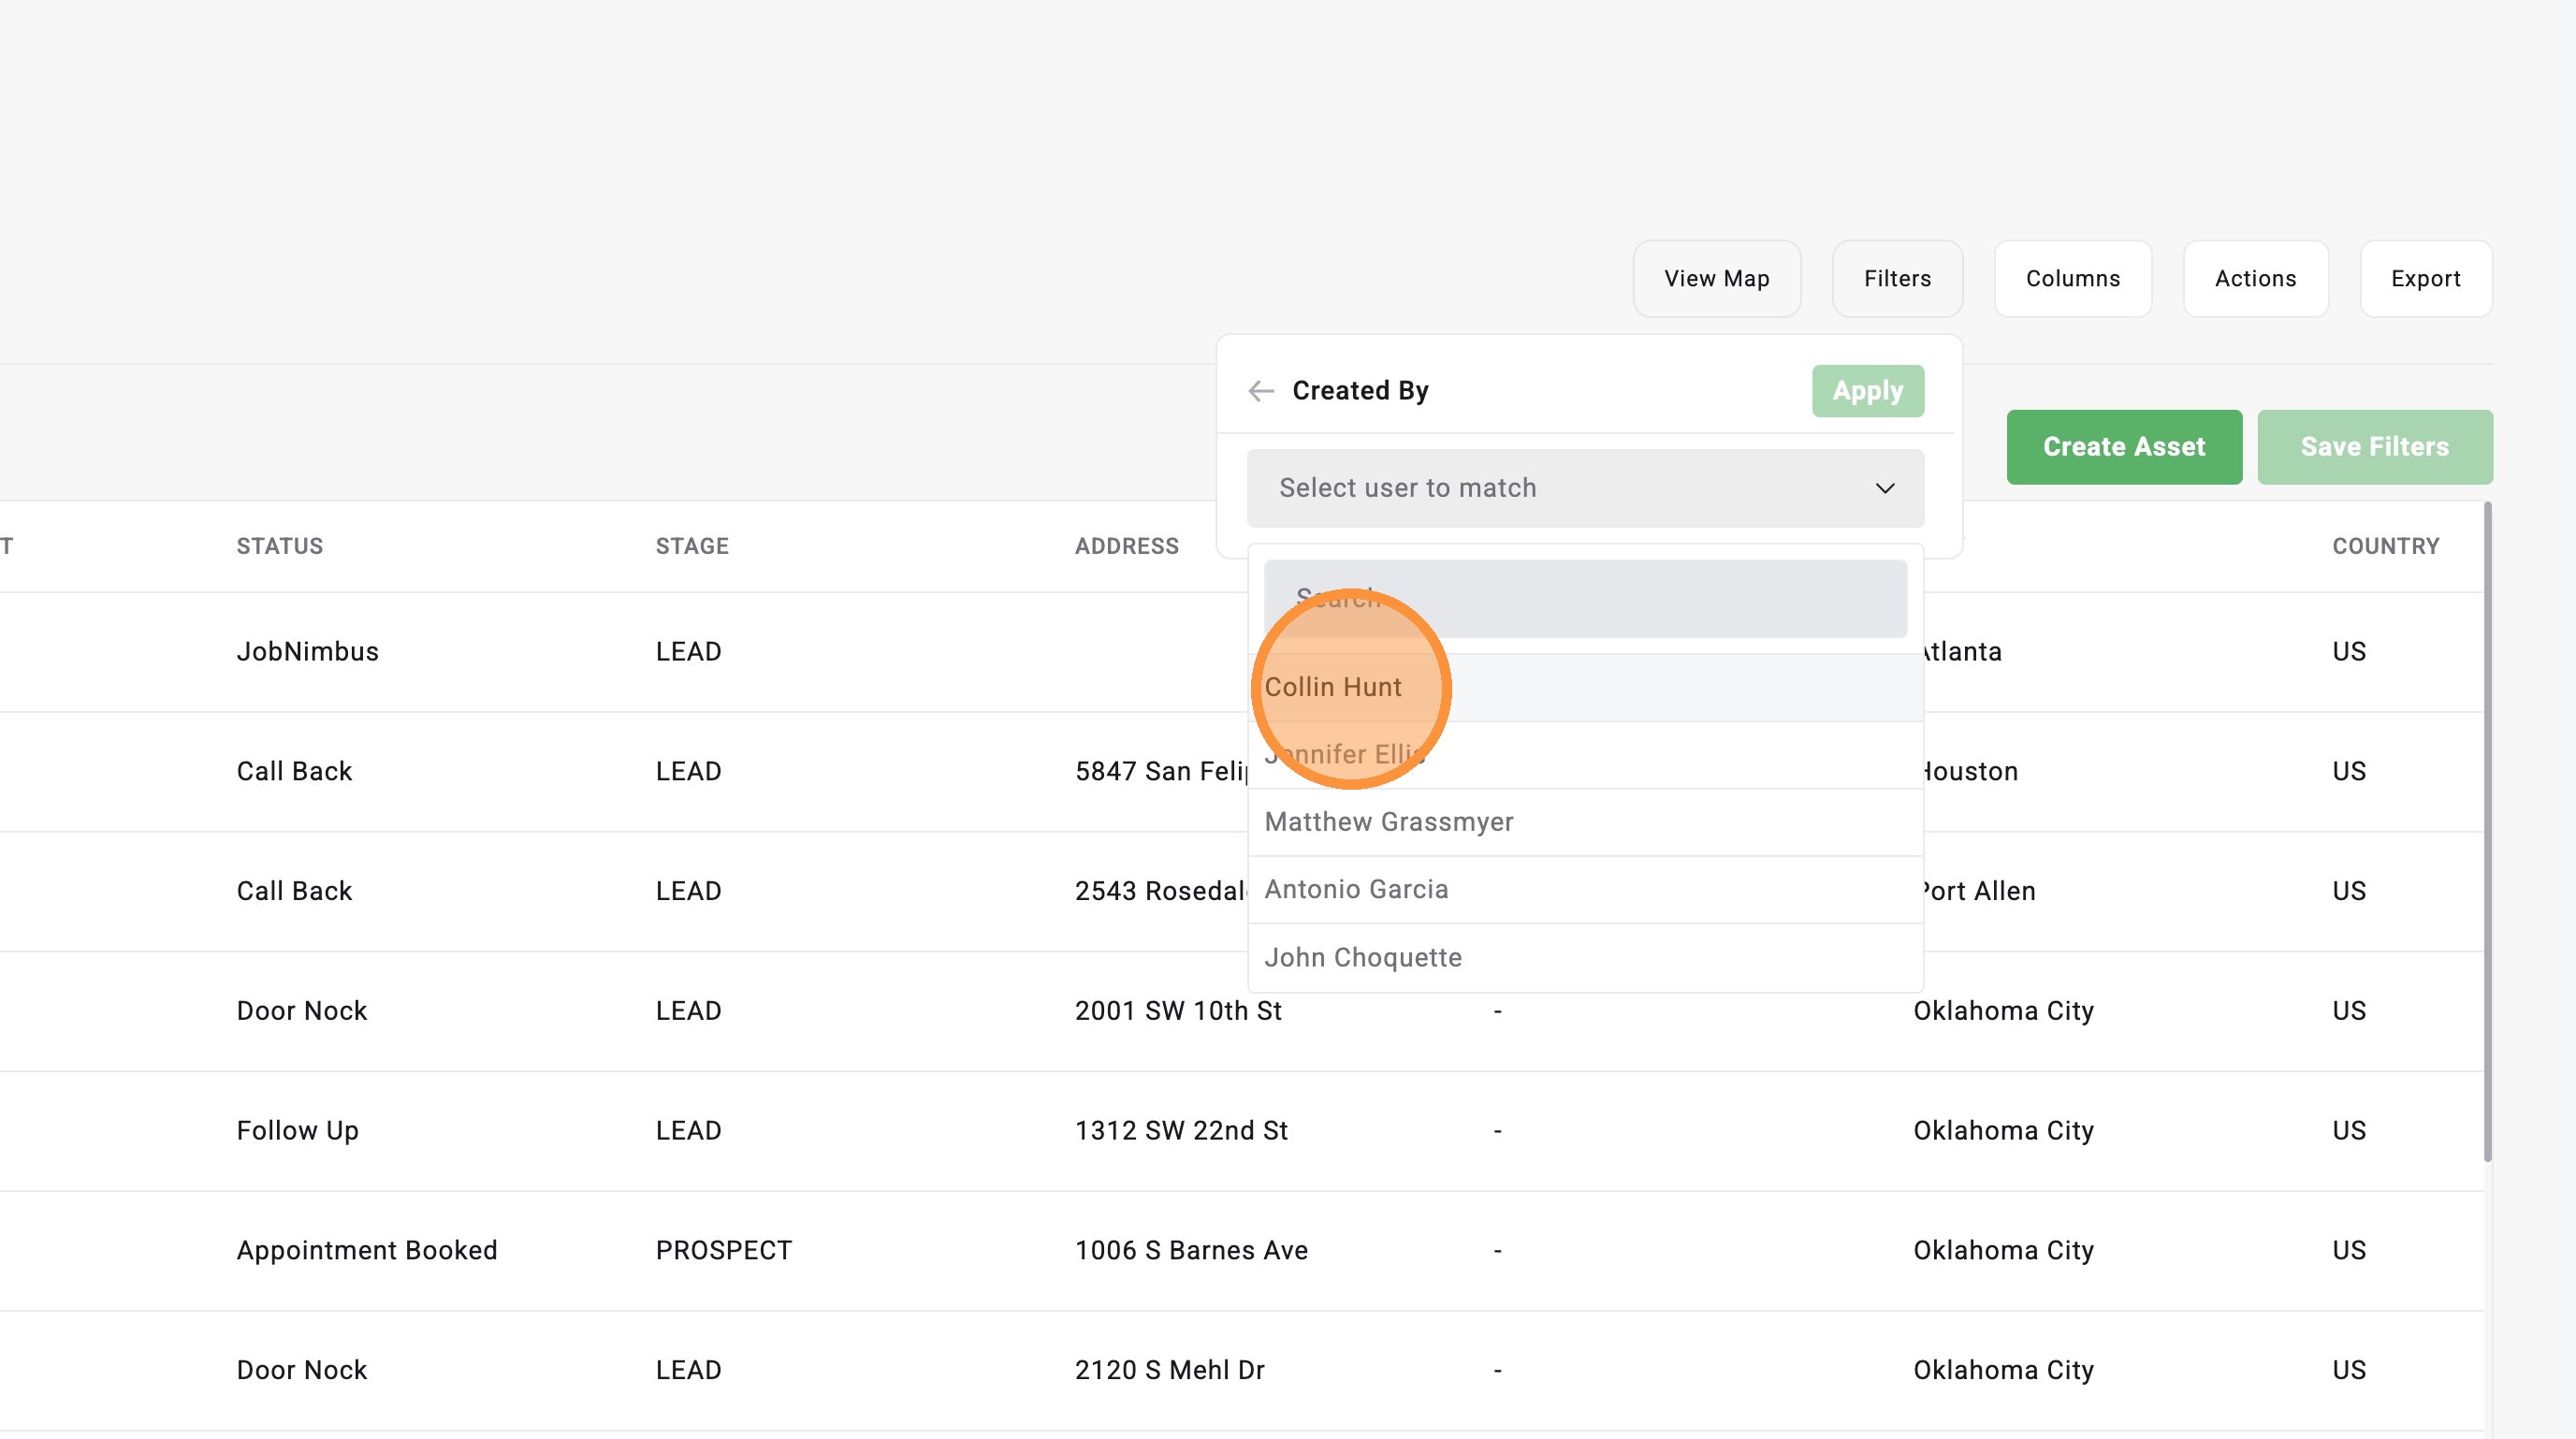
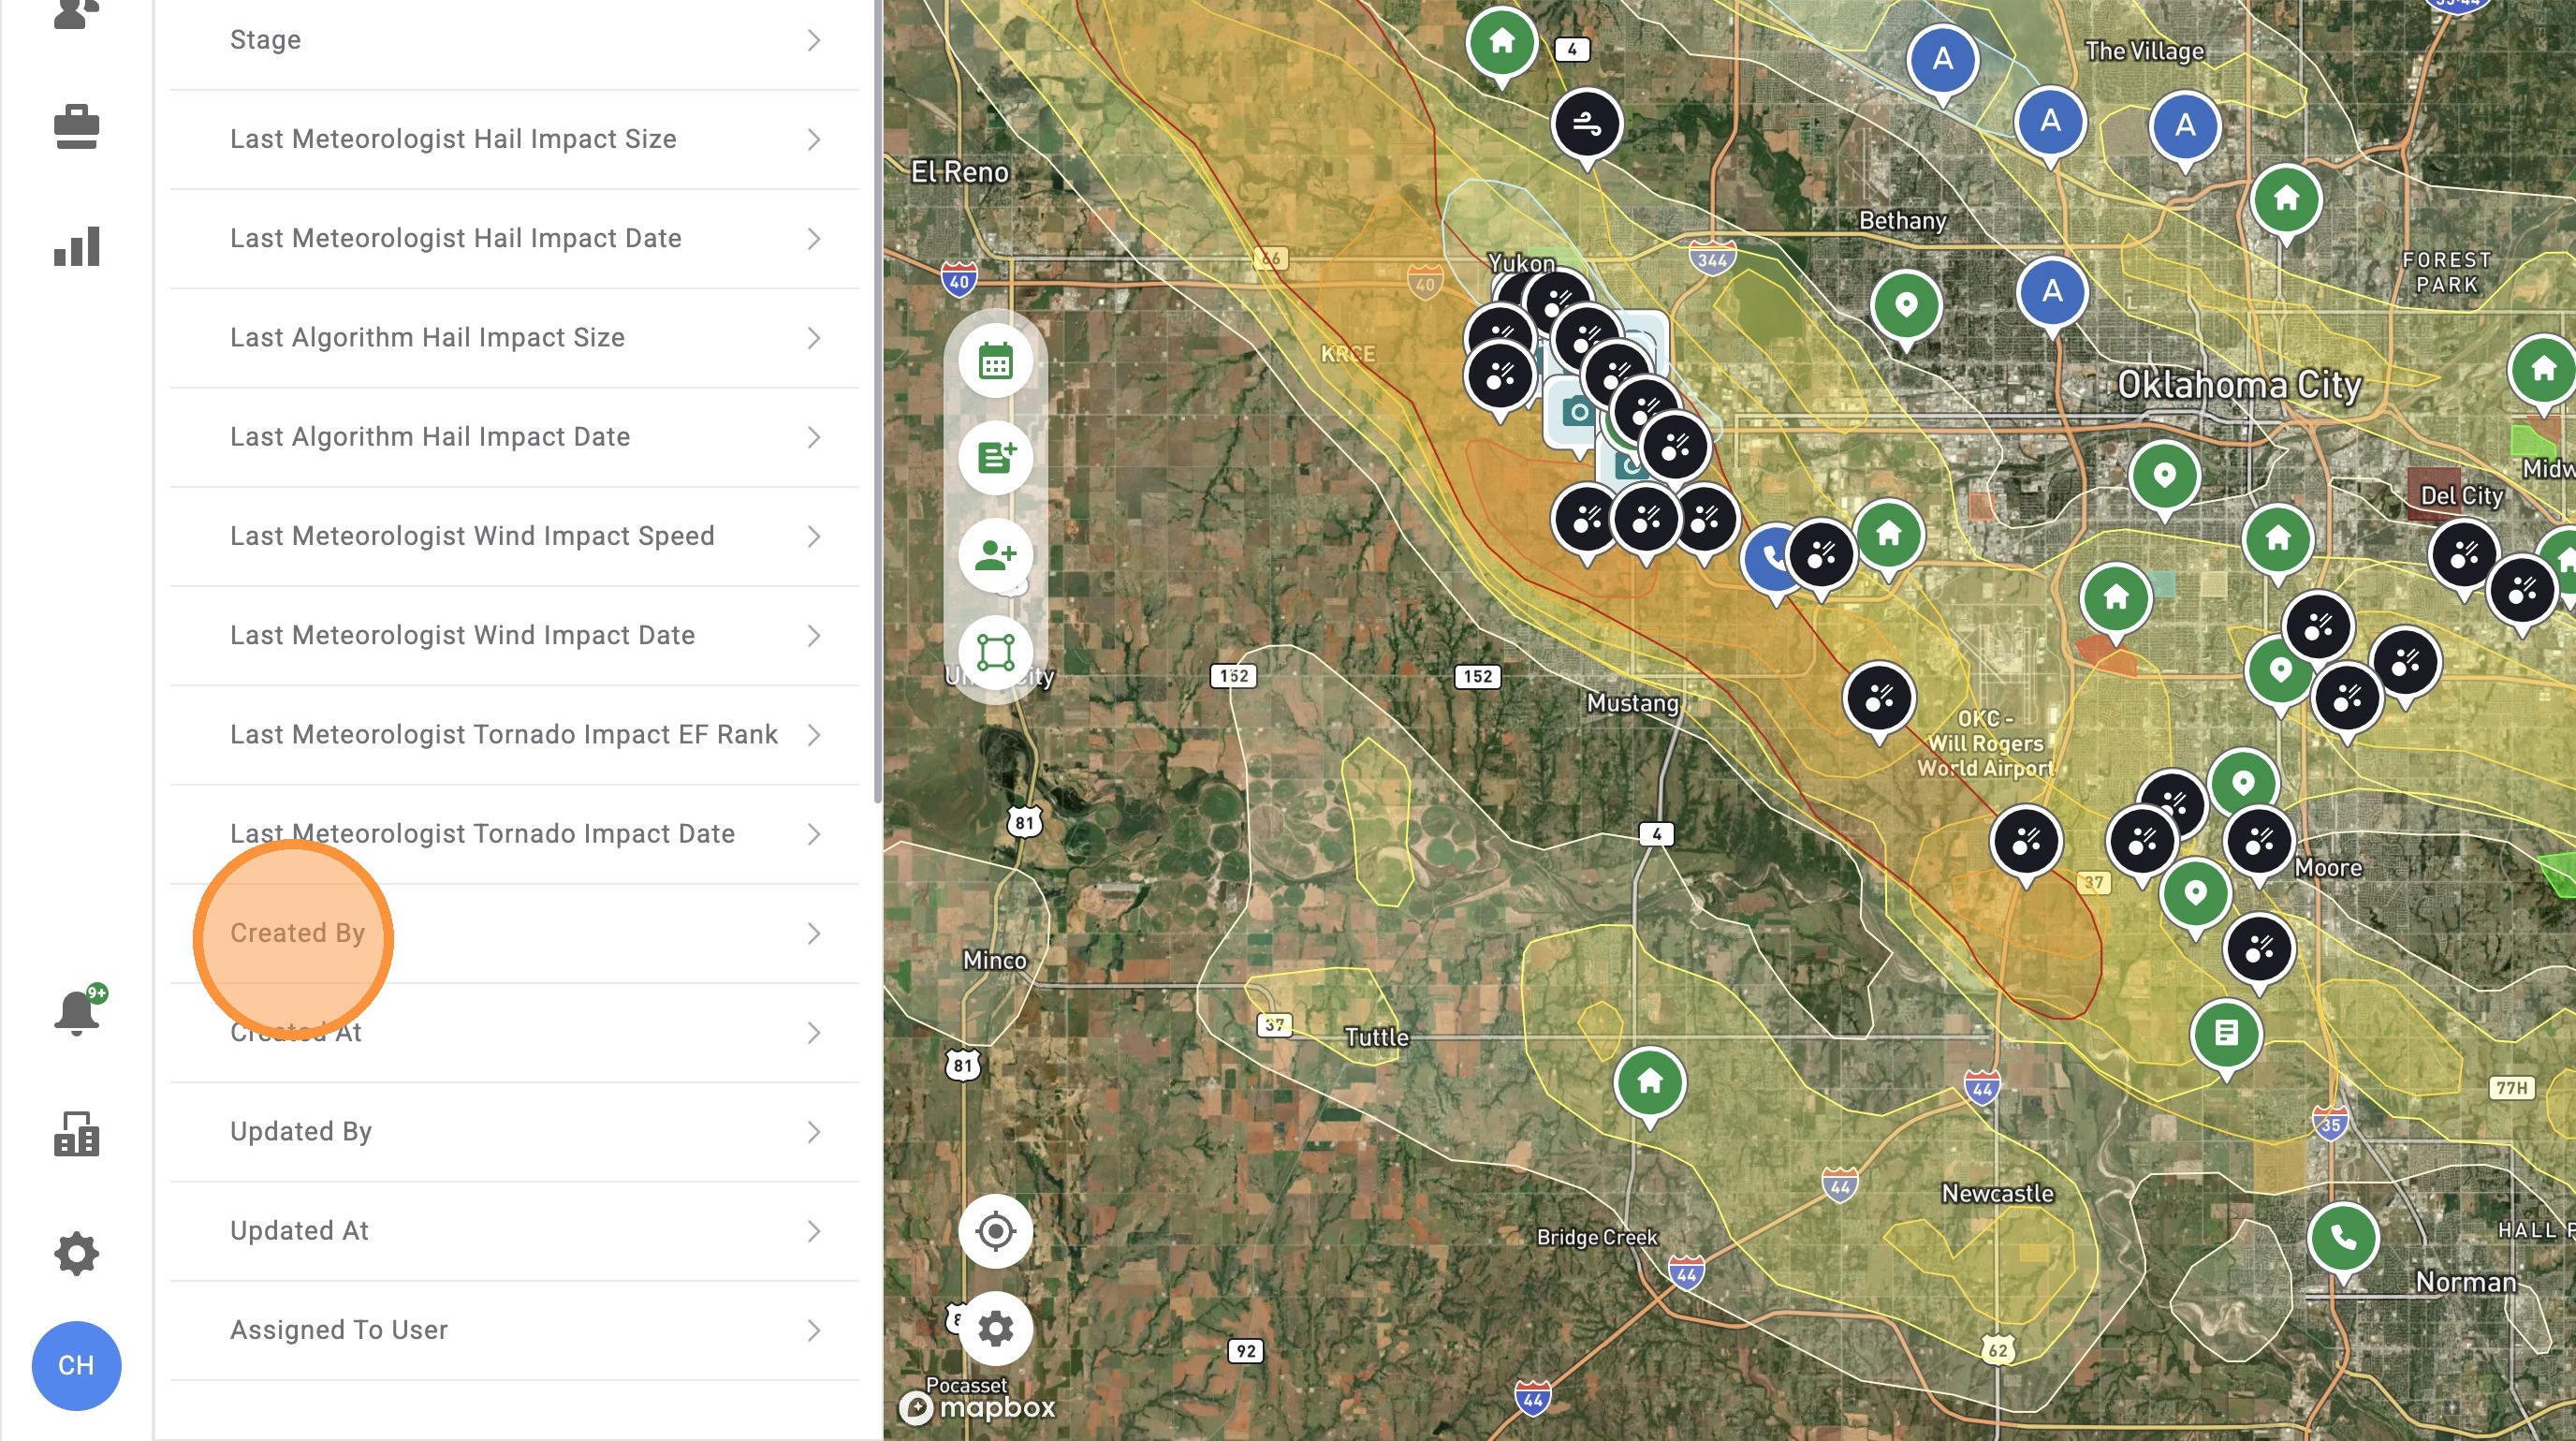
- Created By: See all the assets created by a user
- Last Modified By: See all the asset last updated by a user
- Created At: Find assets created within a selected timeframe
- Updated At: Find assets that were updated within a selected timeframe, such as adding a contact, asset details, or updating an opportunity status
- Last Impact Date: Find all the assets hit by ANY hail, wind, or tornado storm within a selected date range
- Last Meteorologist Hail Impact Date: Find all the assets hit by hail within a selected date range
- Last Meteorologist Hail Impact Size: Find all the assets hit by a selected hail size
- Last Algorithm Hail Impact Date: Find all the assets hit by hail within a selected date range
- Last Algorithm Hail Impact Size: Find all the assets hit by a selected hail size
- Last Meteorologist Wind Impact Date: Find all the assets hit by wind within a selected date range
- Last Meteorologist Wind Impact Speed: Find all the assets hit by a selected wind speed
- Last Meteorologist Tornado Impact Date: Find all the assets hit tornados within a selected date range
- Last Meteorologist Tornado Impact EF Rank: Find all the assets hit by a selected tornado EF ranking
- Roof Type: Find assets with a select shingle type
- Last Exterior Renovation Date: Find assets with a select roof age
- Location Address: See assets with same house number and/or street name
- Location City: See assets within a selected city
- Location State: See assets within a selected state
- Location Country: See assets with a selected country
- Location Address Line 2: See assets within specific info on address line 2
- Location Street: Find assets with the same street name
- Location Zipcode: Find assets with a selected zip code
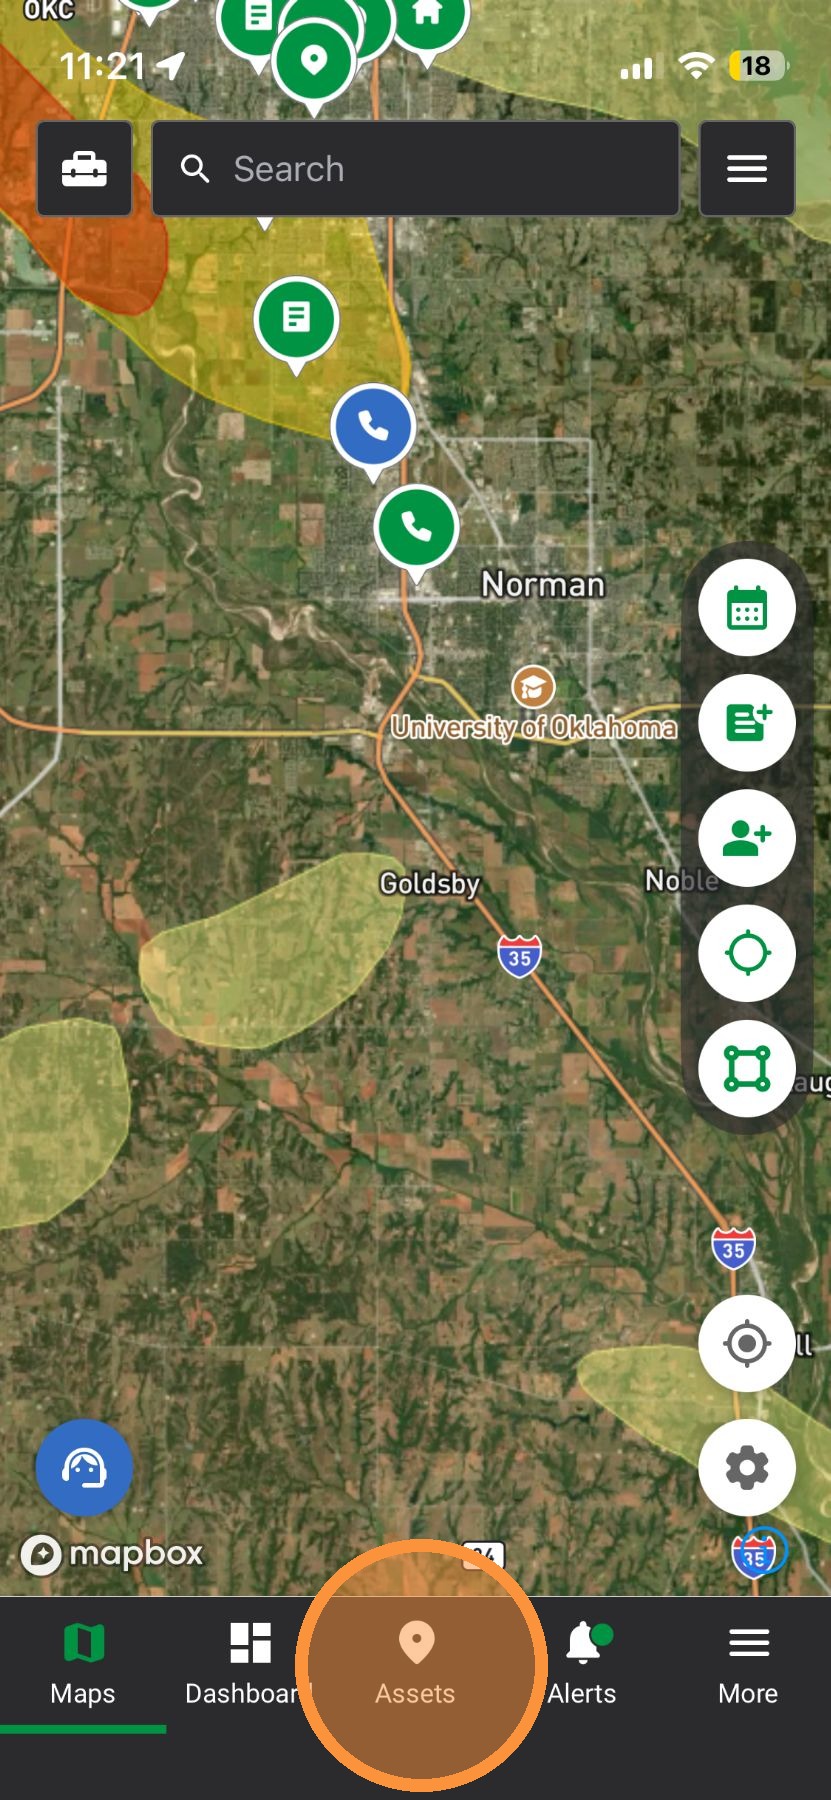
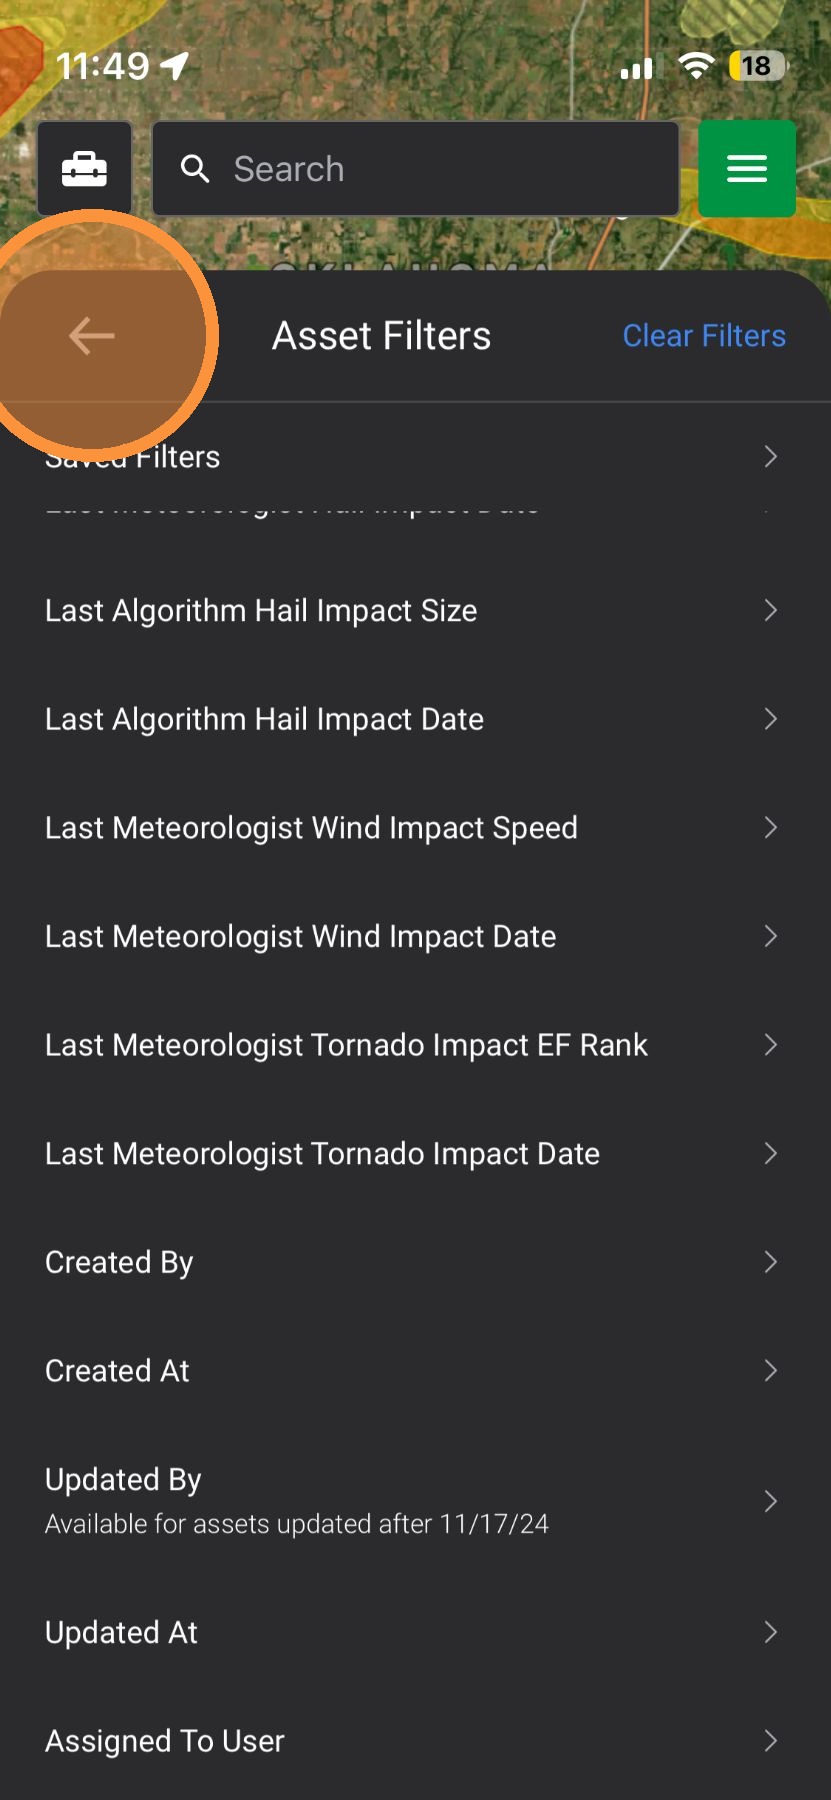
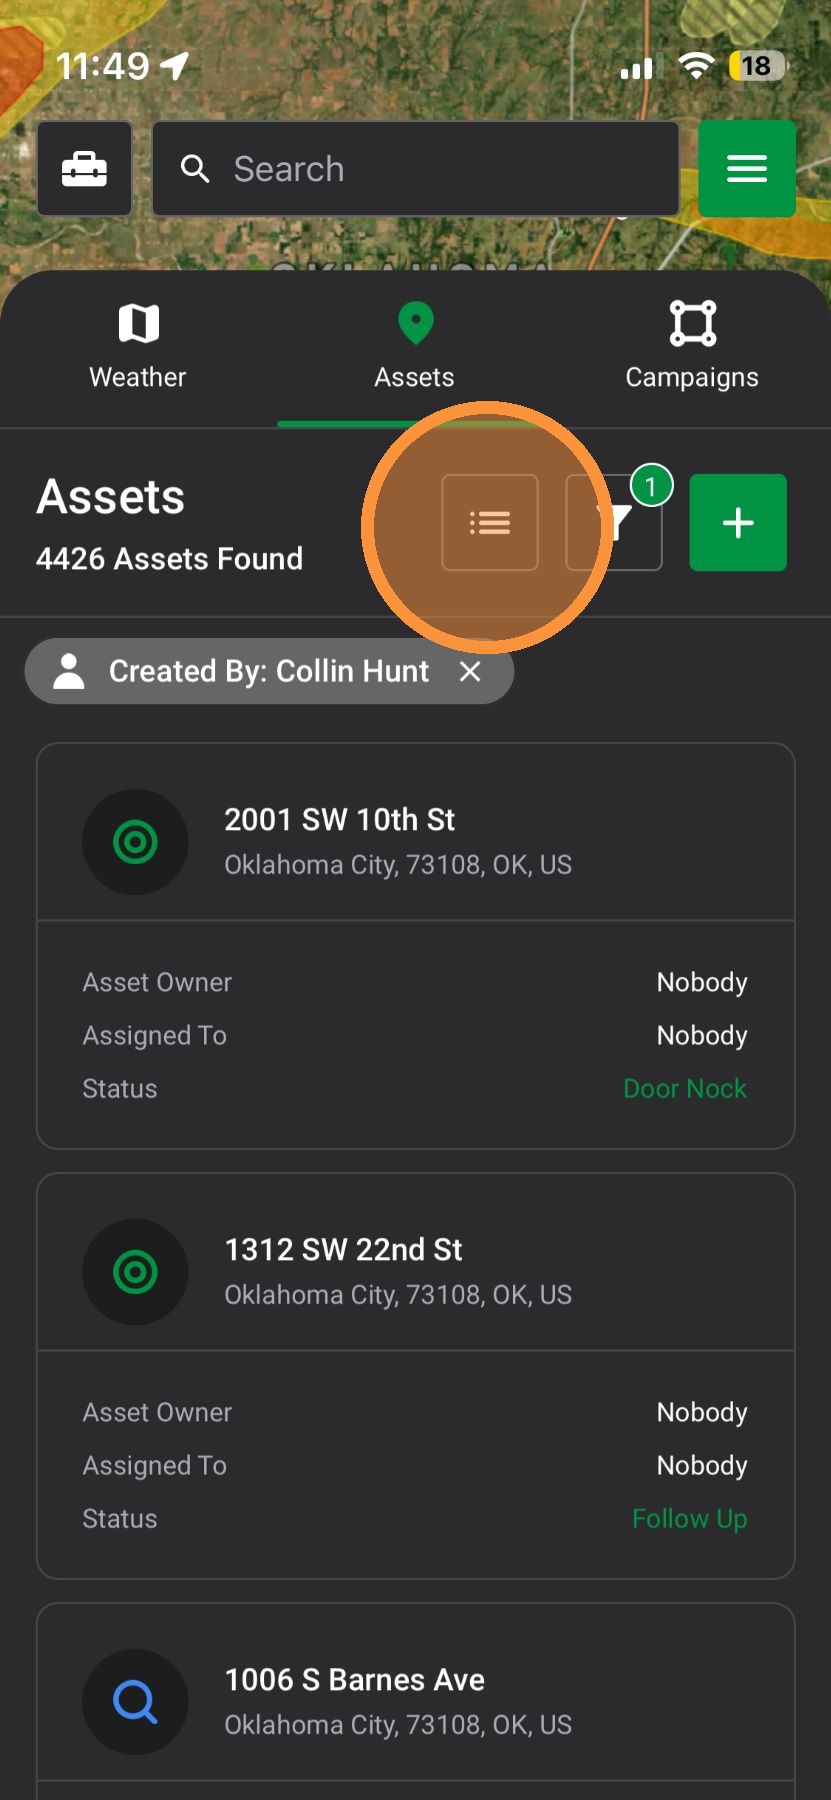
Mobile App: Steps To Enabling Asset Filters
Using Asset Page
Enable Filters
1. Tap "Asset" page
2. Tap "filters"
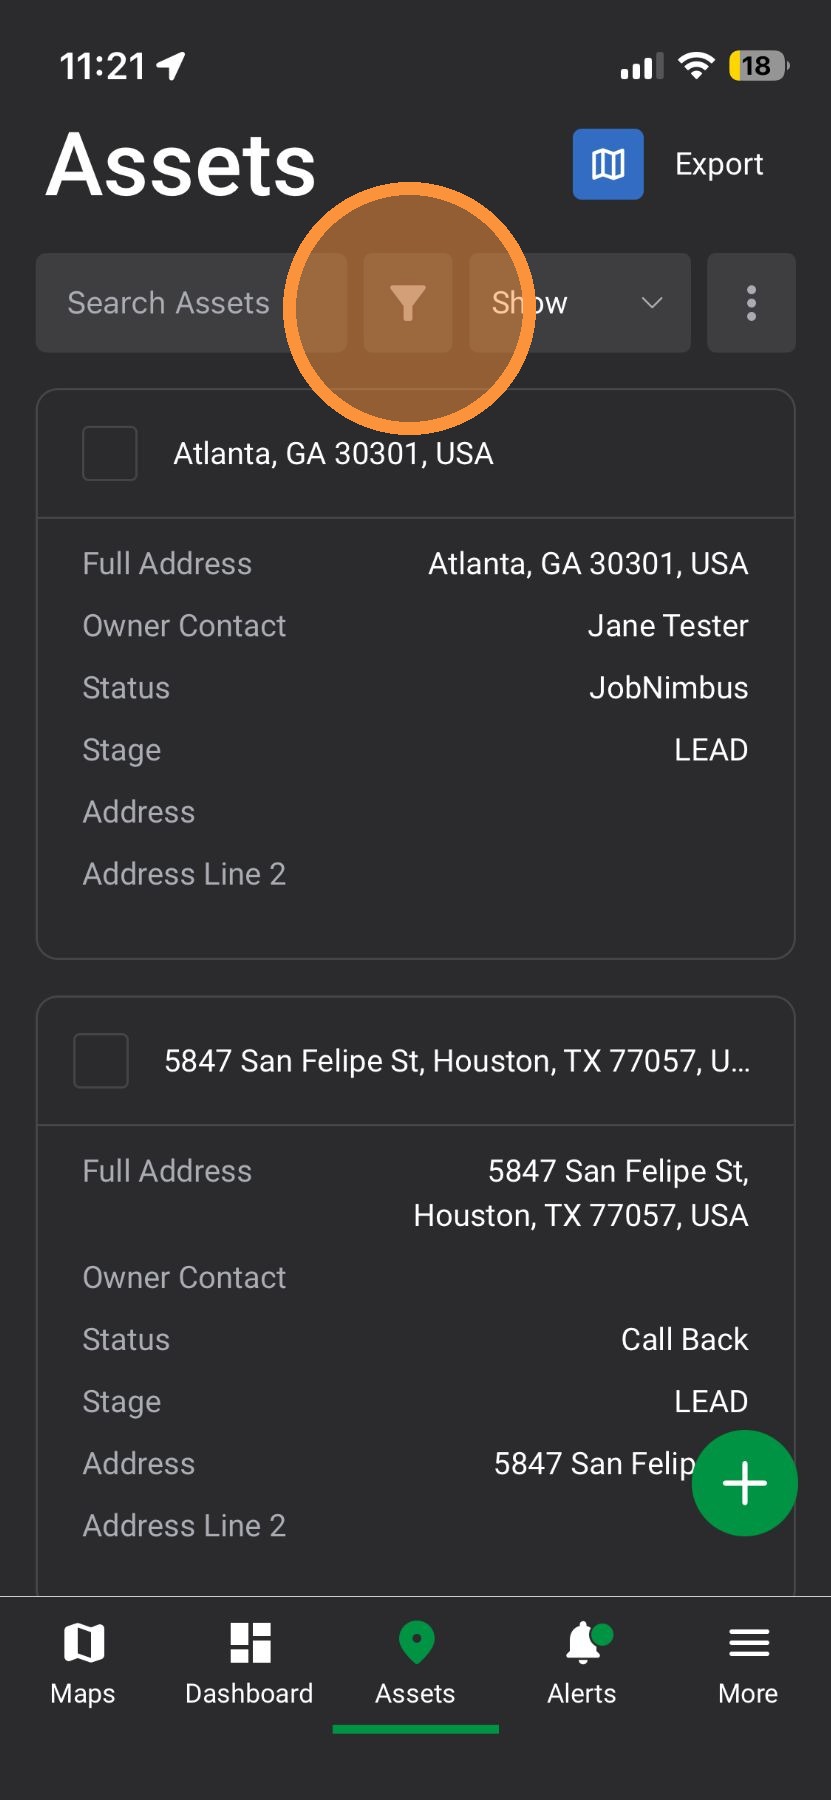
3. Select a saved filter or apply a variety of filters

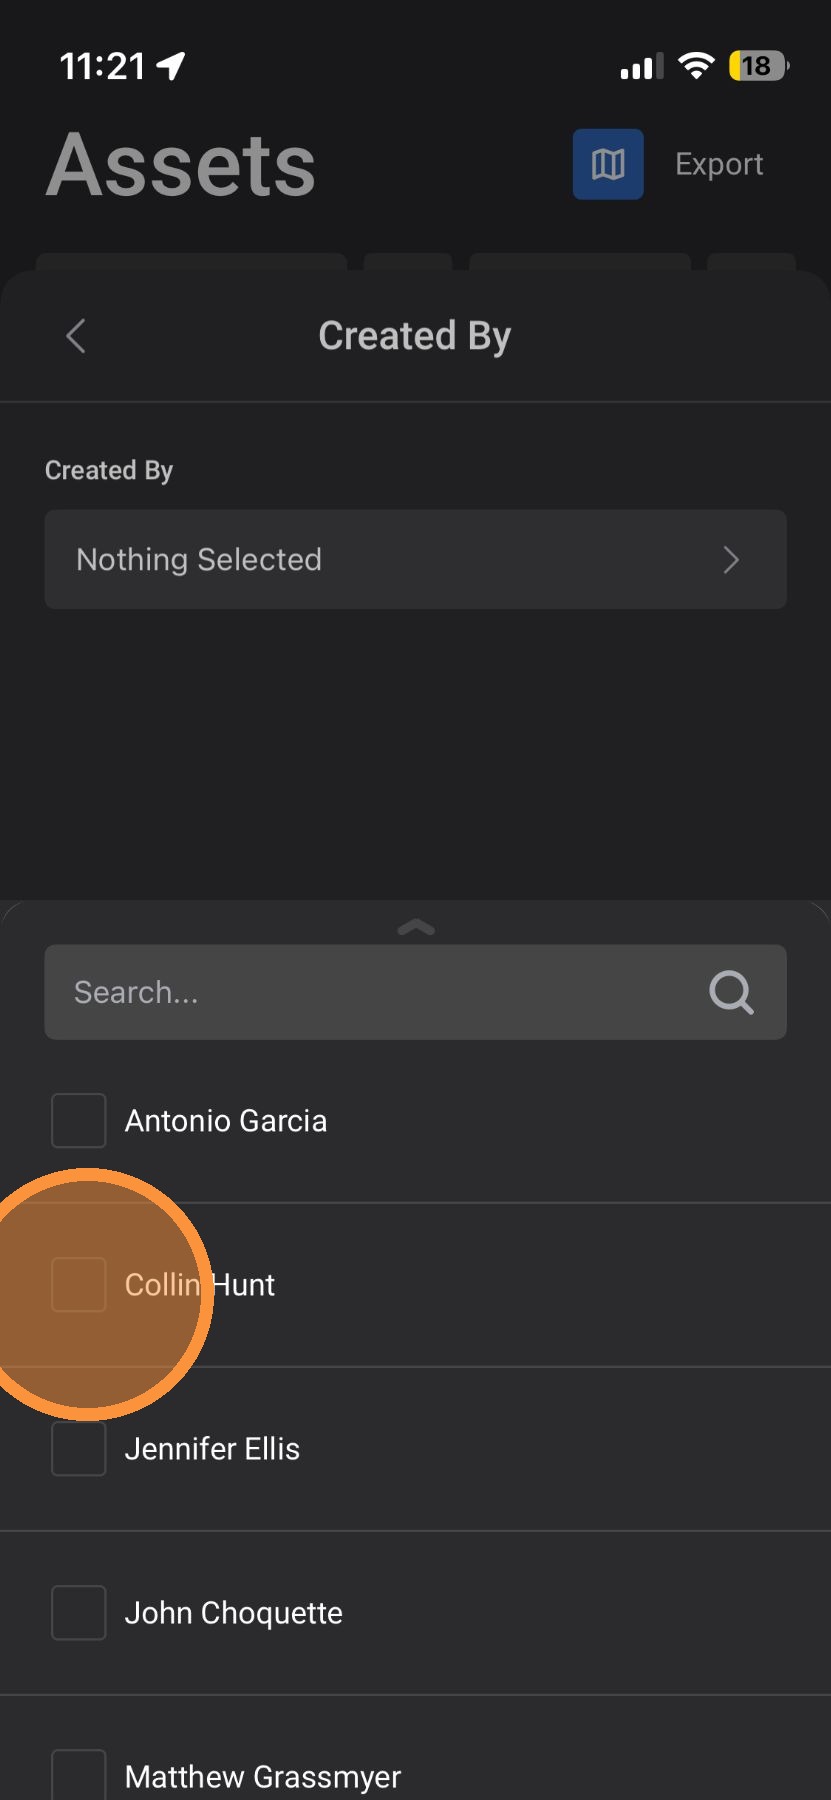
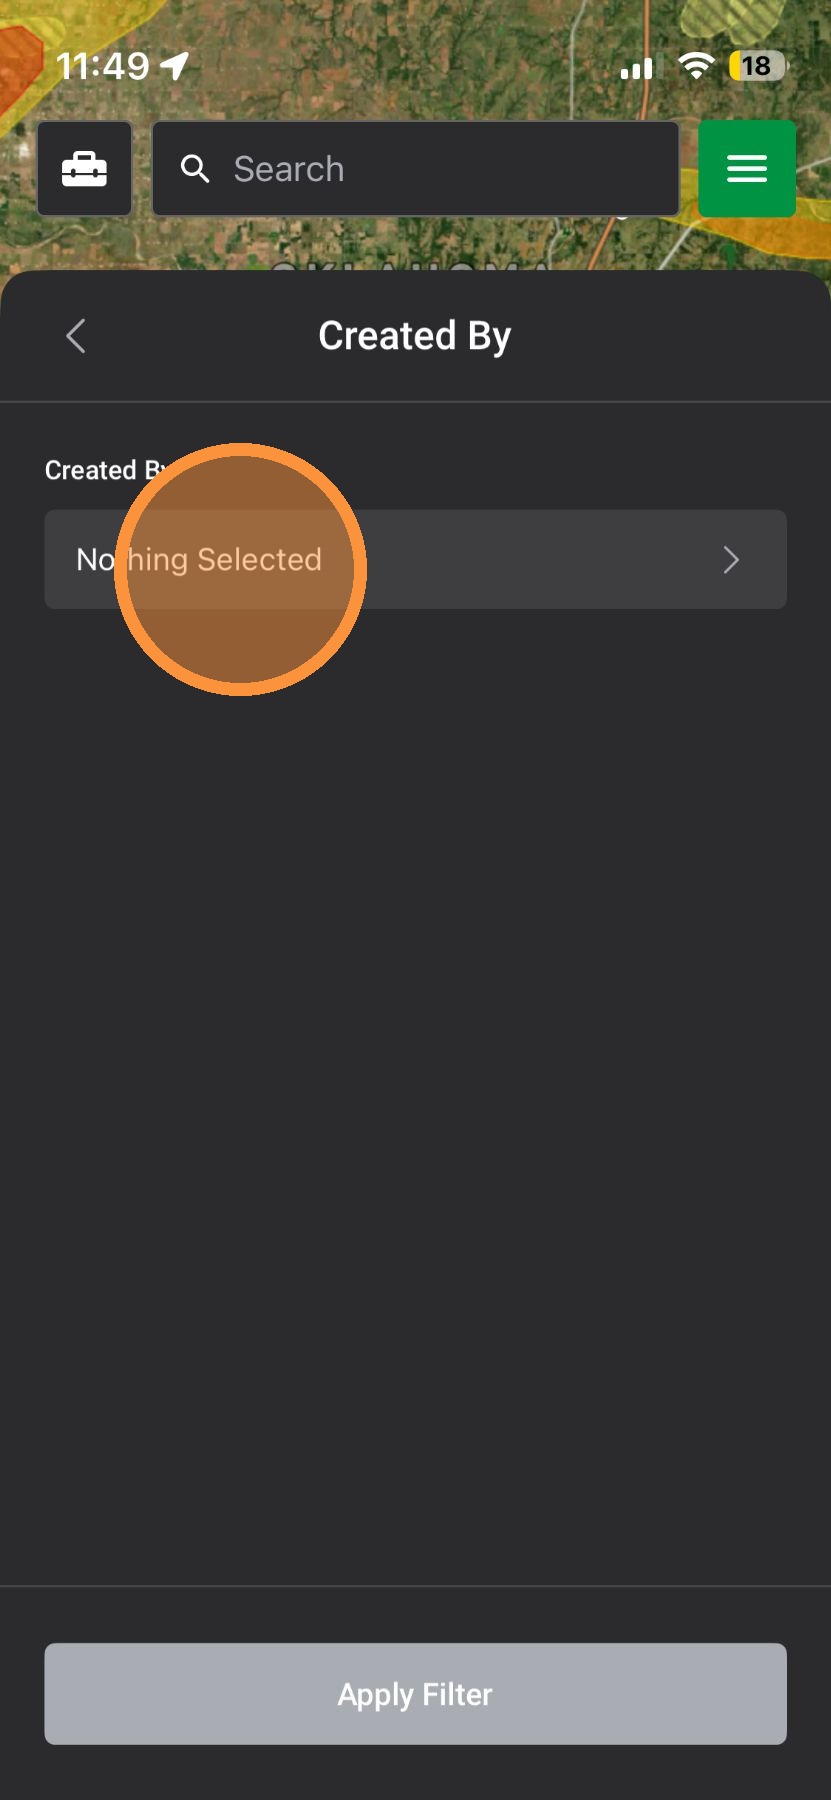
4. For example, select "Created By" to see all assets create by a user(s)
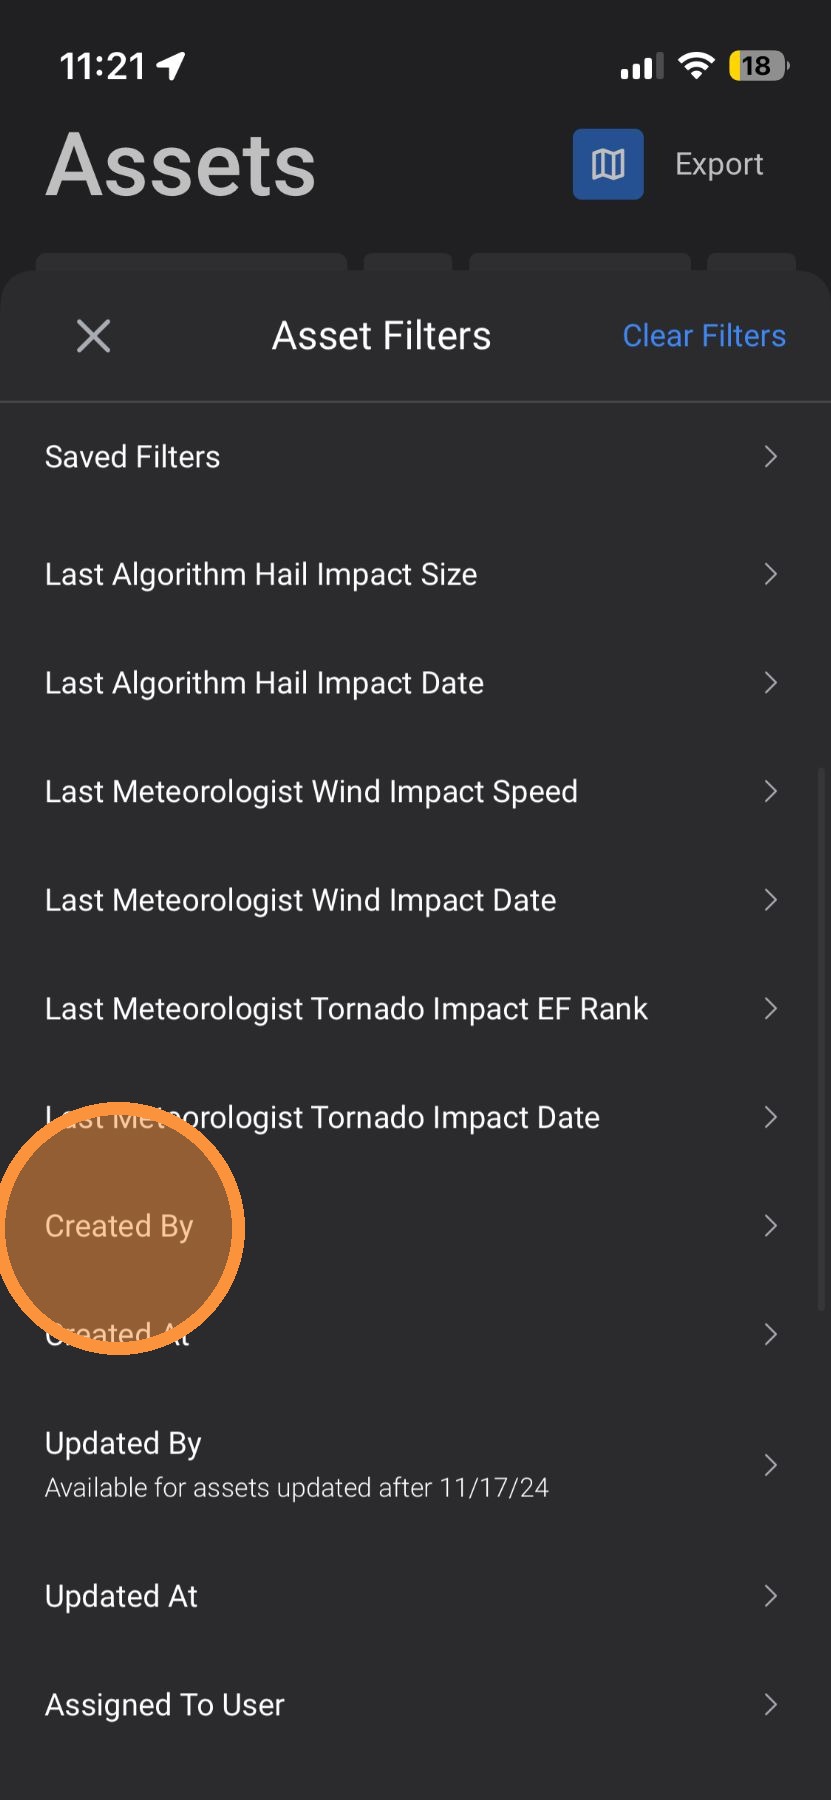
5. Tap bar to view users
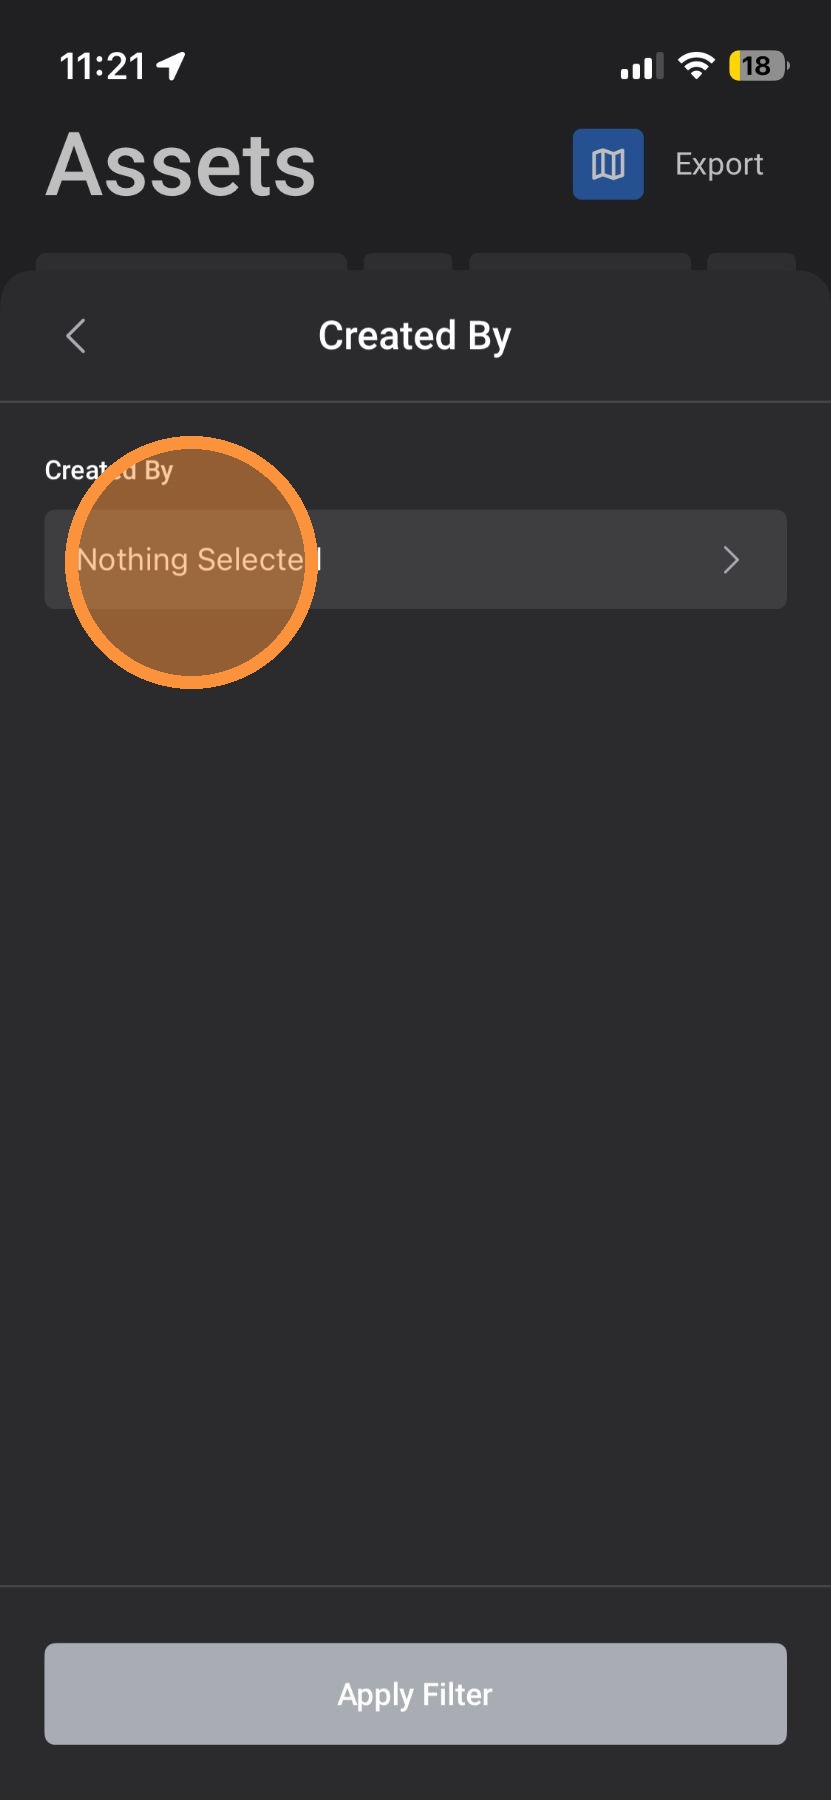
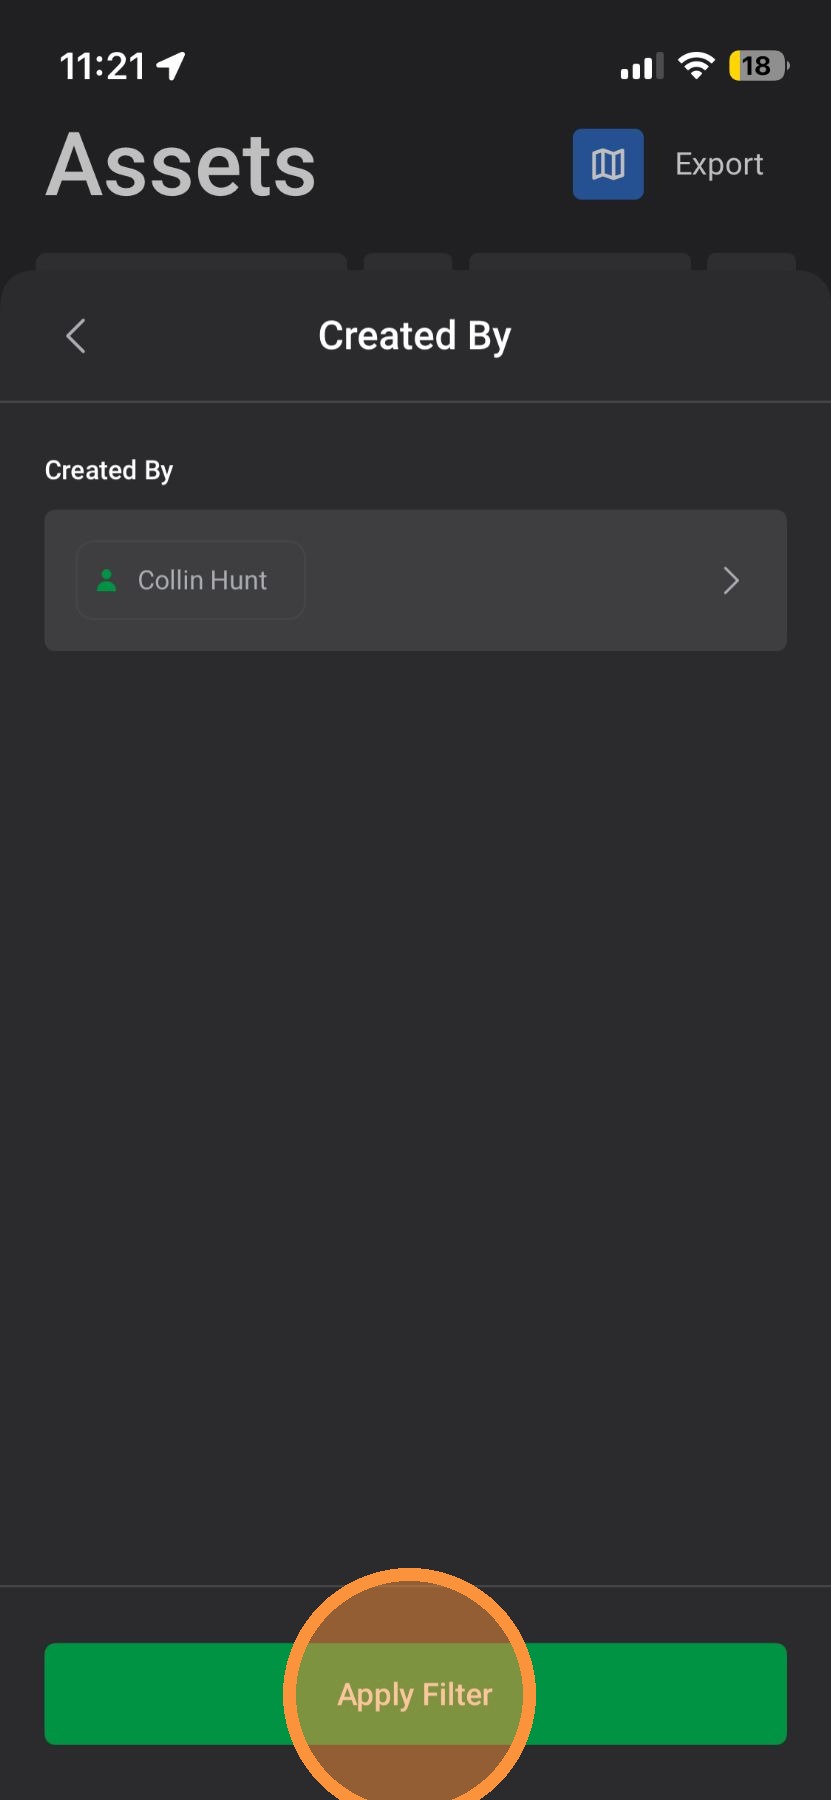
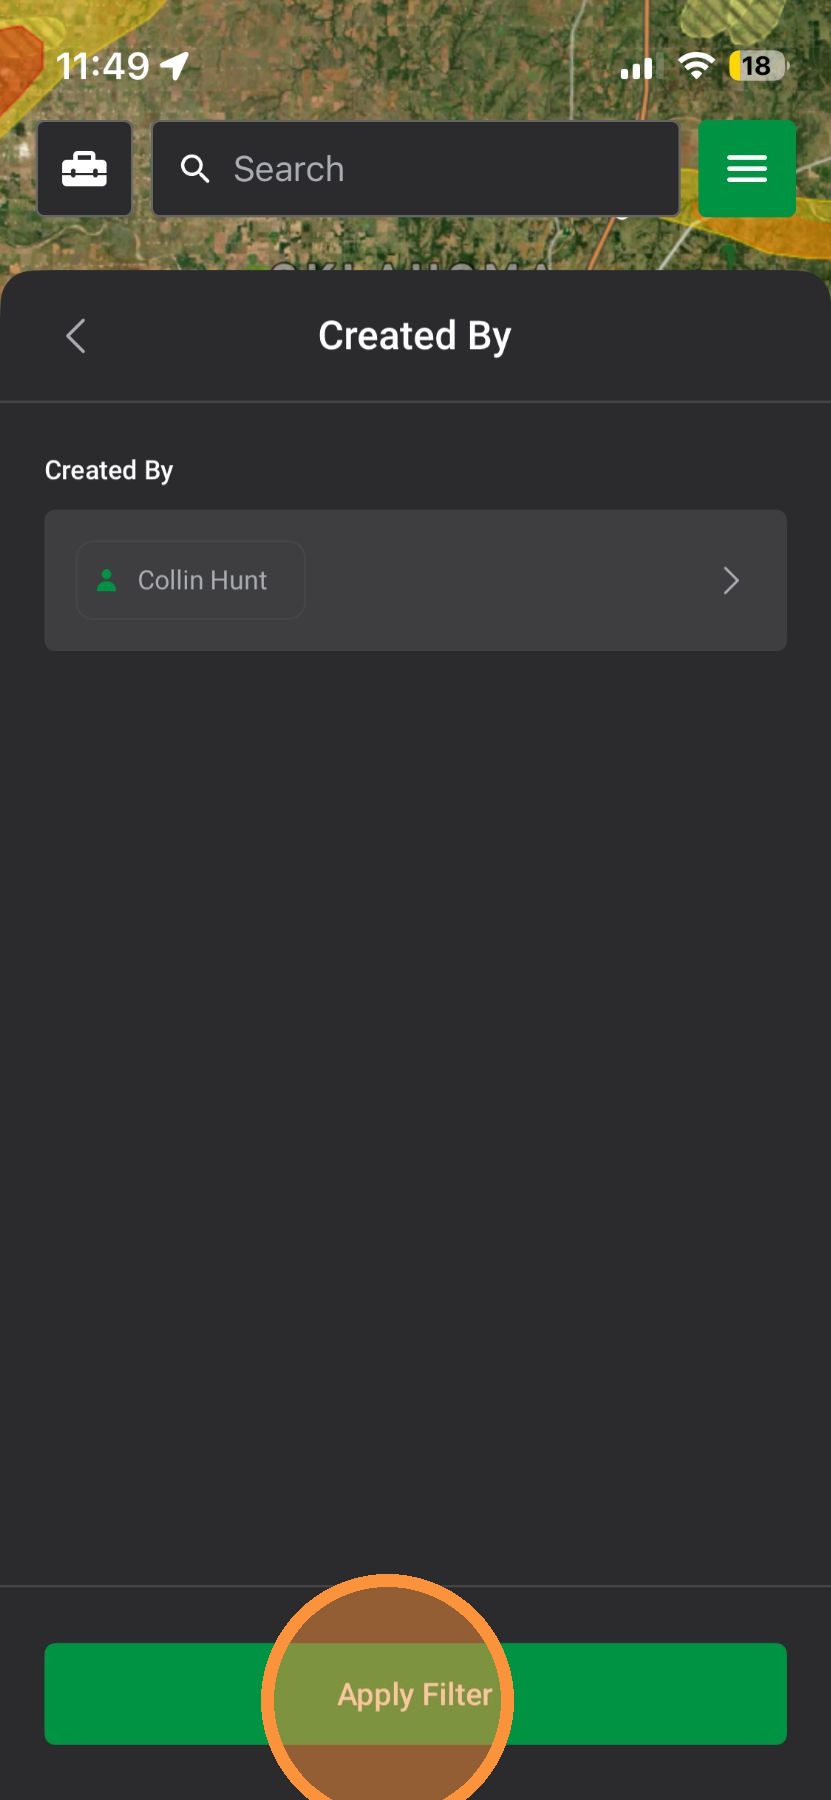
6. Select one or more users
7. Tap "Apply Filters"
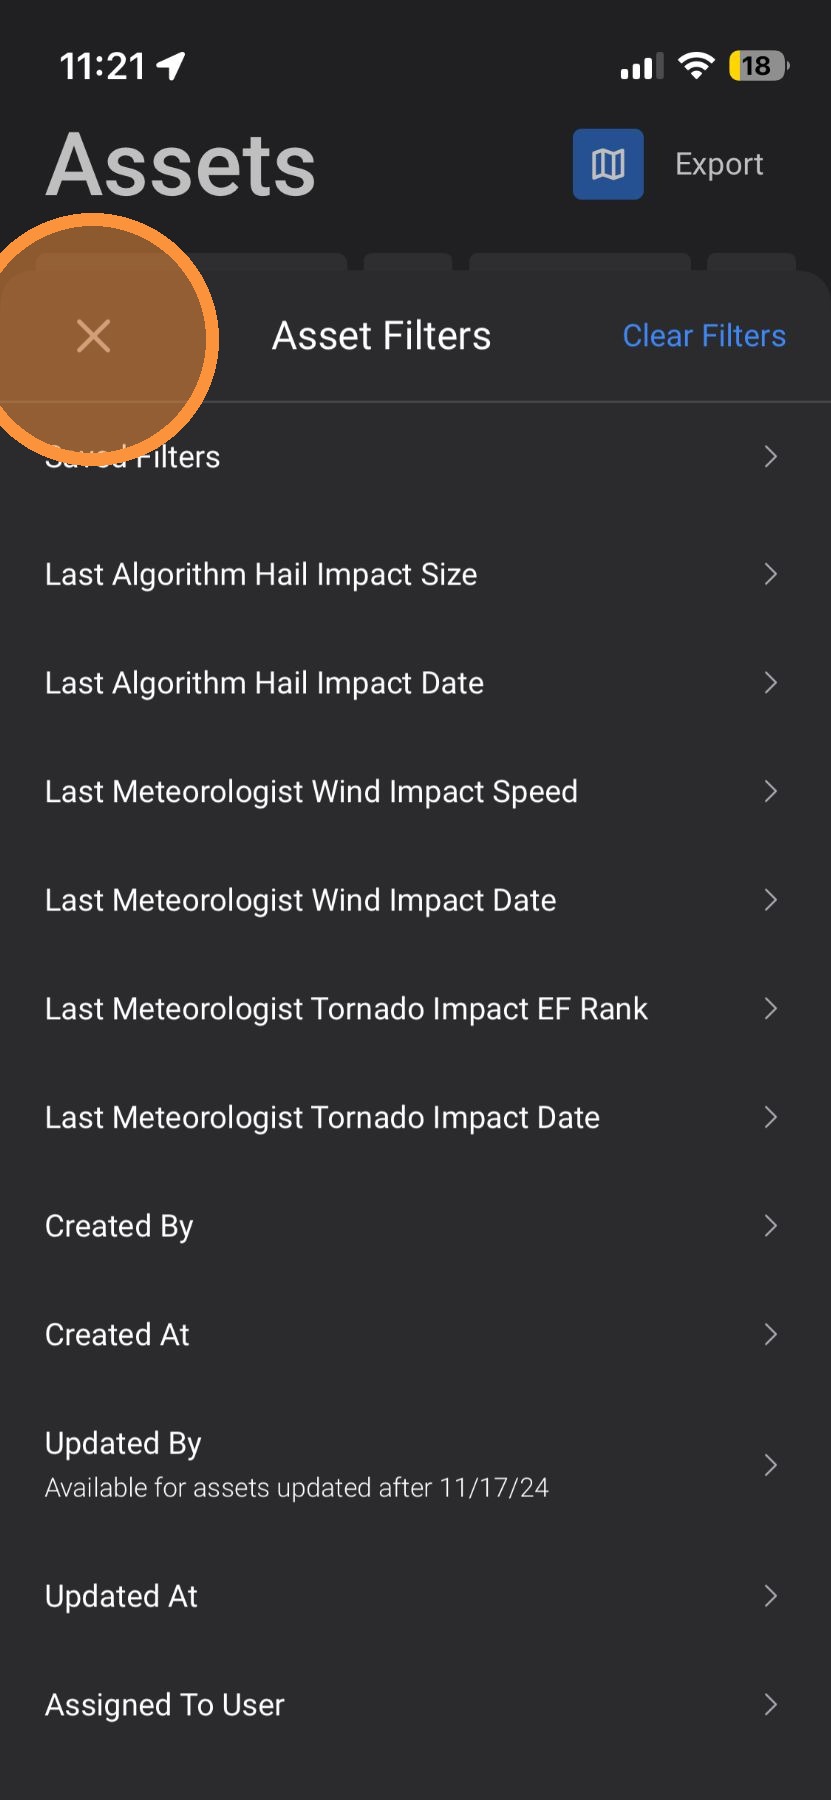
8. Tap "X" to close the asset filters and view your assets
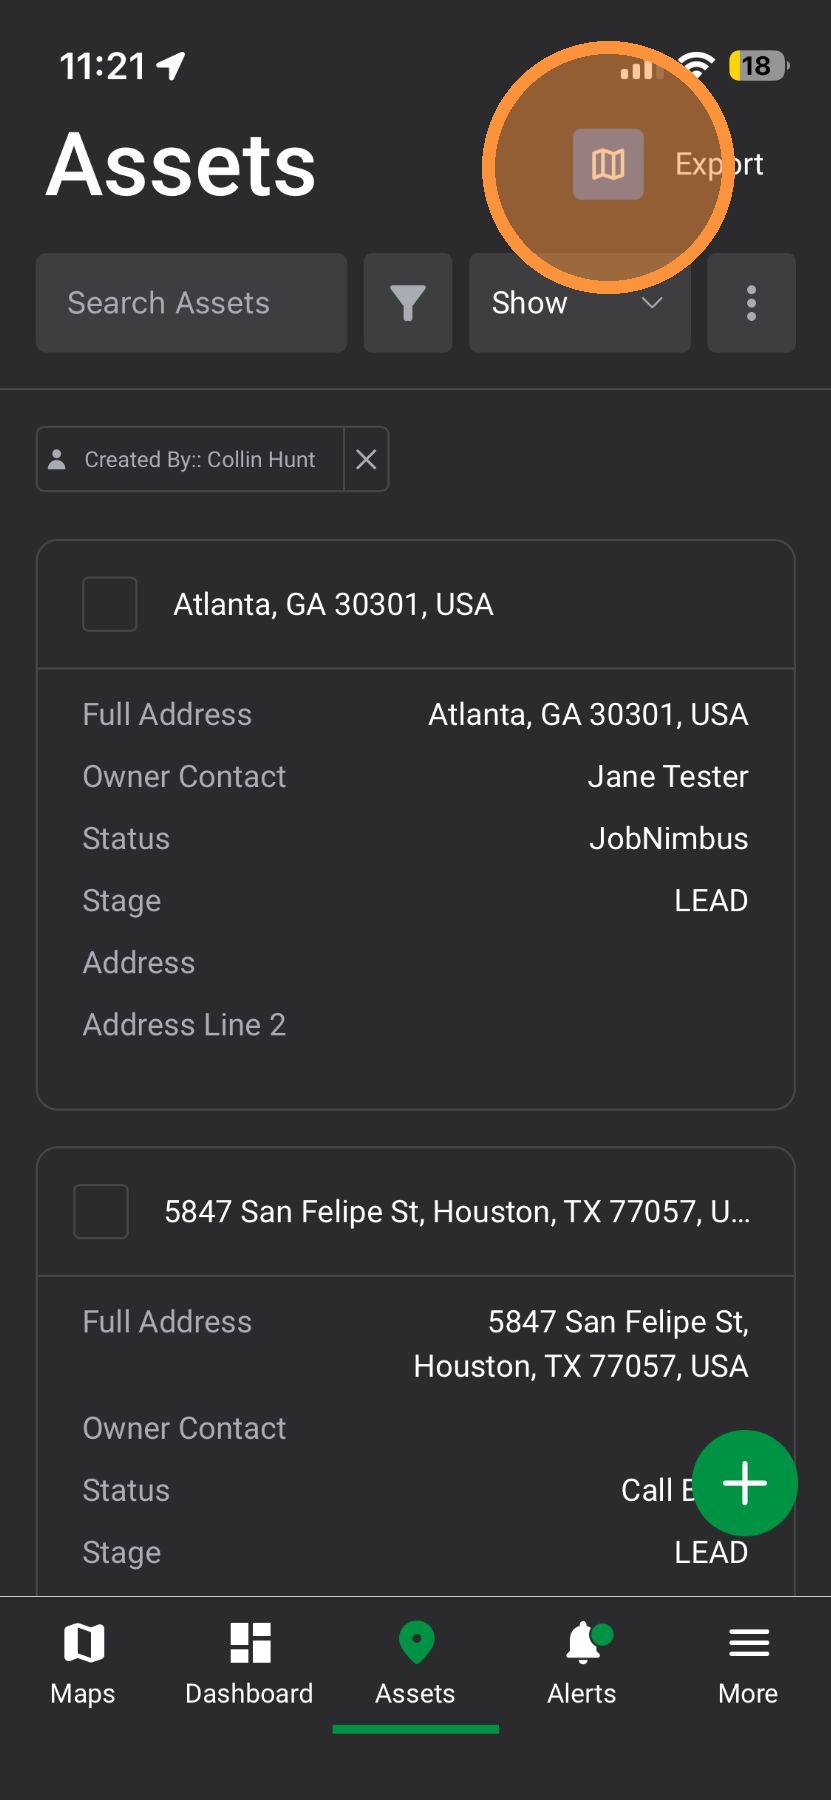
View Assets on Map page
9. Tap "View Map" to see your filters assets on the Map page
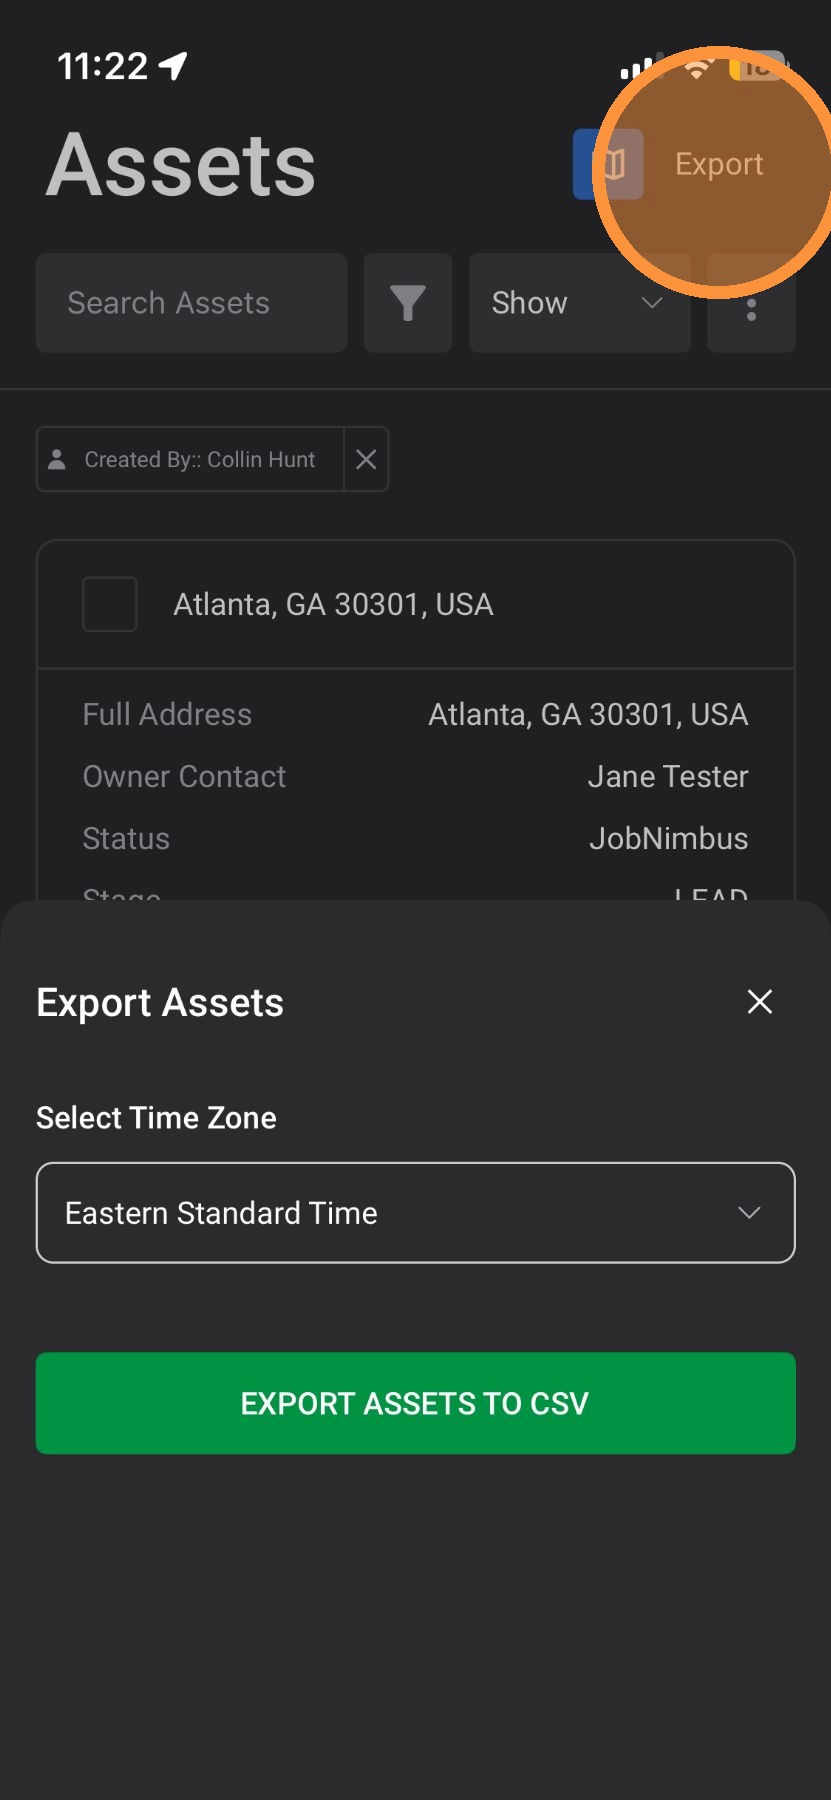
Export Filtered Assets
10. [[ ]]Tap "Export" to download your filtered assets as a CSV file. You can use this list outside of HailTrace or add it to your CRM.
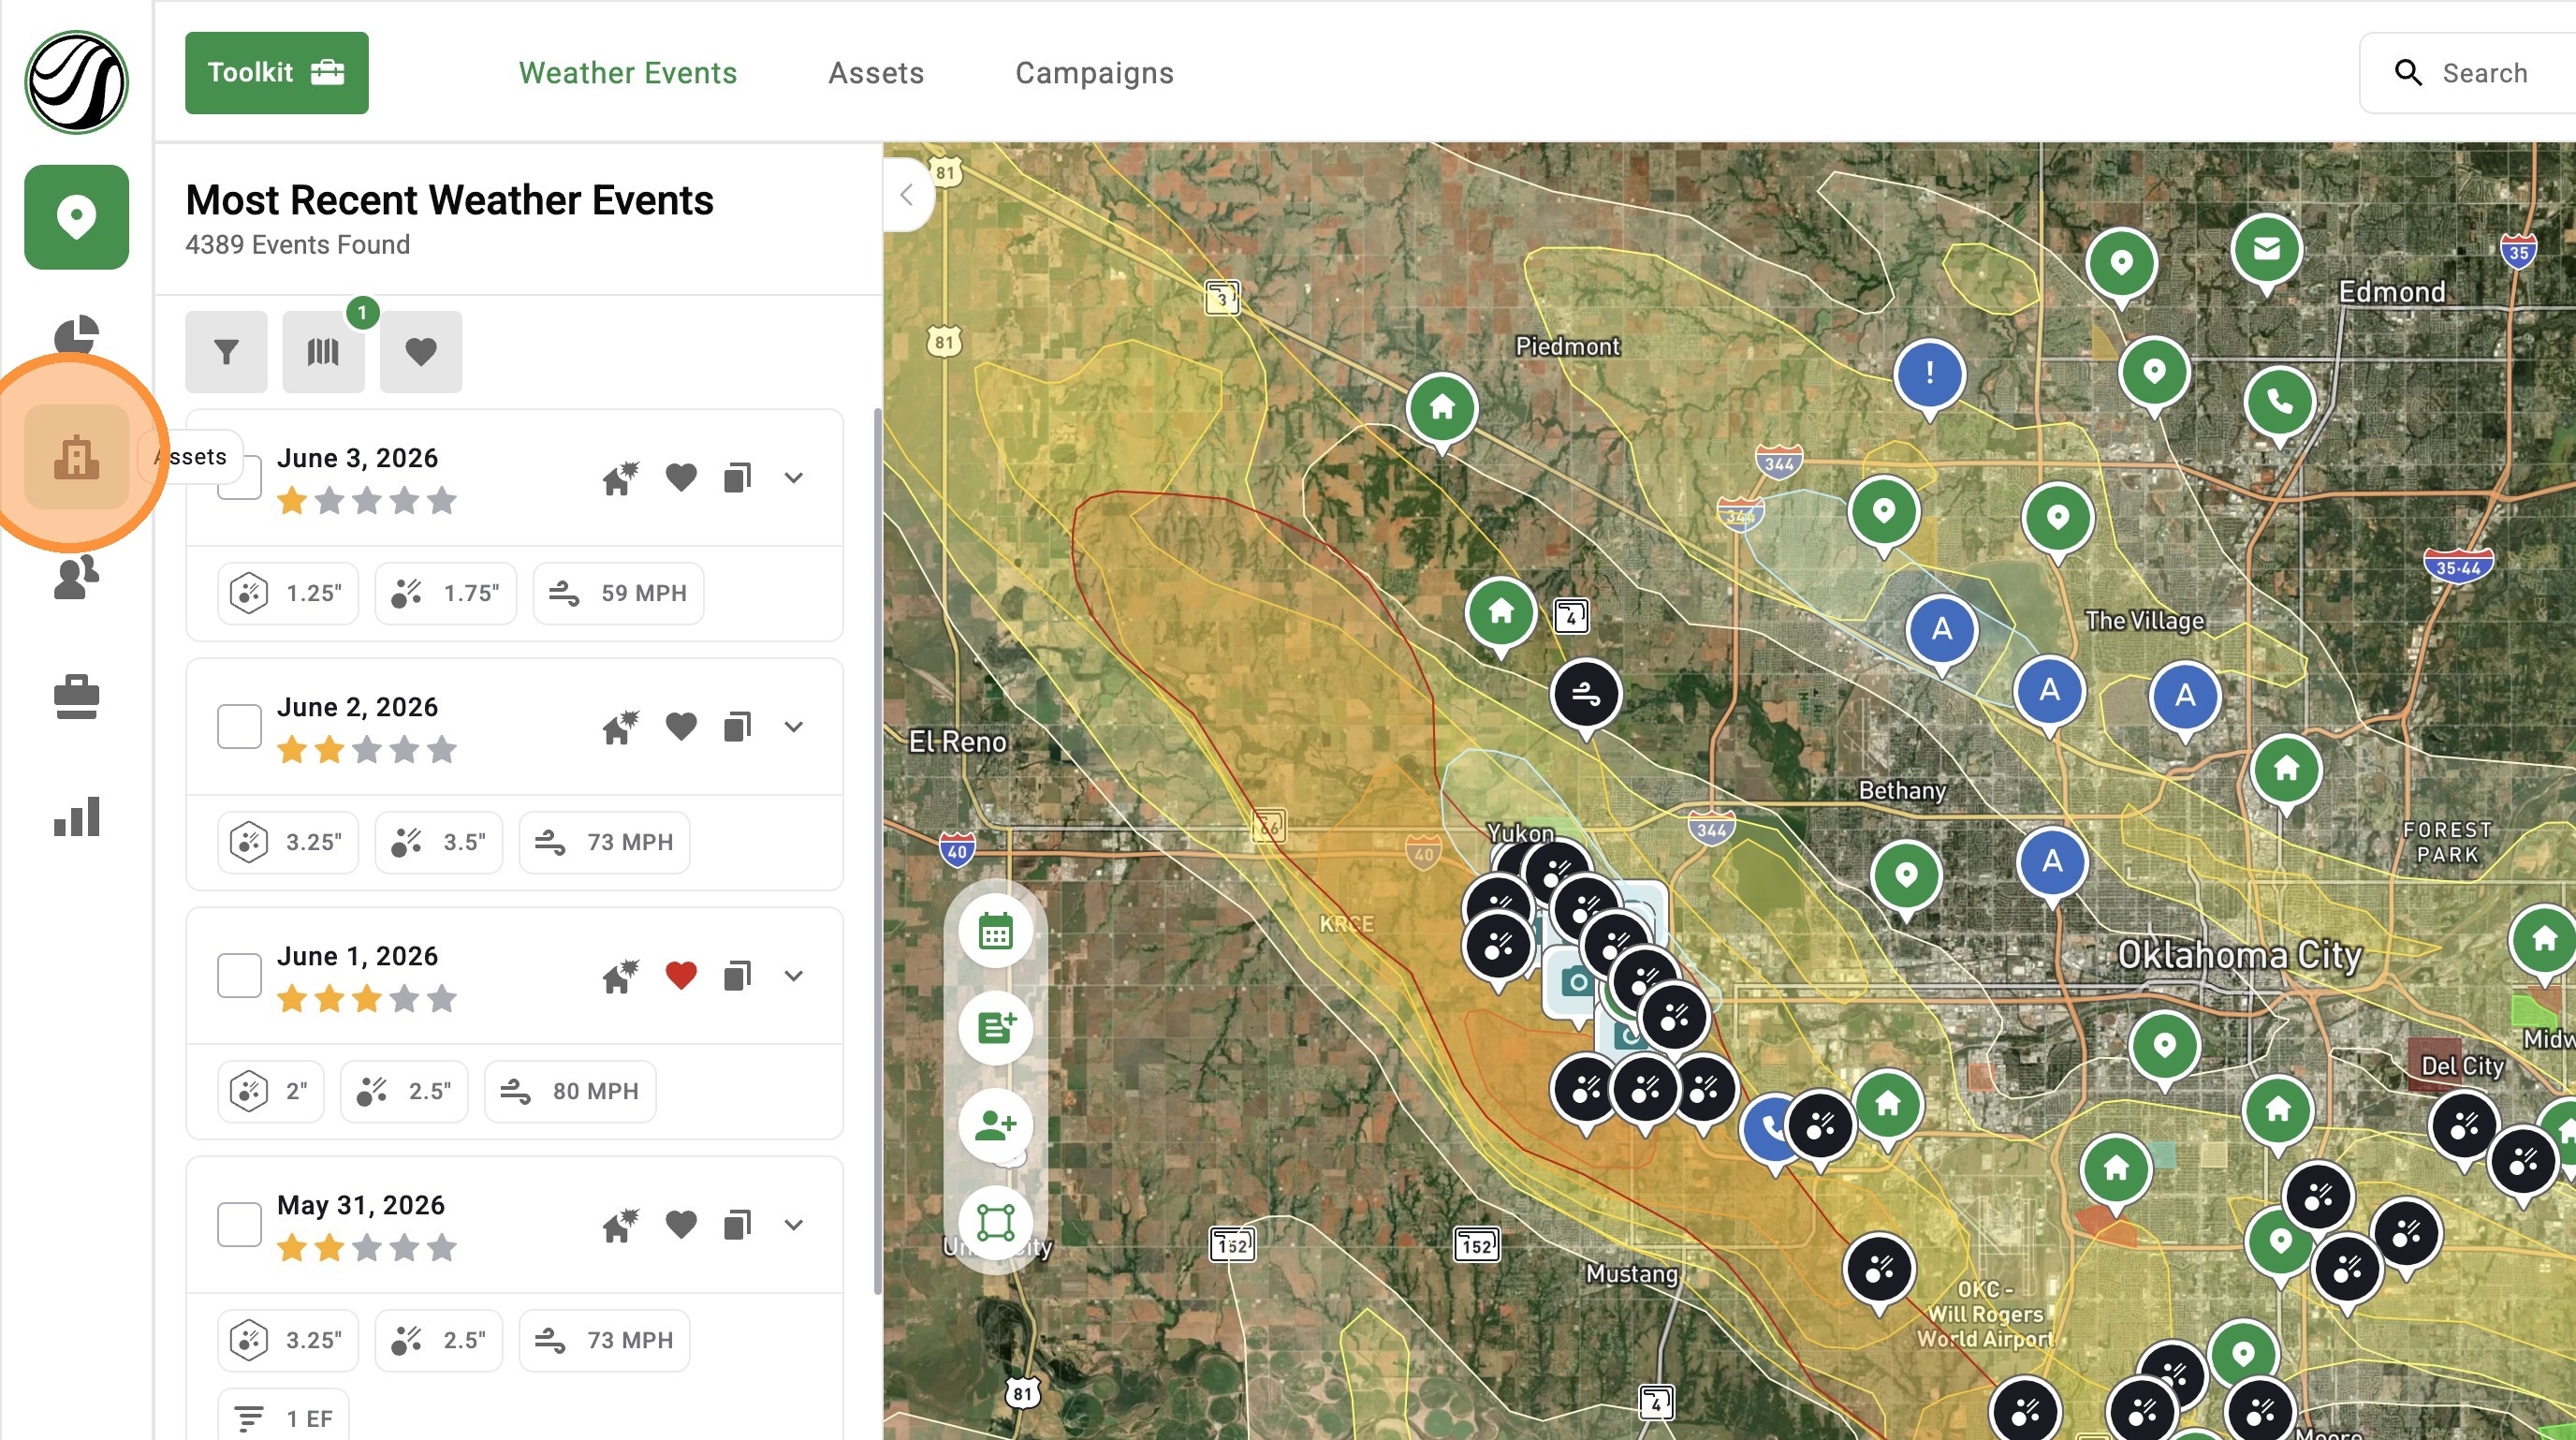
Using Map Page
Enable Filters
1. Tap Navigation Panel
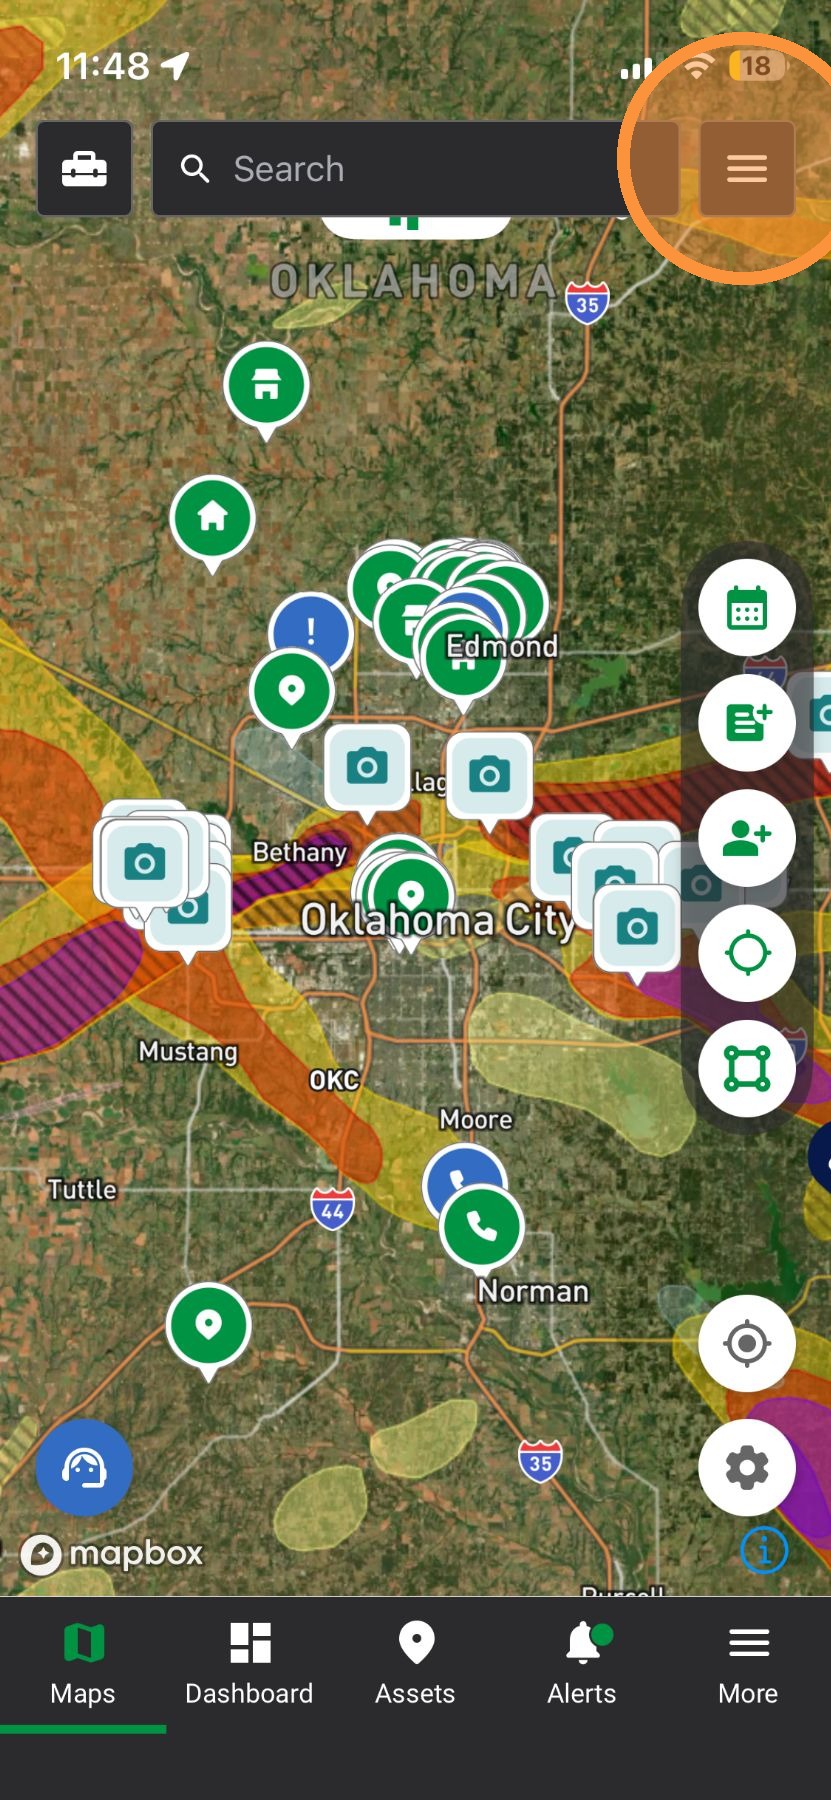
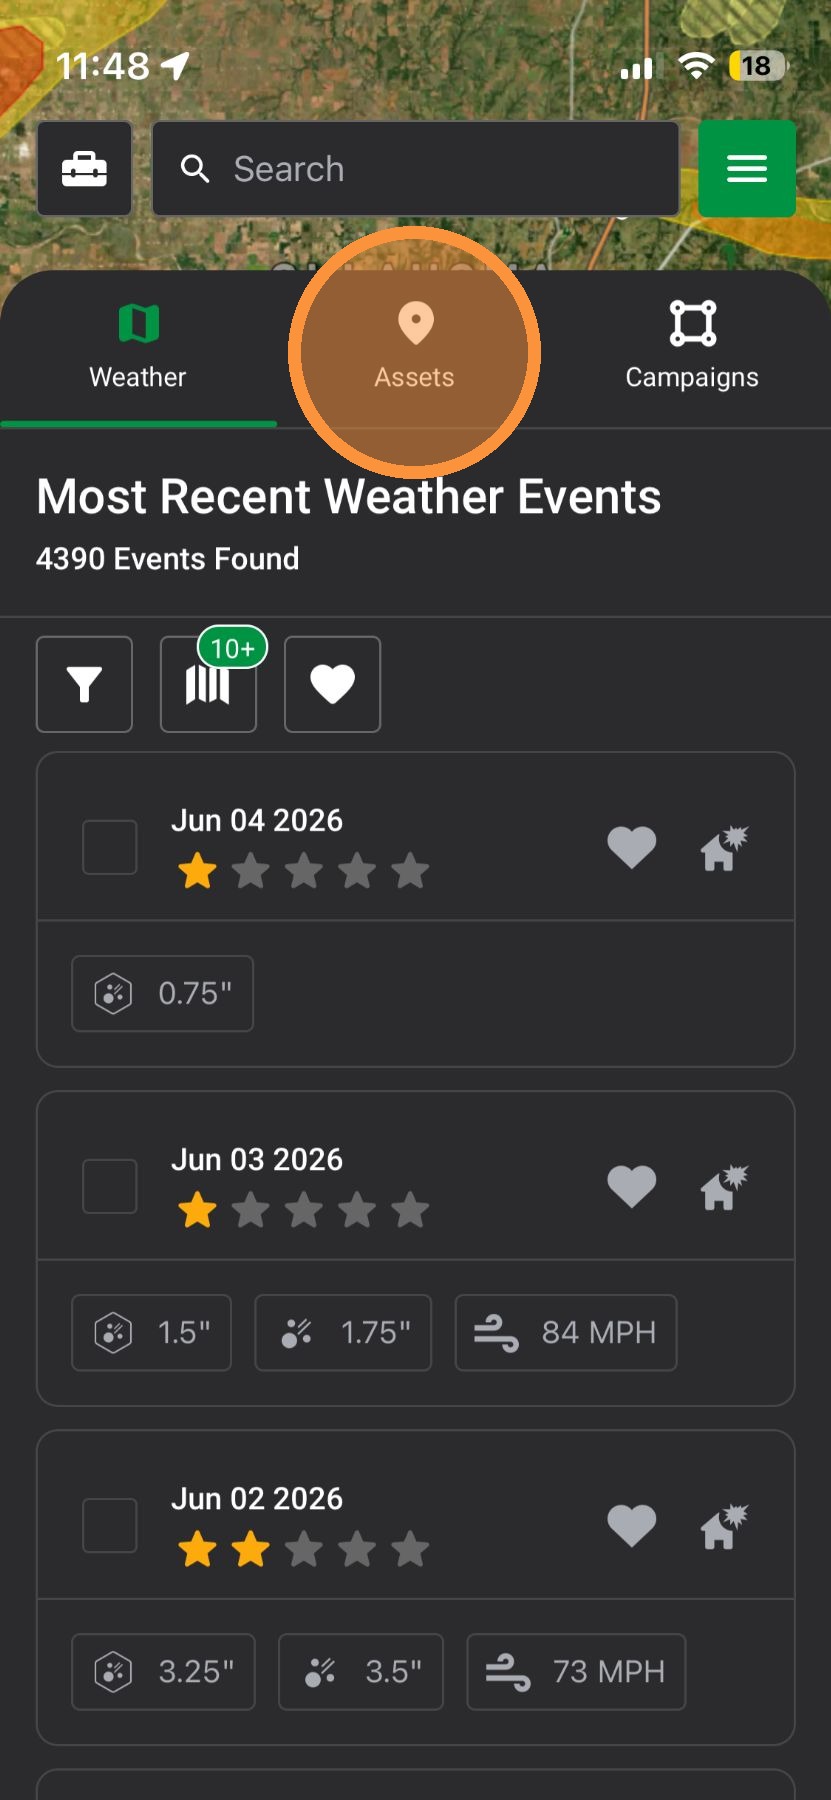
2. Tap "Assets" panel
3. Tap "Filters" button
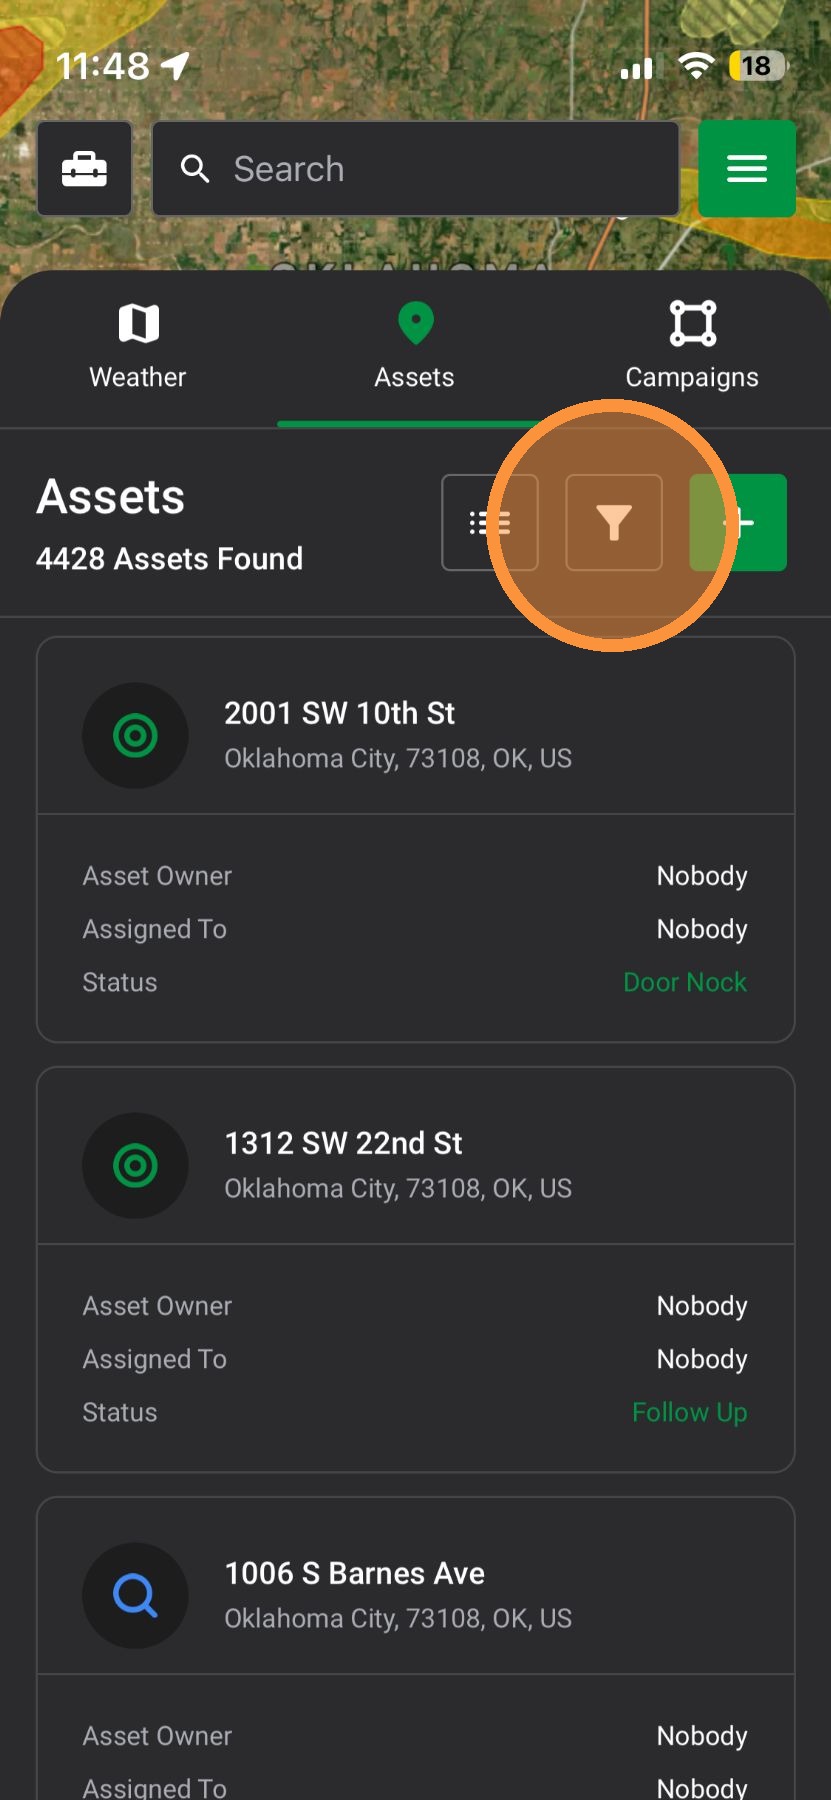
4. Select a saved filter or apply a variety of filters
5. For example, select "Created By" to see all assets create by a user(s)
6. Tap the bar to view users
7. Select one or more users

8. Tap "Apply Filter"
9. Tap back arrow to close filters
View Asset on Asset page
10. Select "Table View" to view all your assets on the Asset page
Browser App: Steps To Enabling Asset Filters
Using Asset Page
Enable Filters
1. Select the "Assets" Page
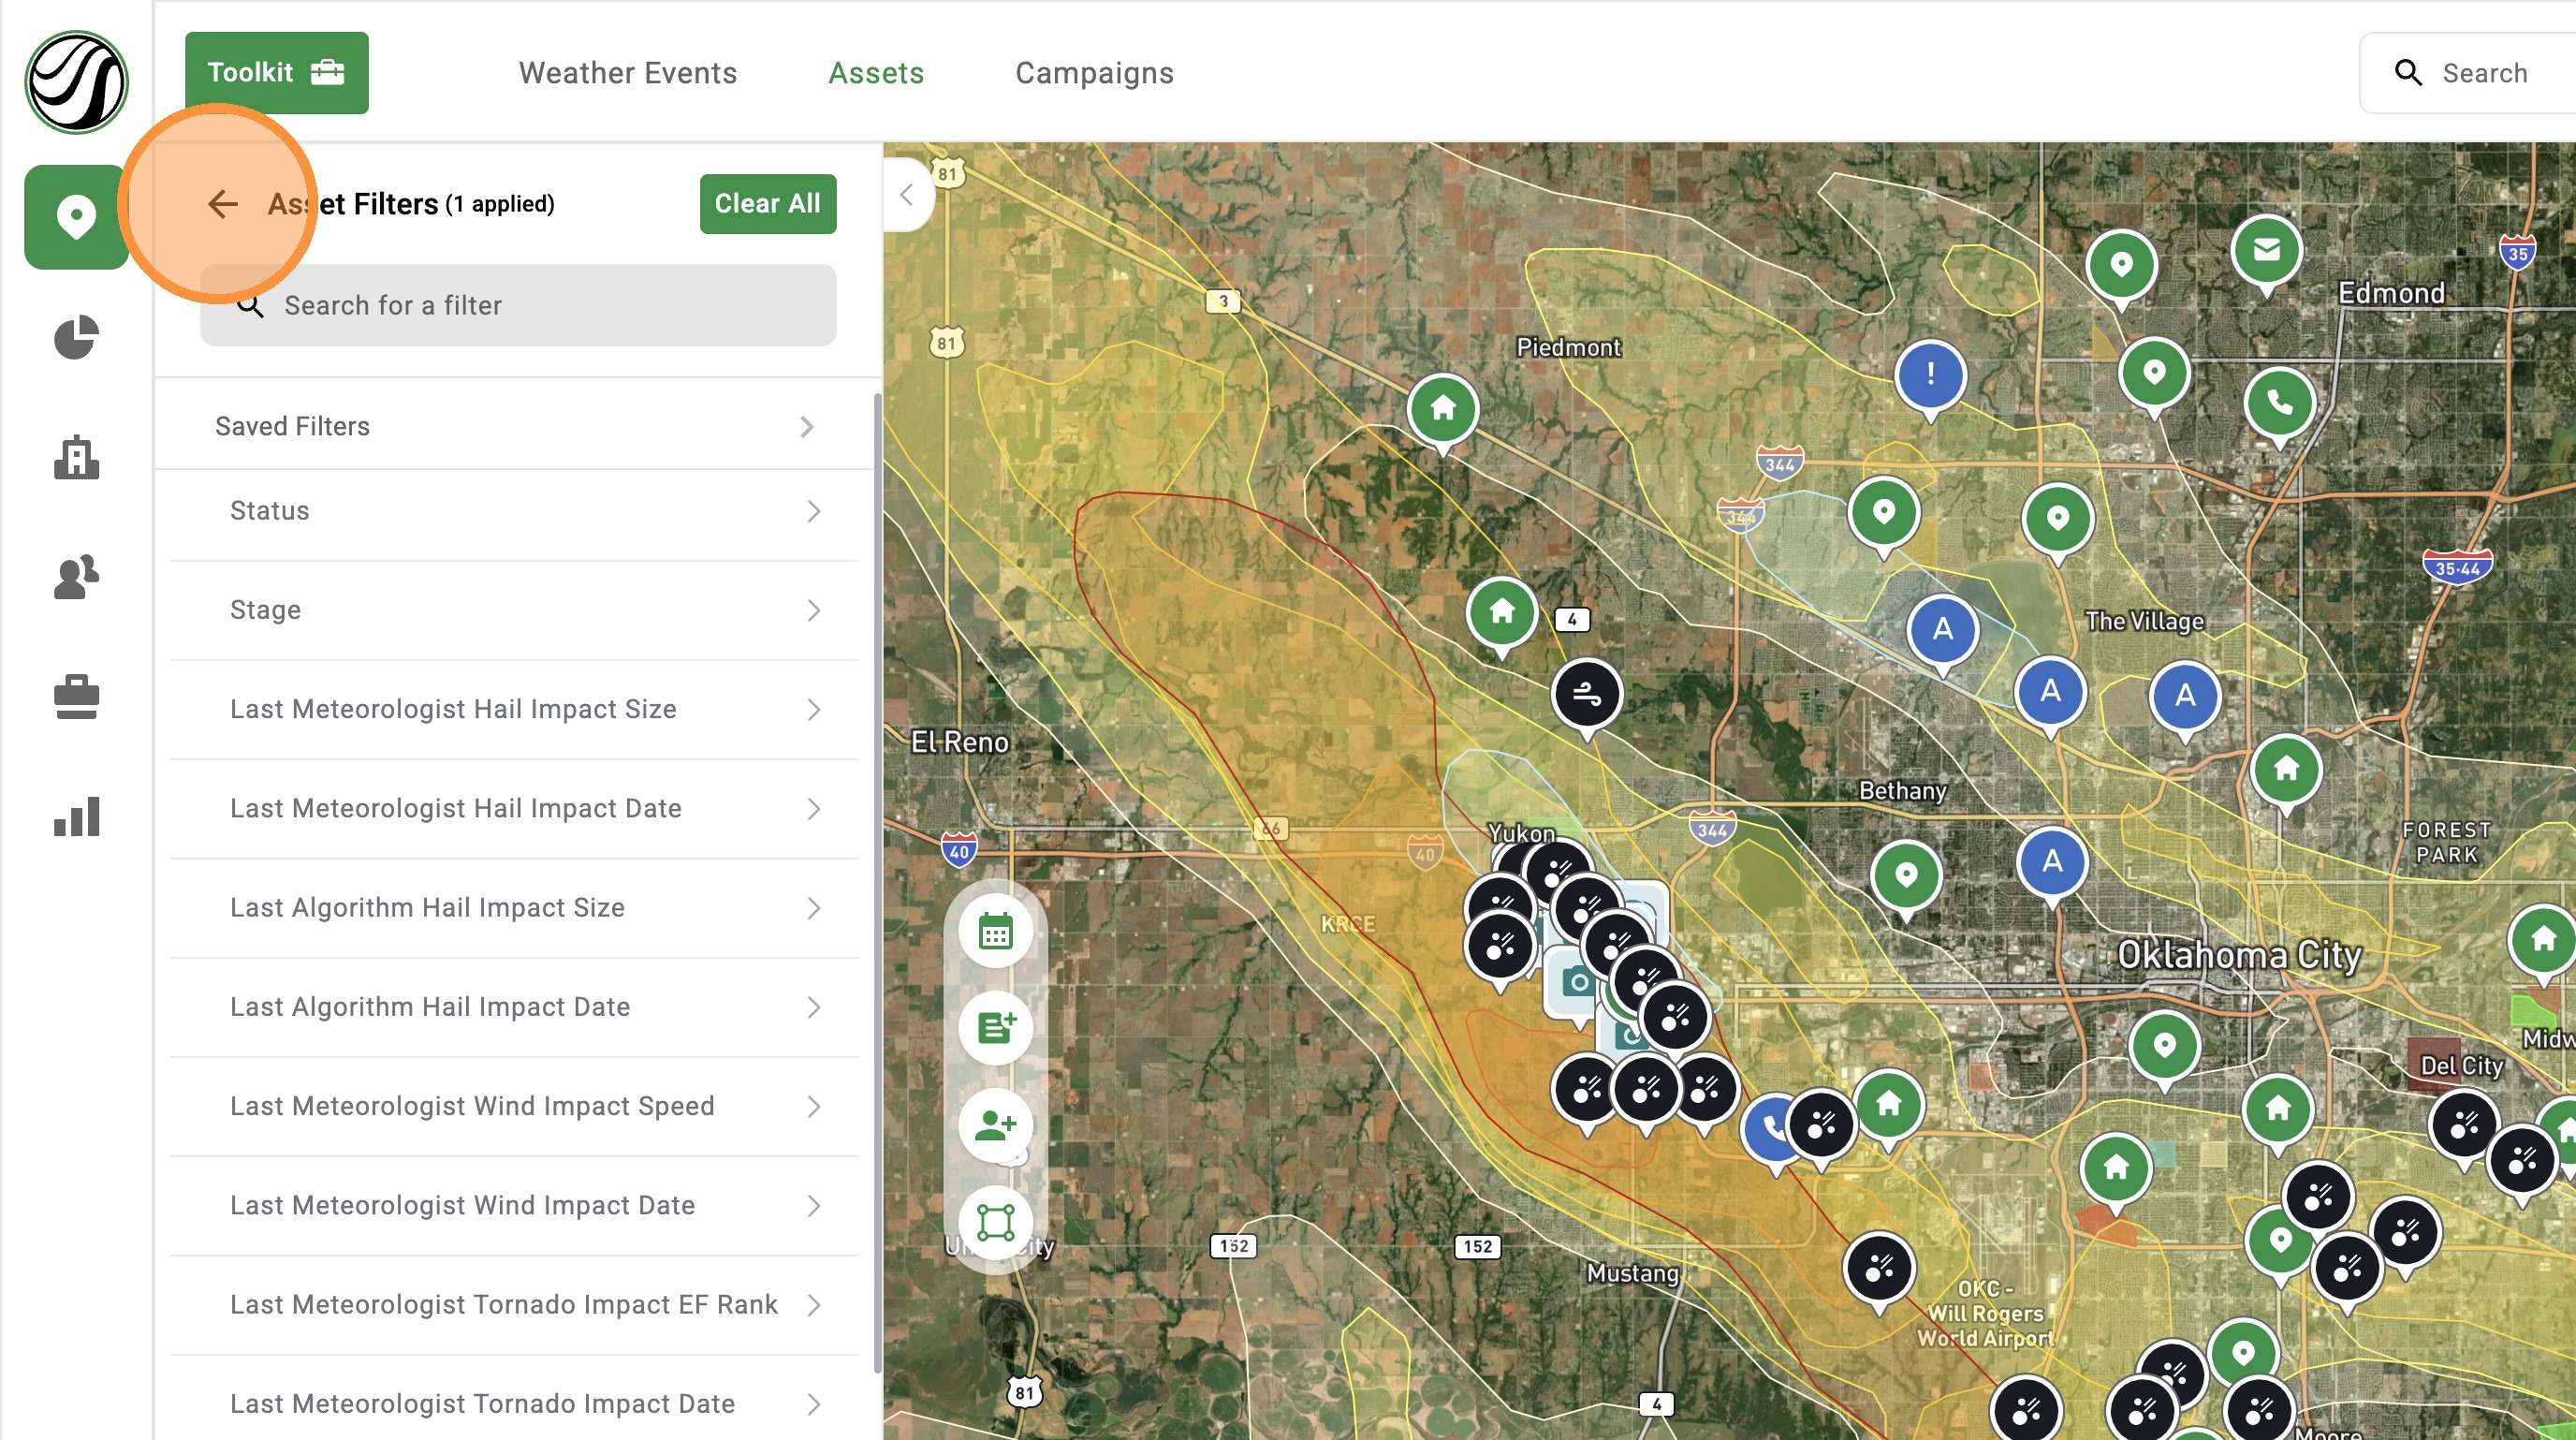
2. Click "Filters" button
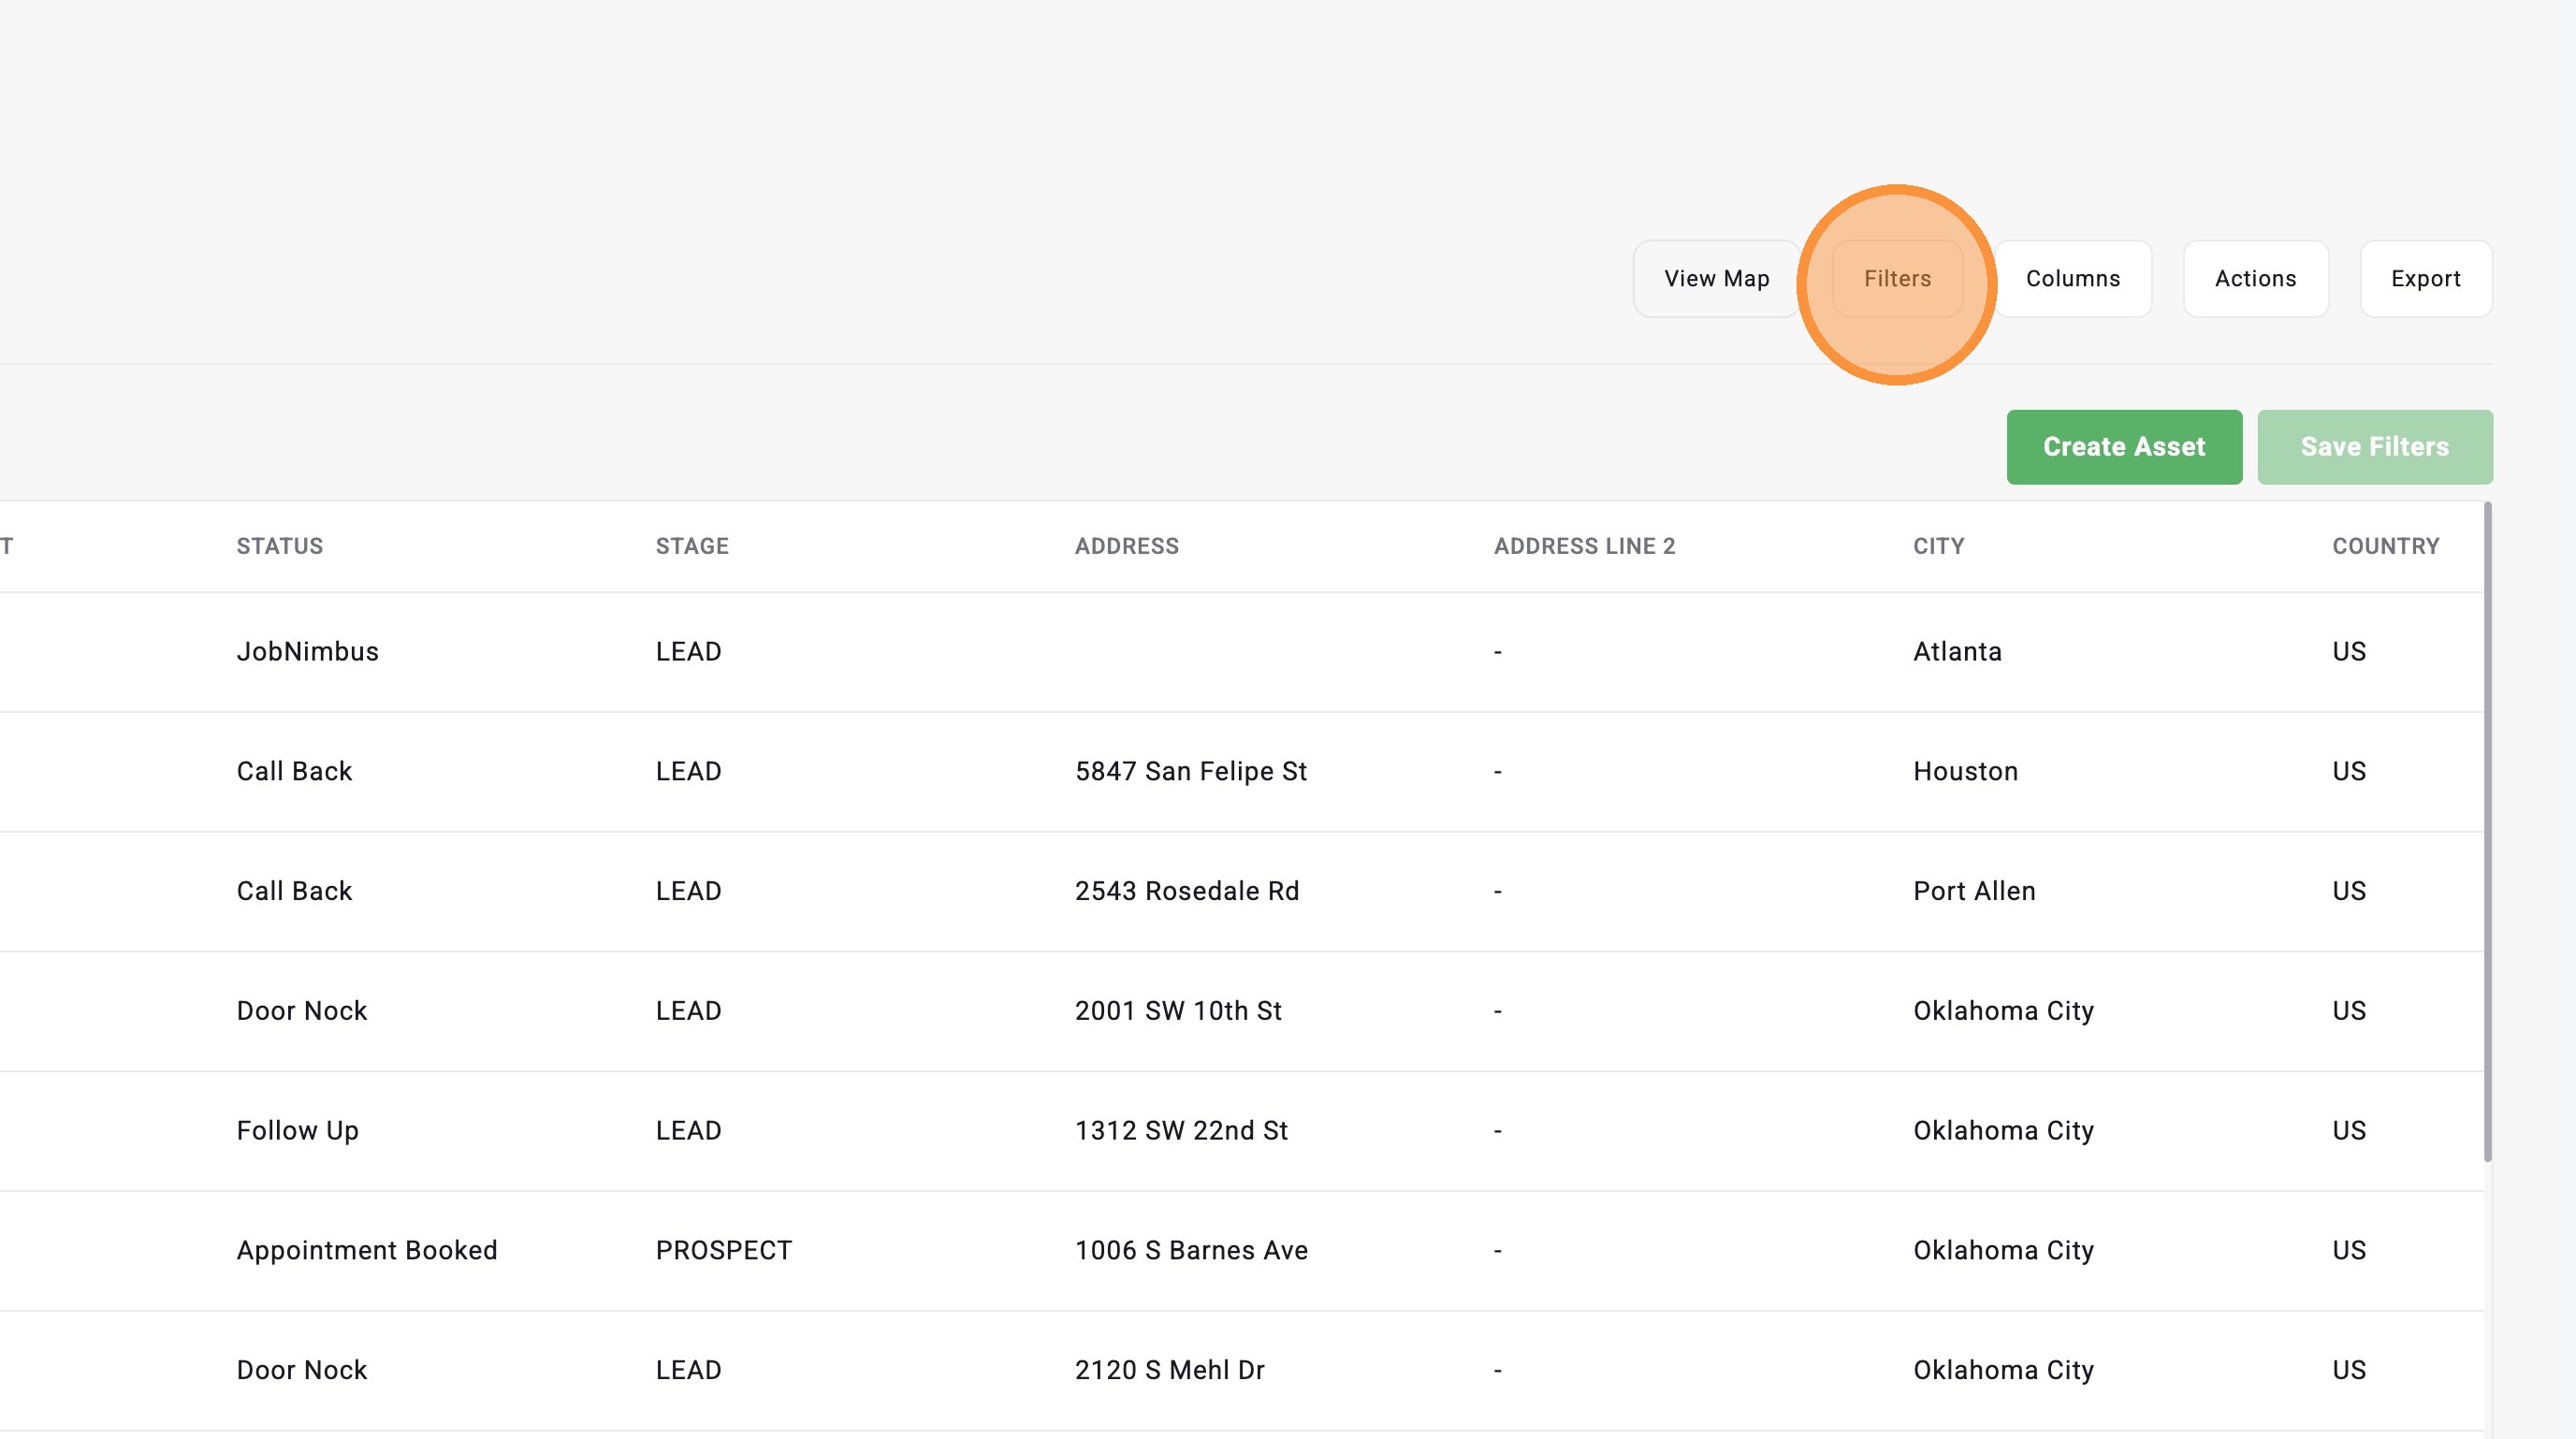
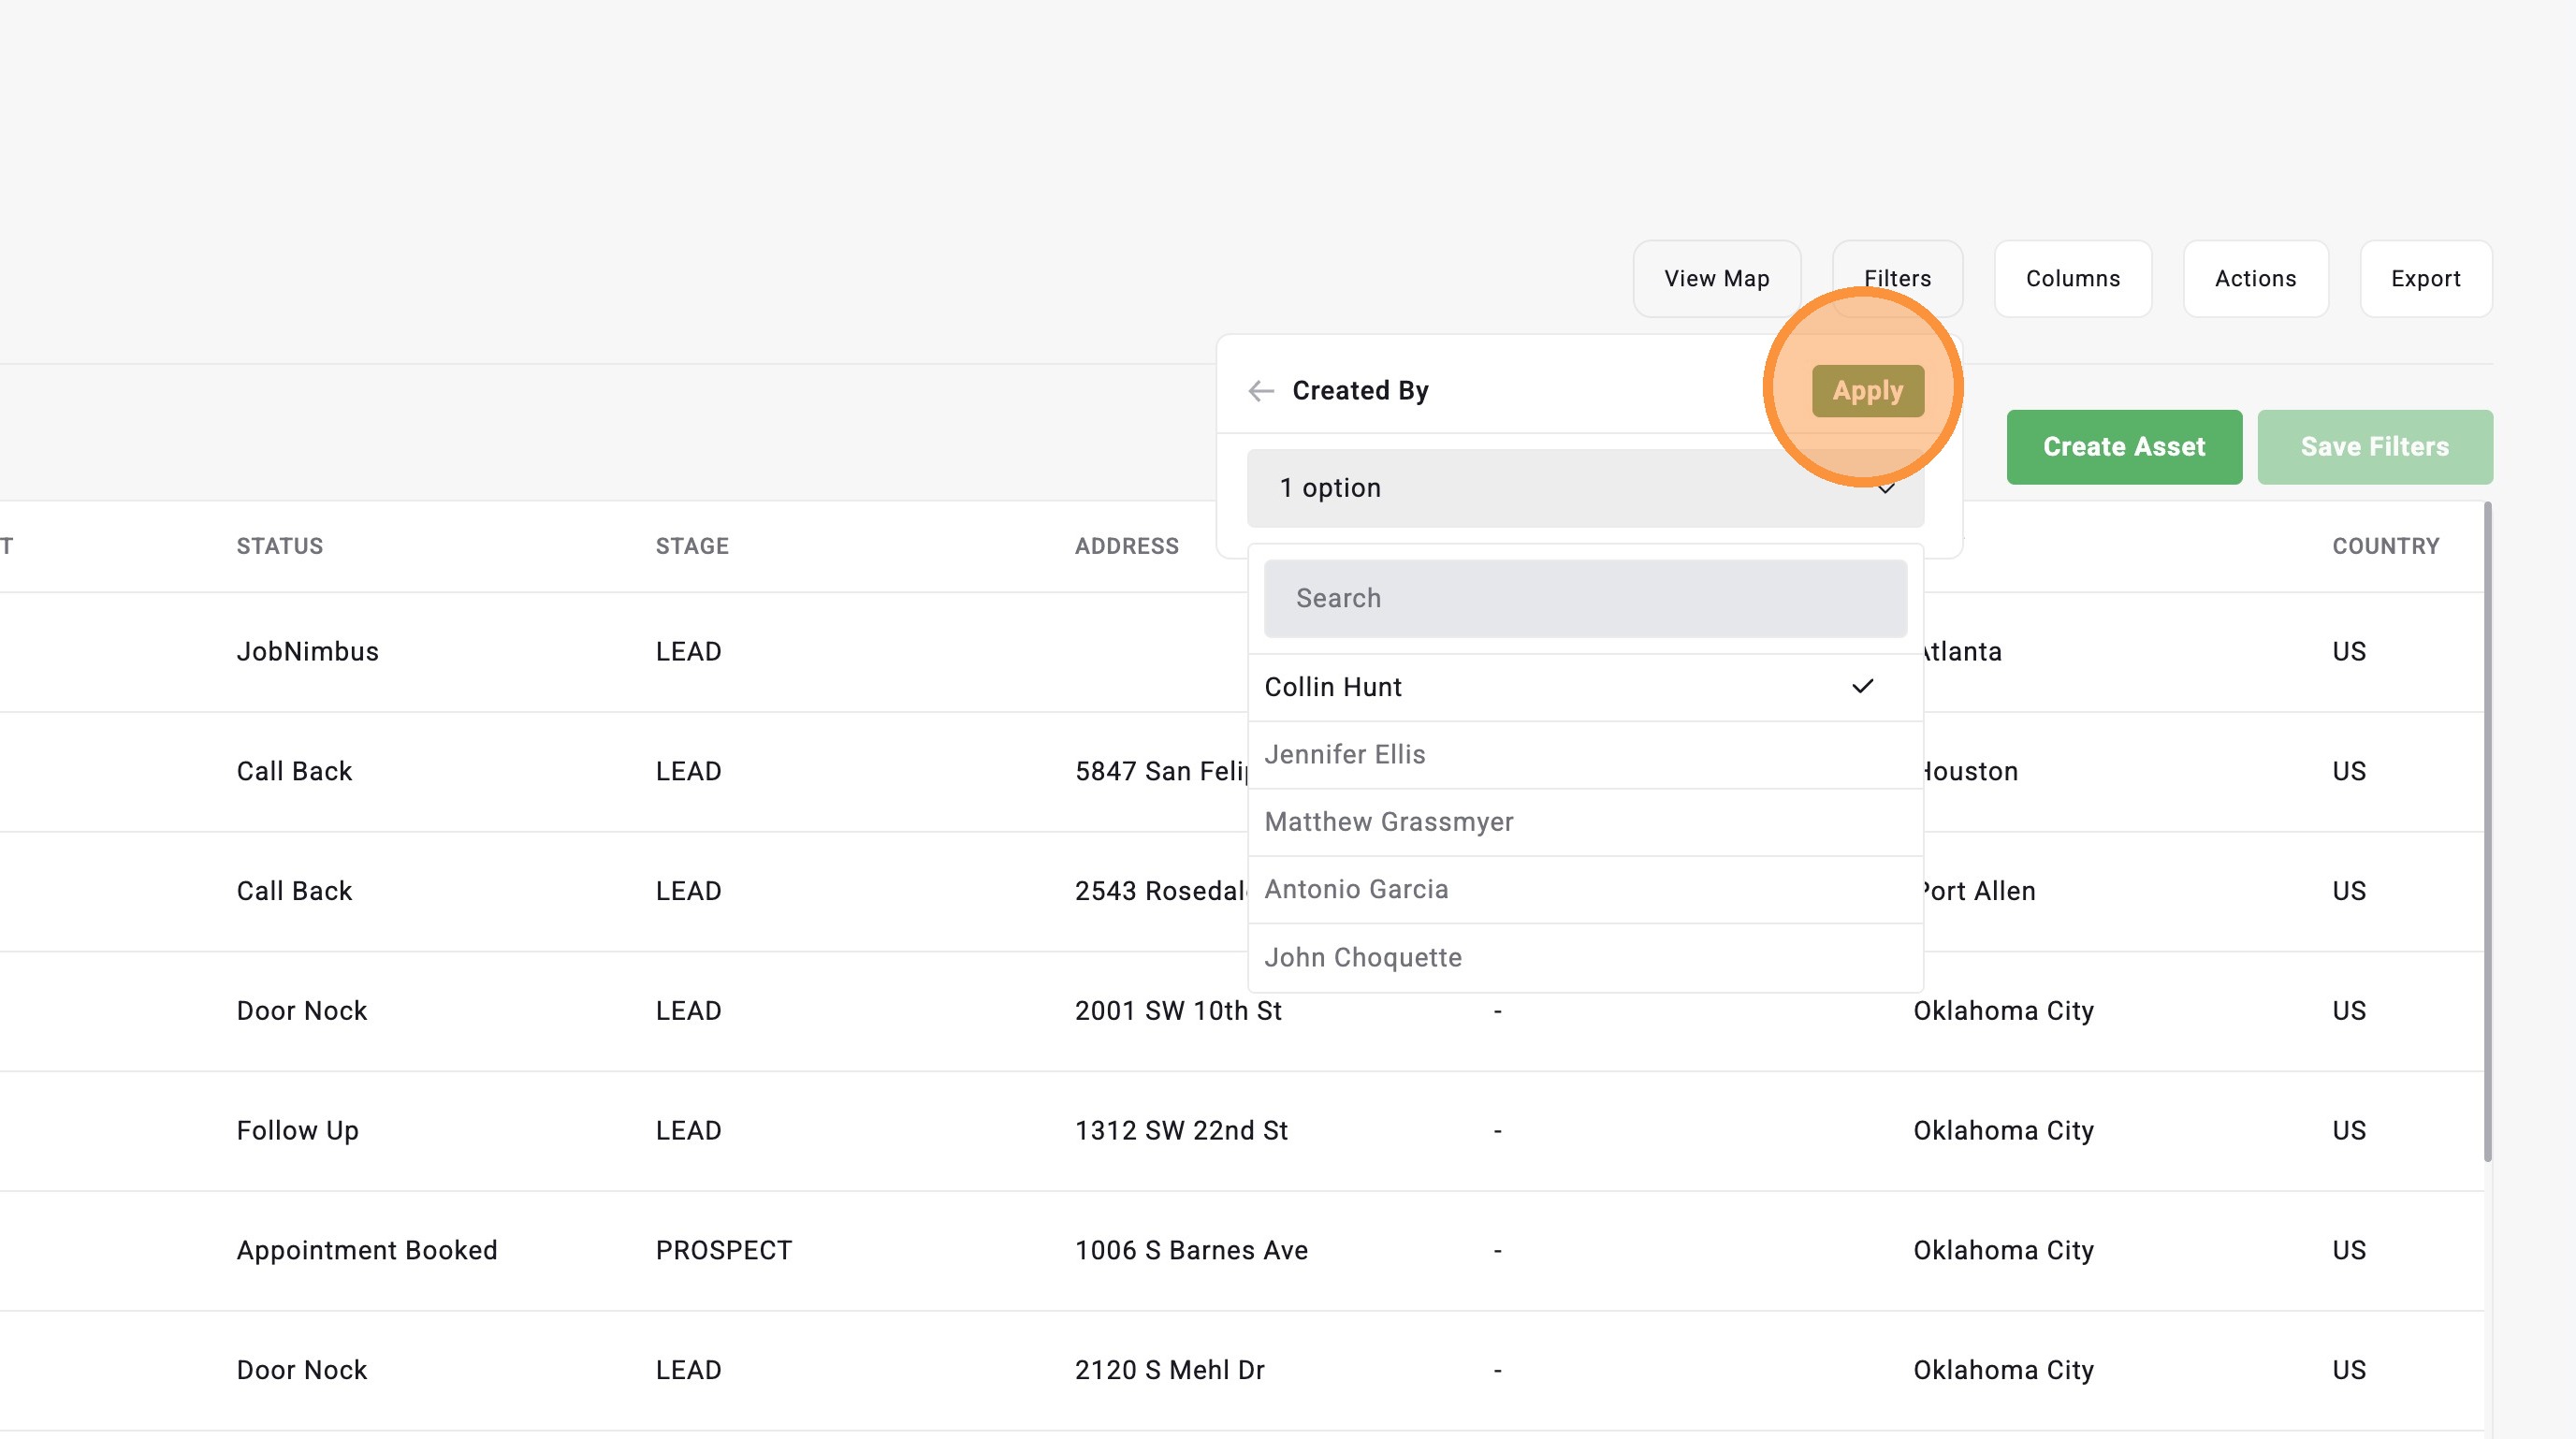
3. Select a saved filter or apply a variety of filters
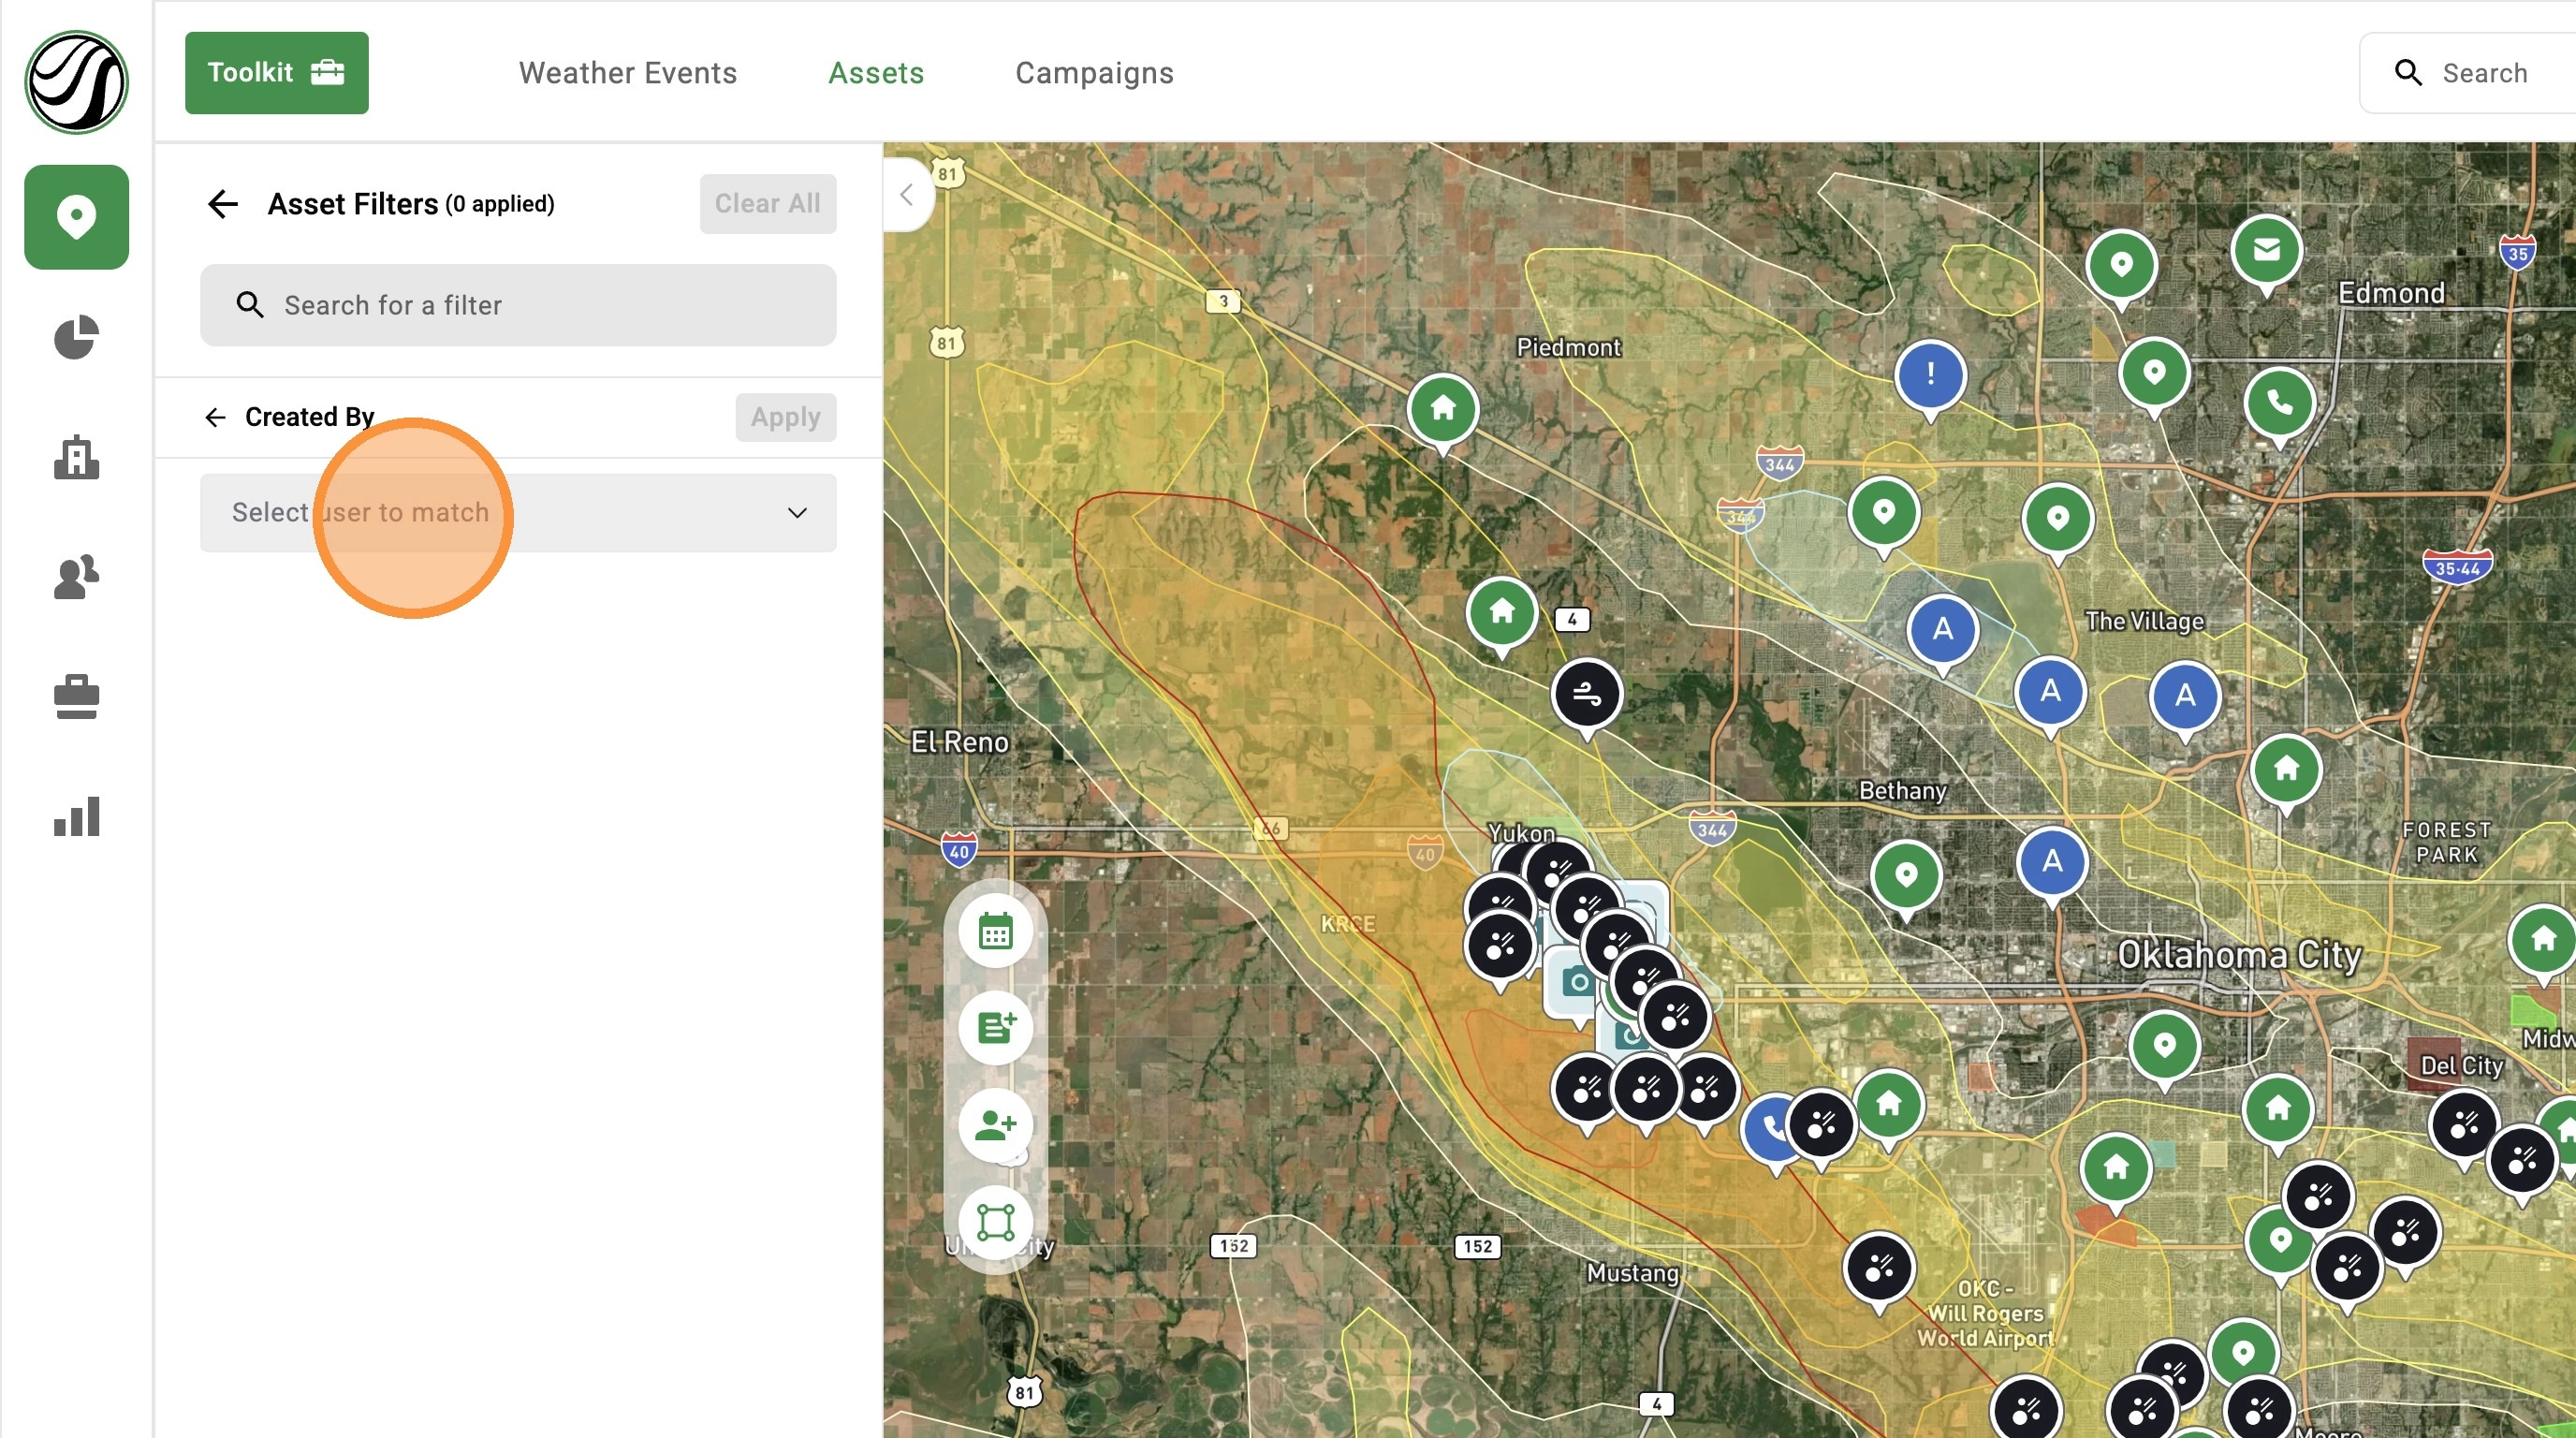
4. For example, select "Created By" to see all assets create by a user(s)
5. Click "Select user to match"
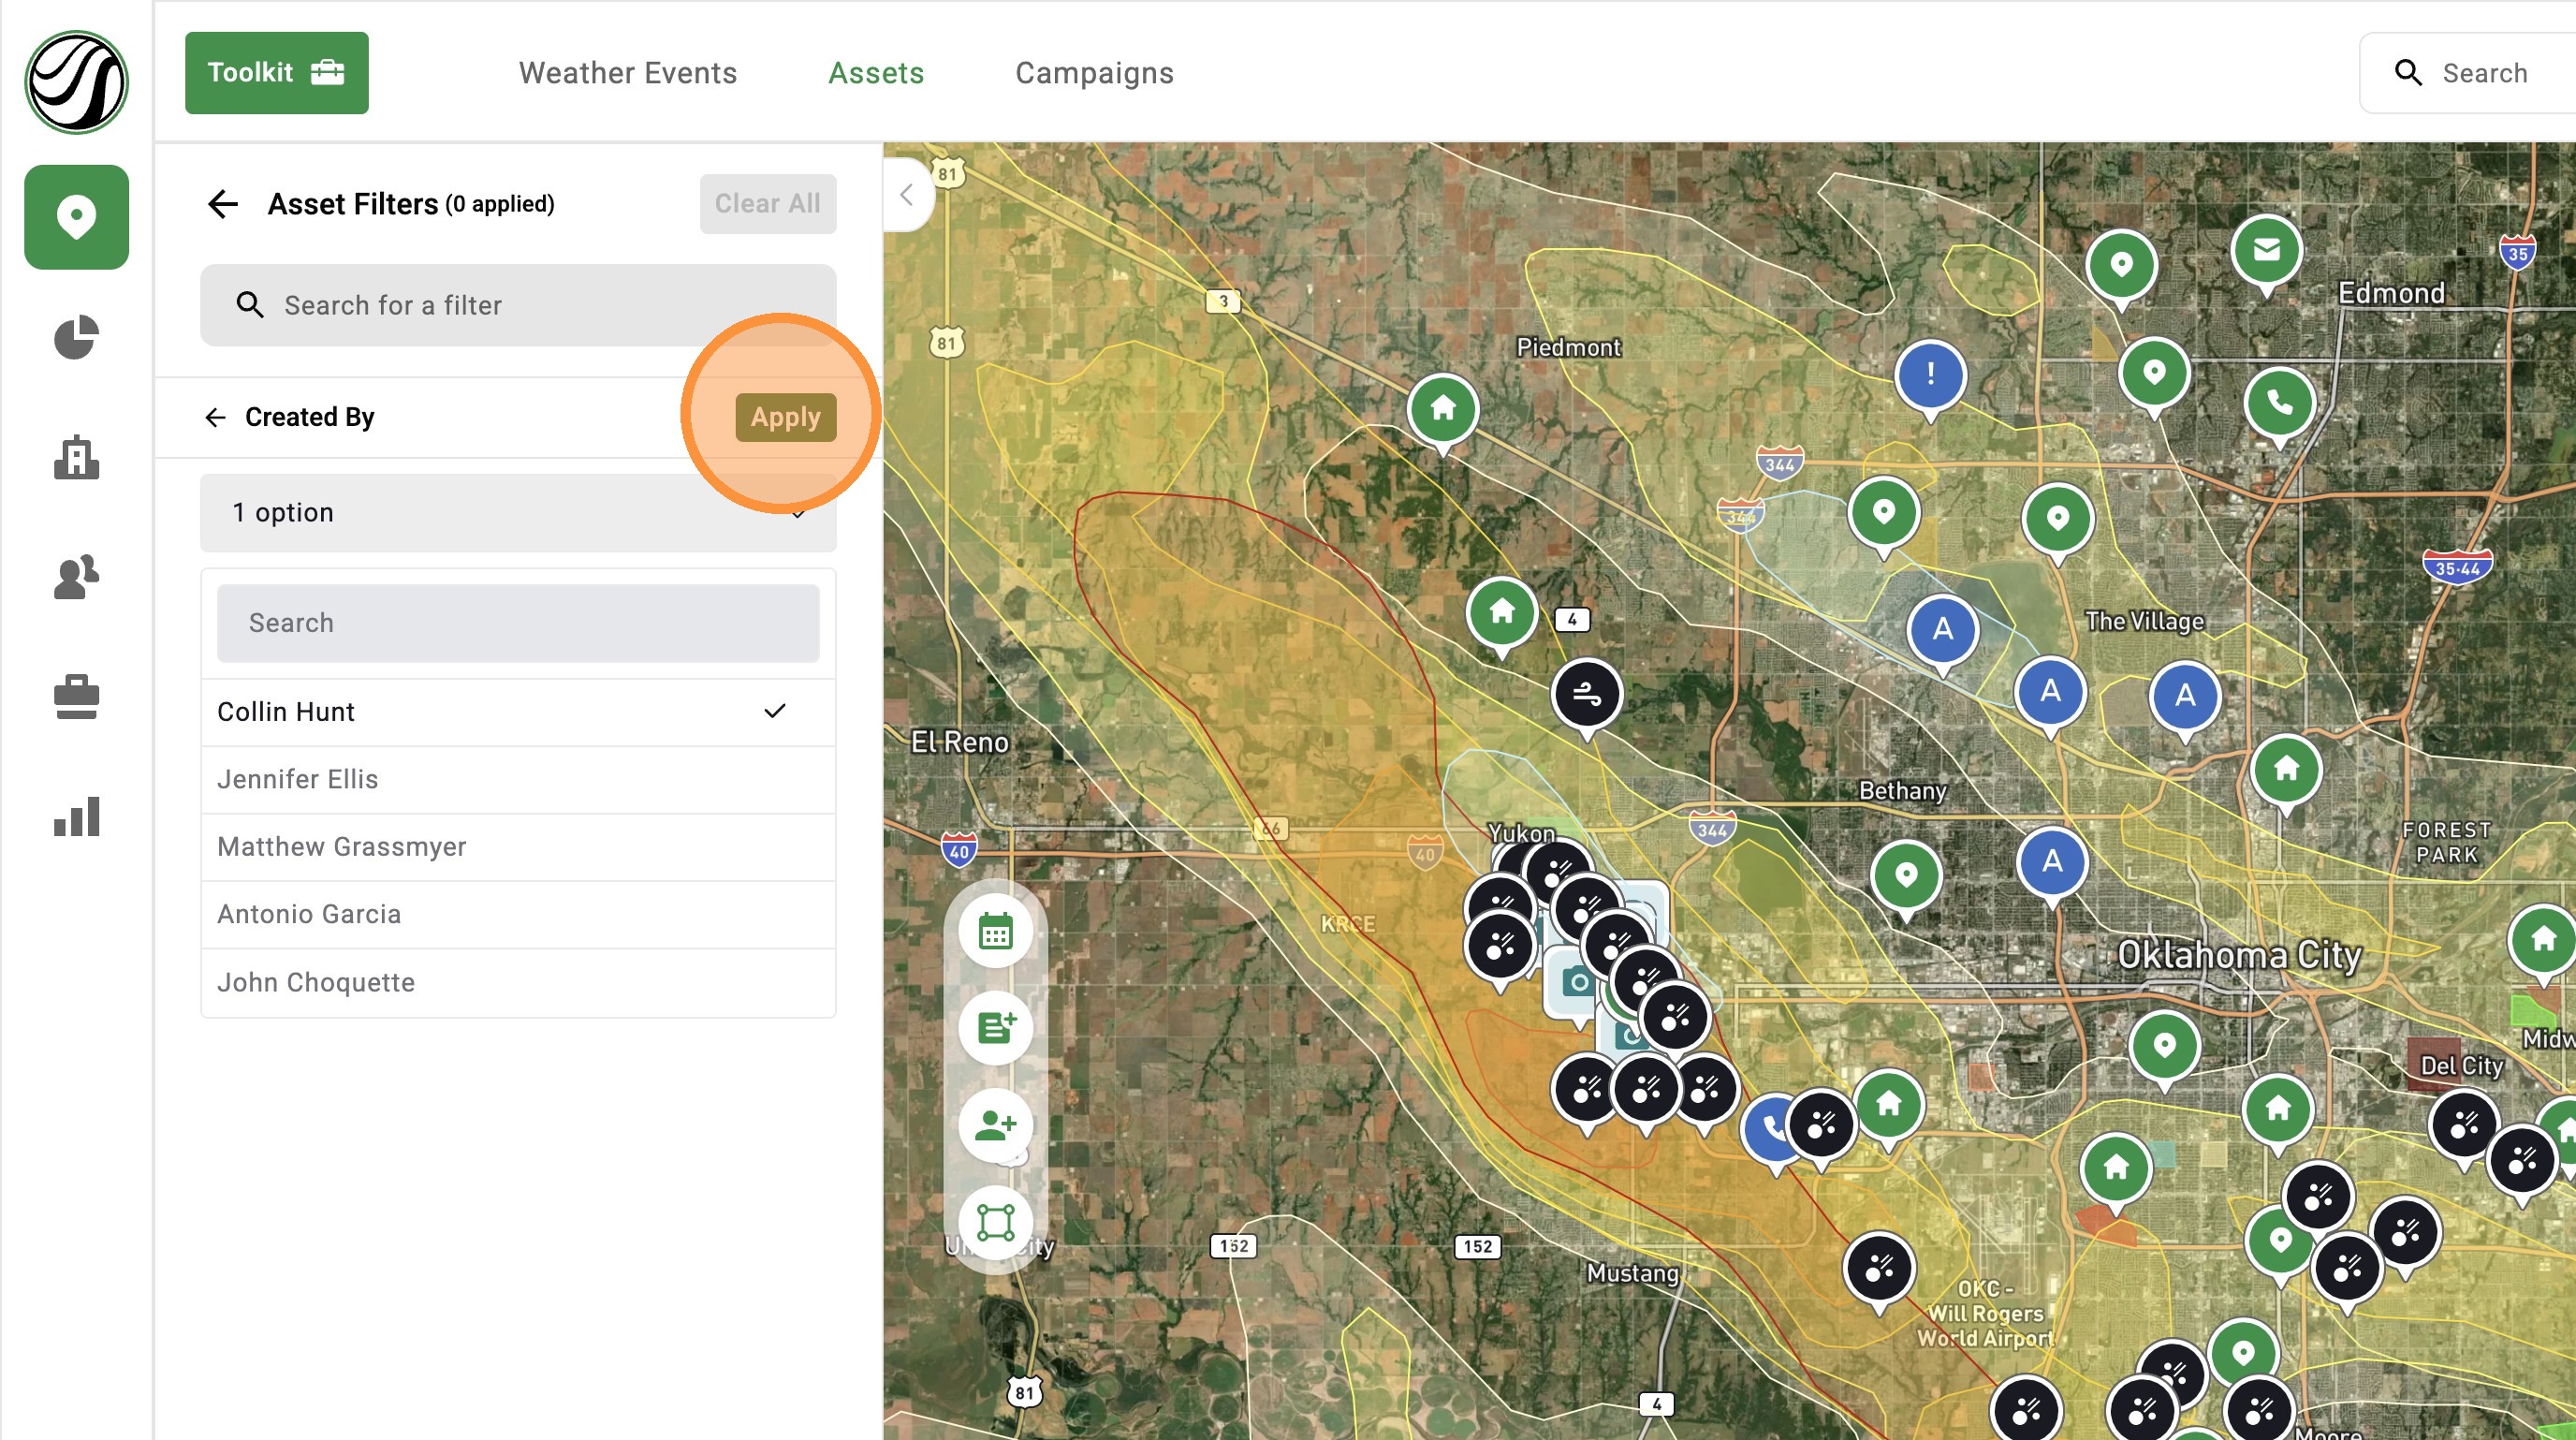
6. Select one or more users
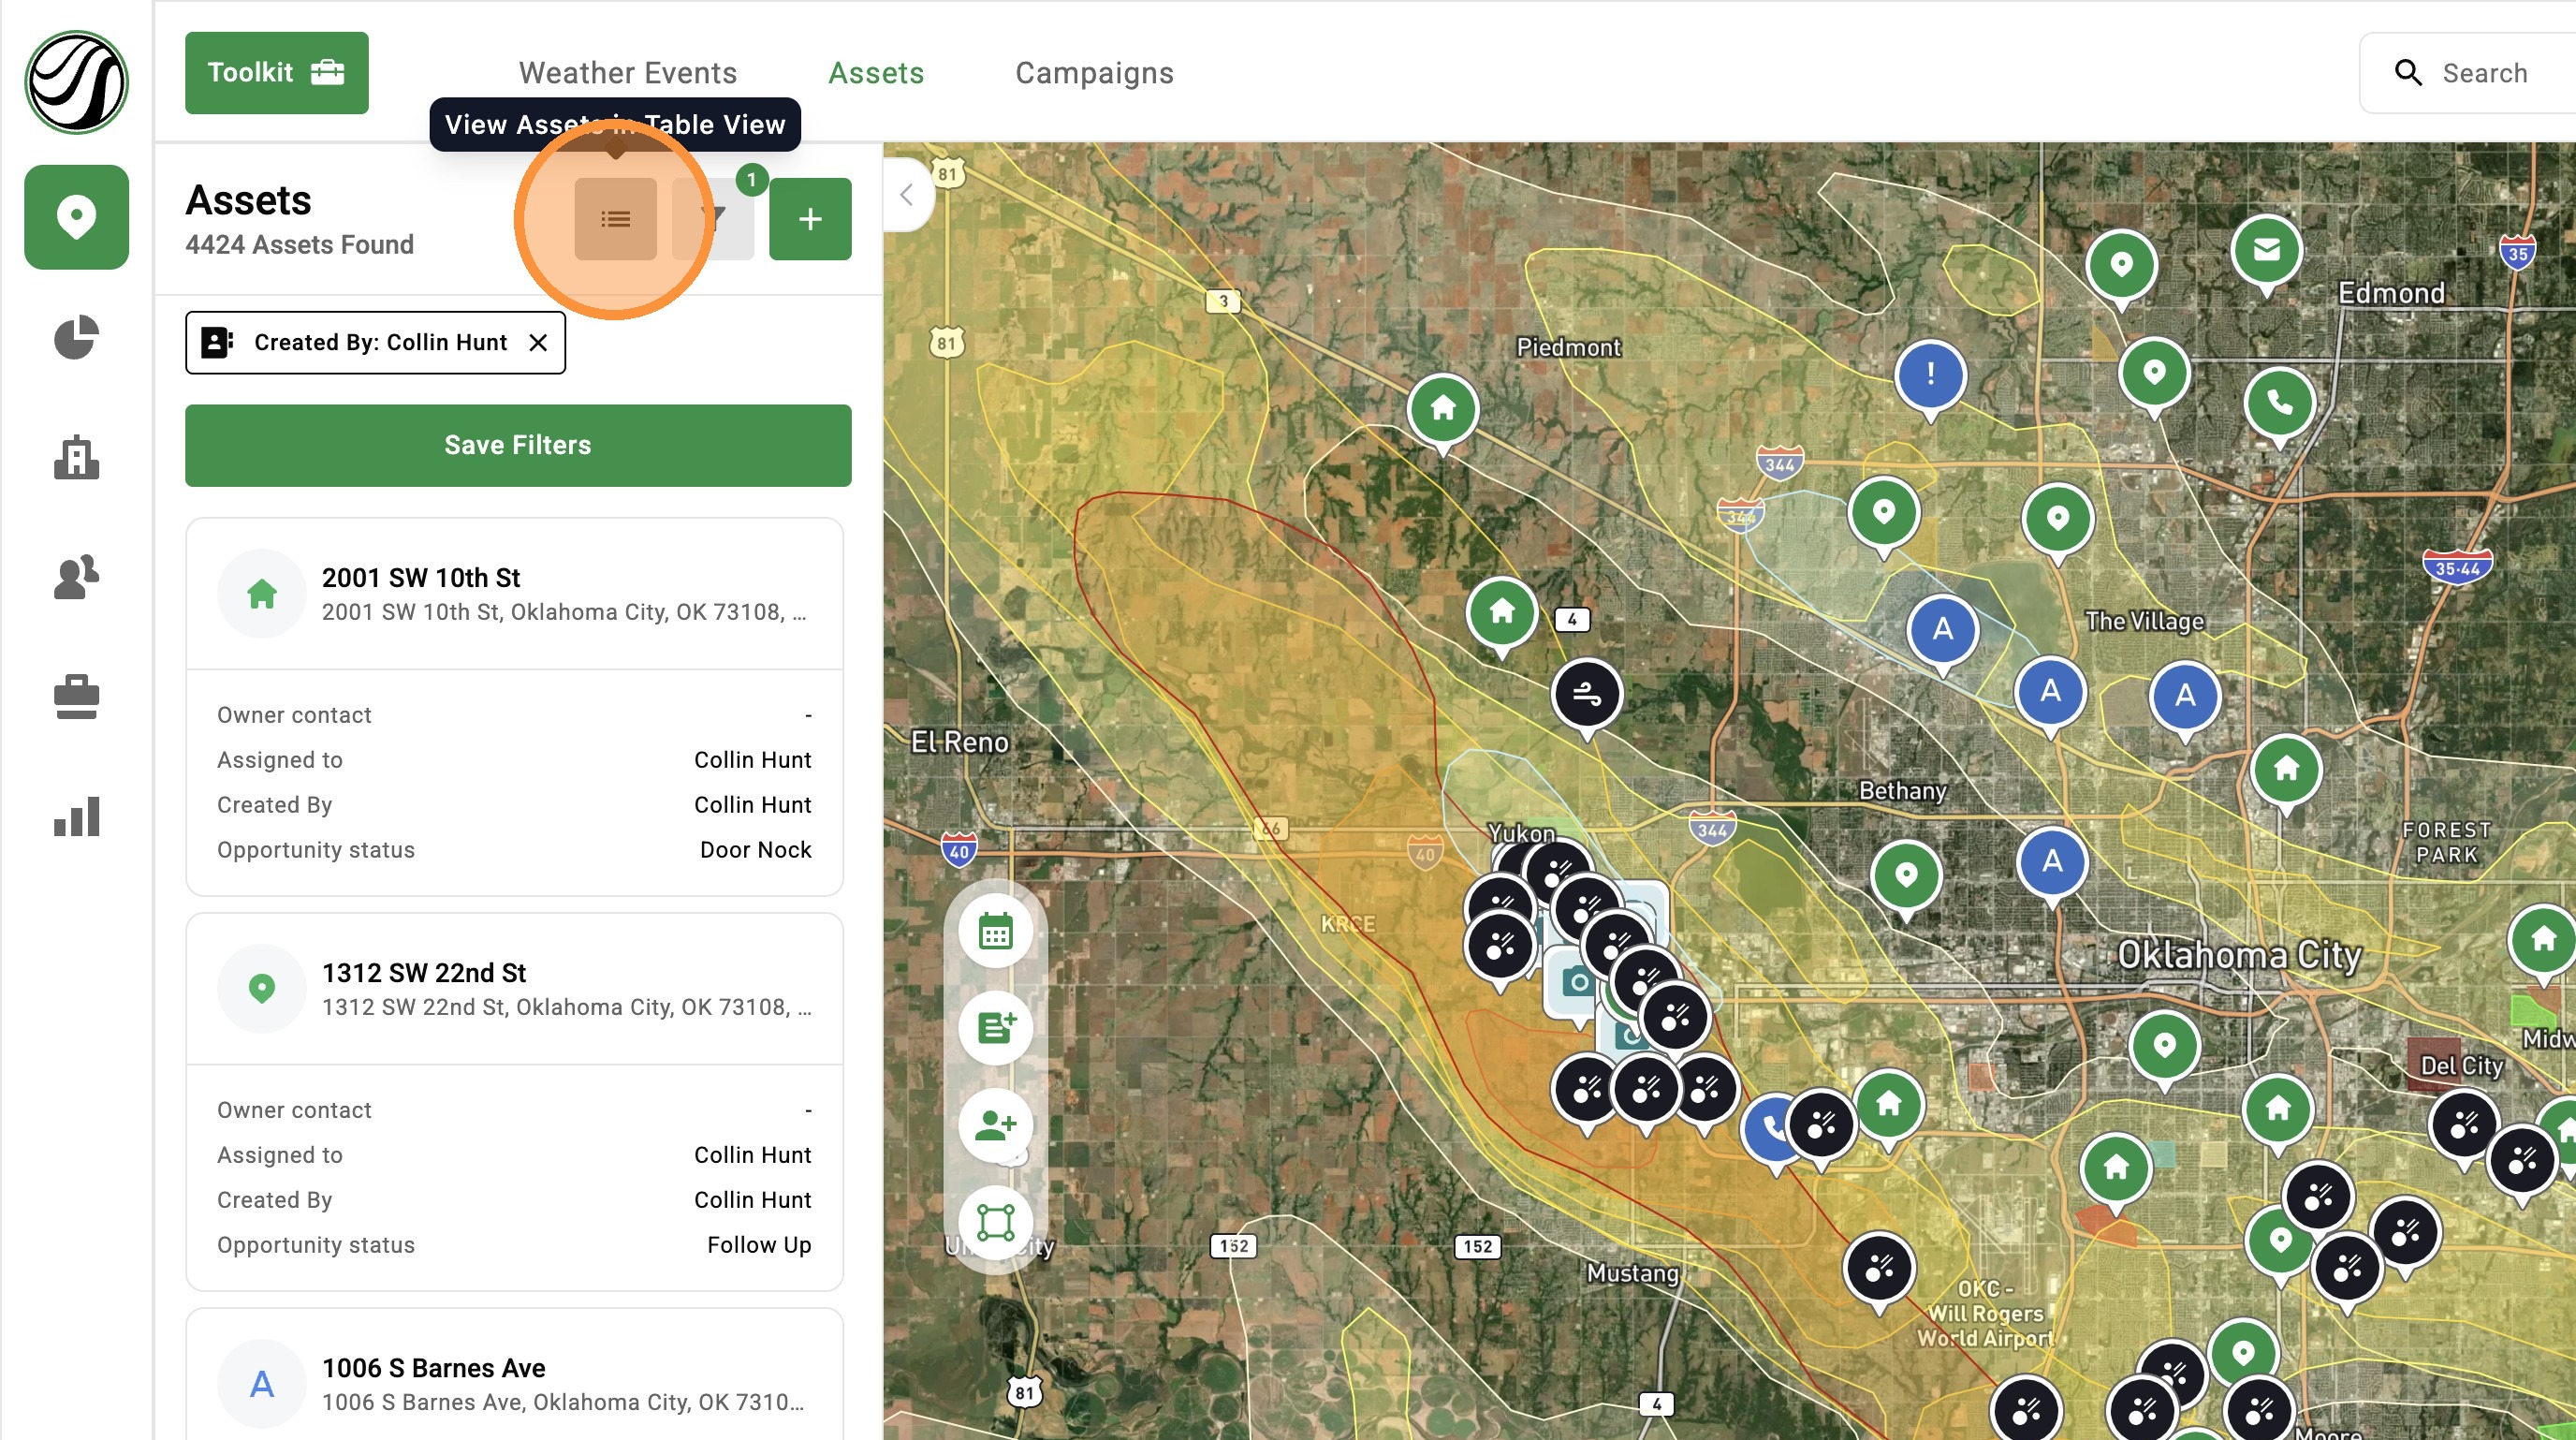
7. Click "Apply" and view your filtered assets
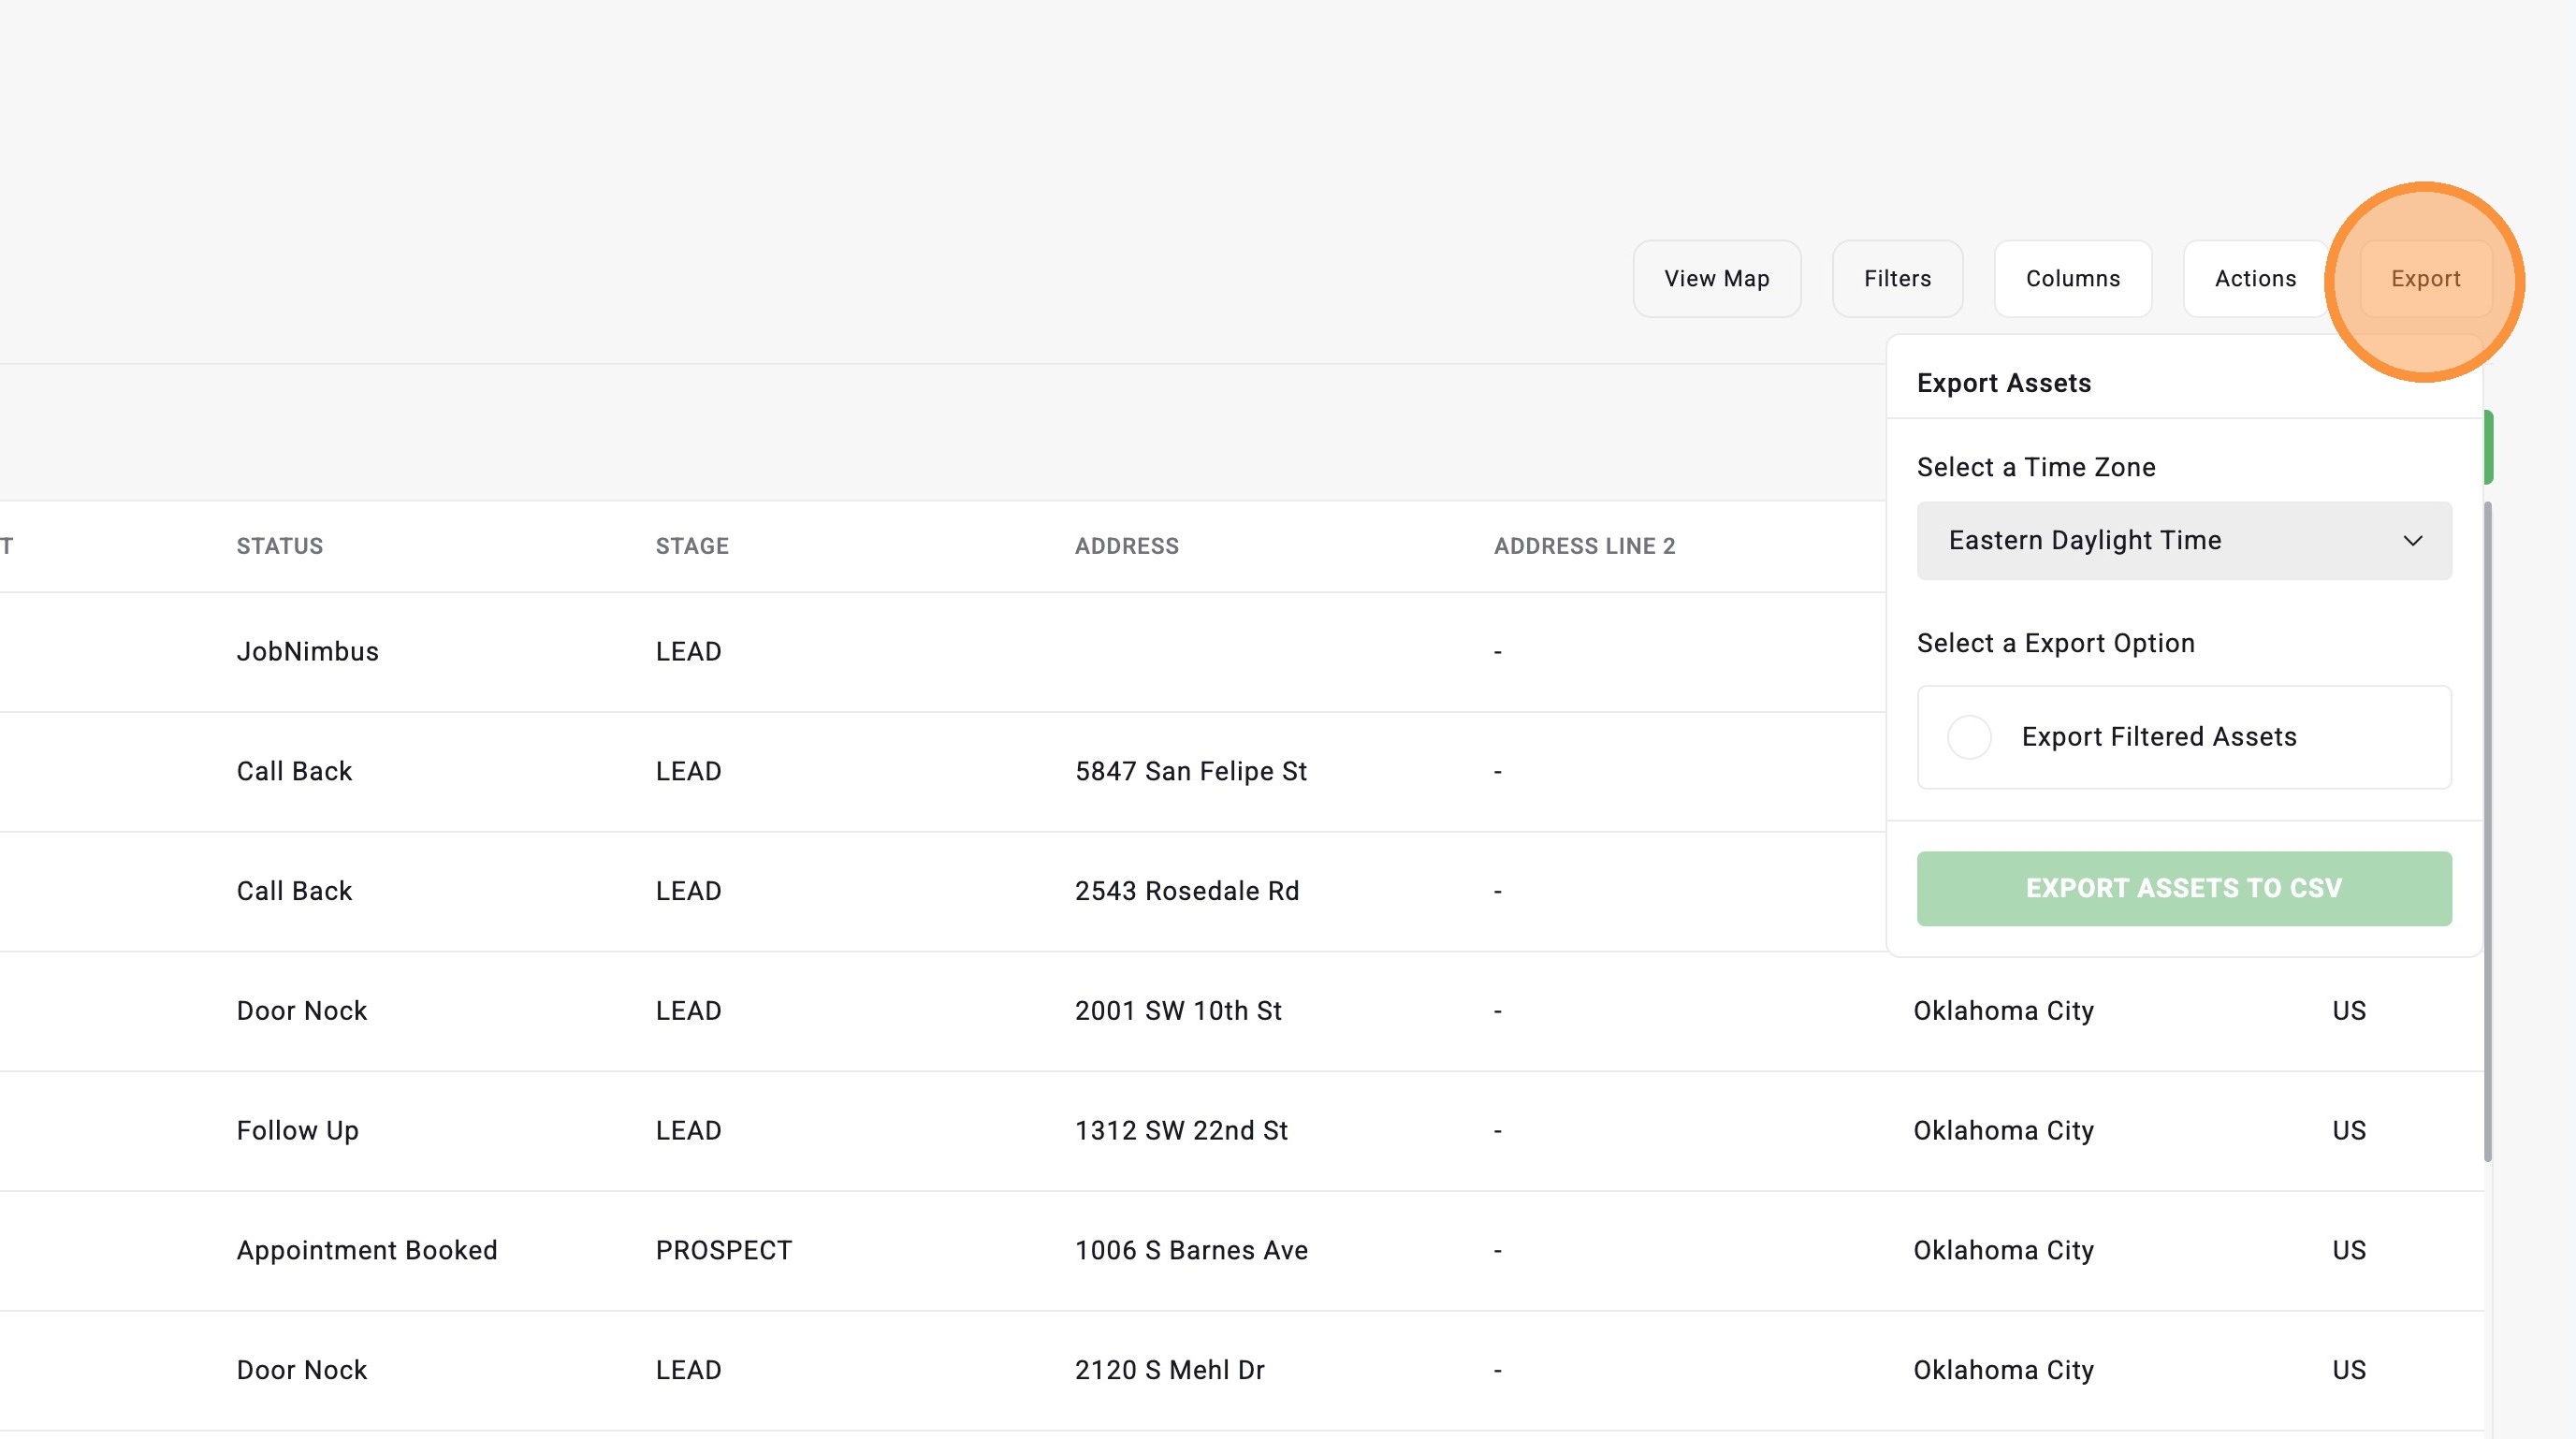
Export Filtered Assets
8. Click "Export" to download your filtered assets as a CSV file. You can use this list outside of HailTrace or add it to your CRM.
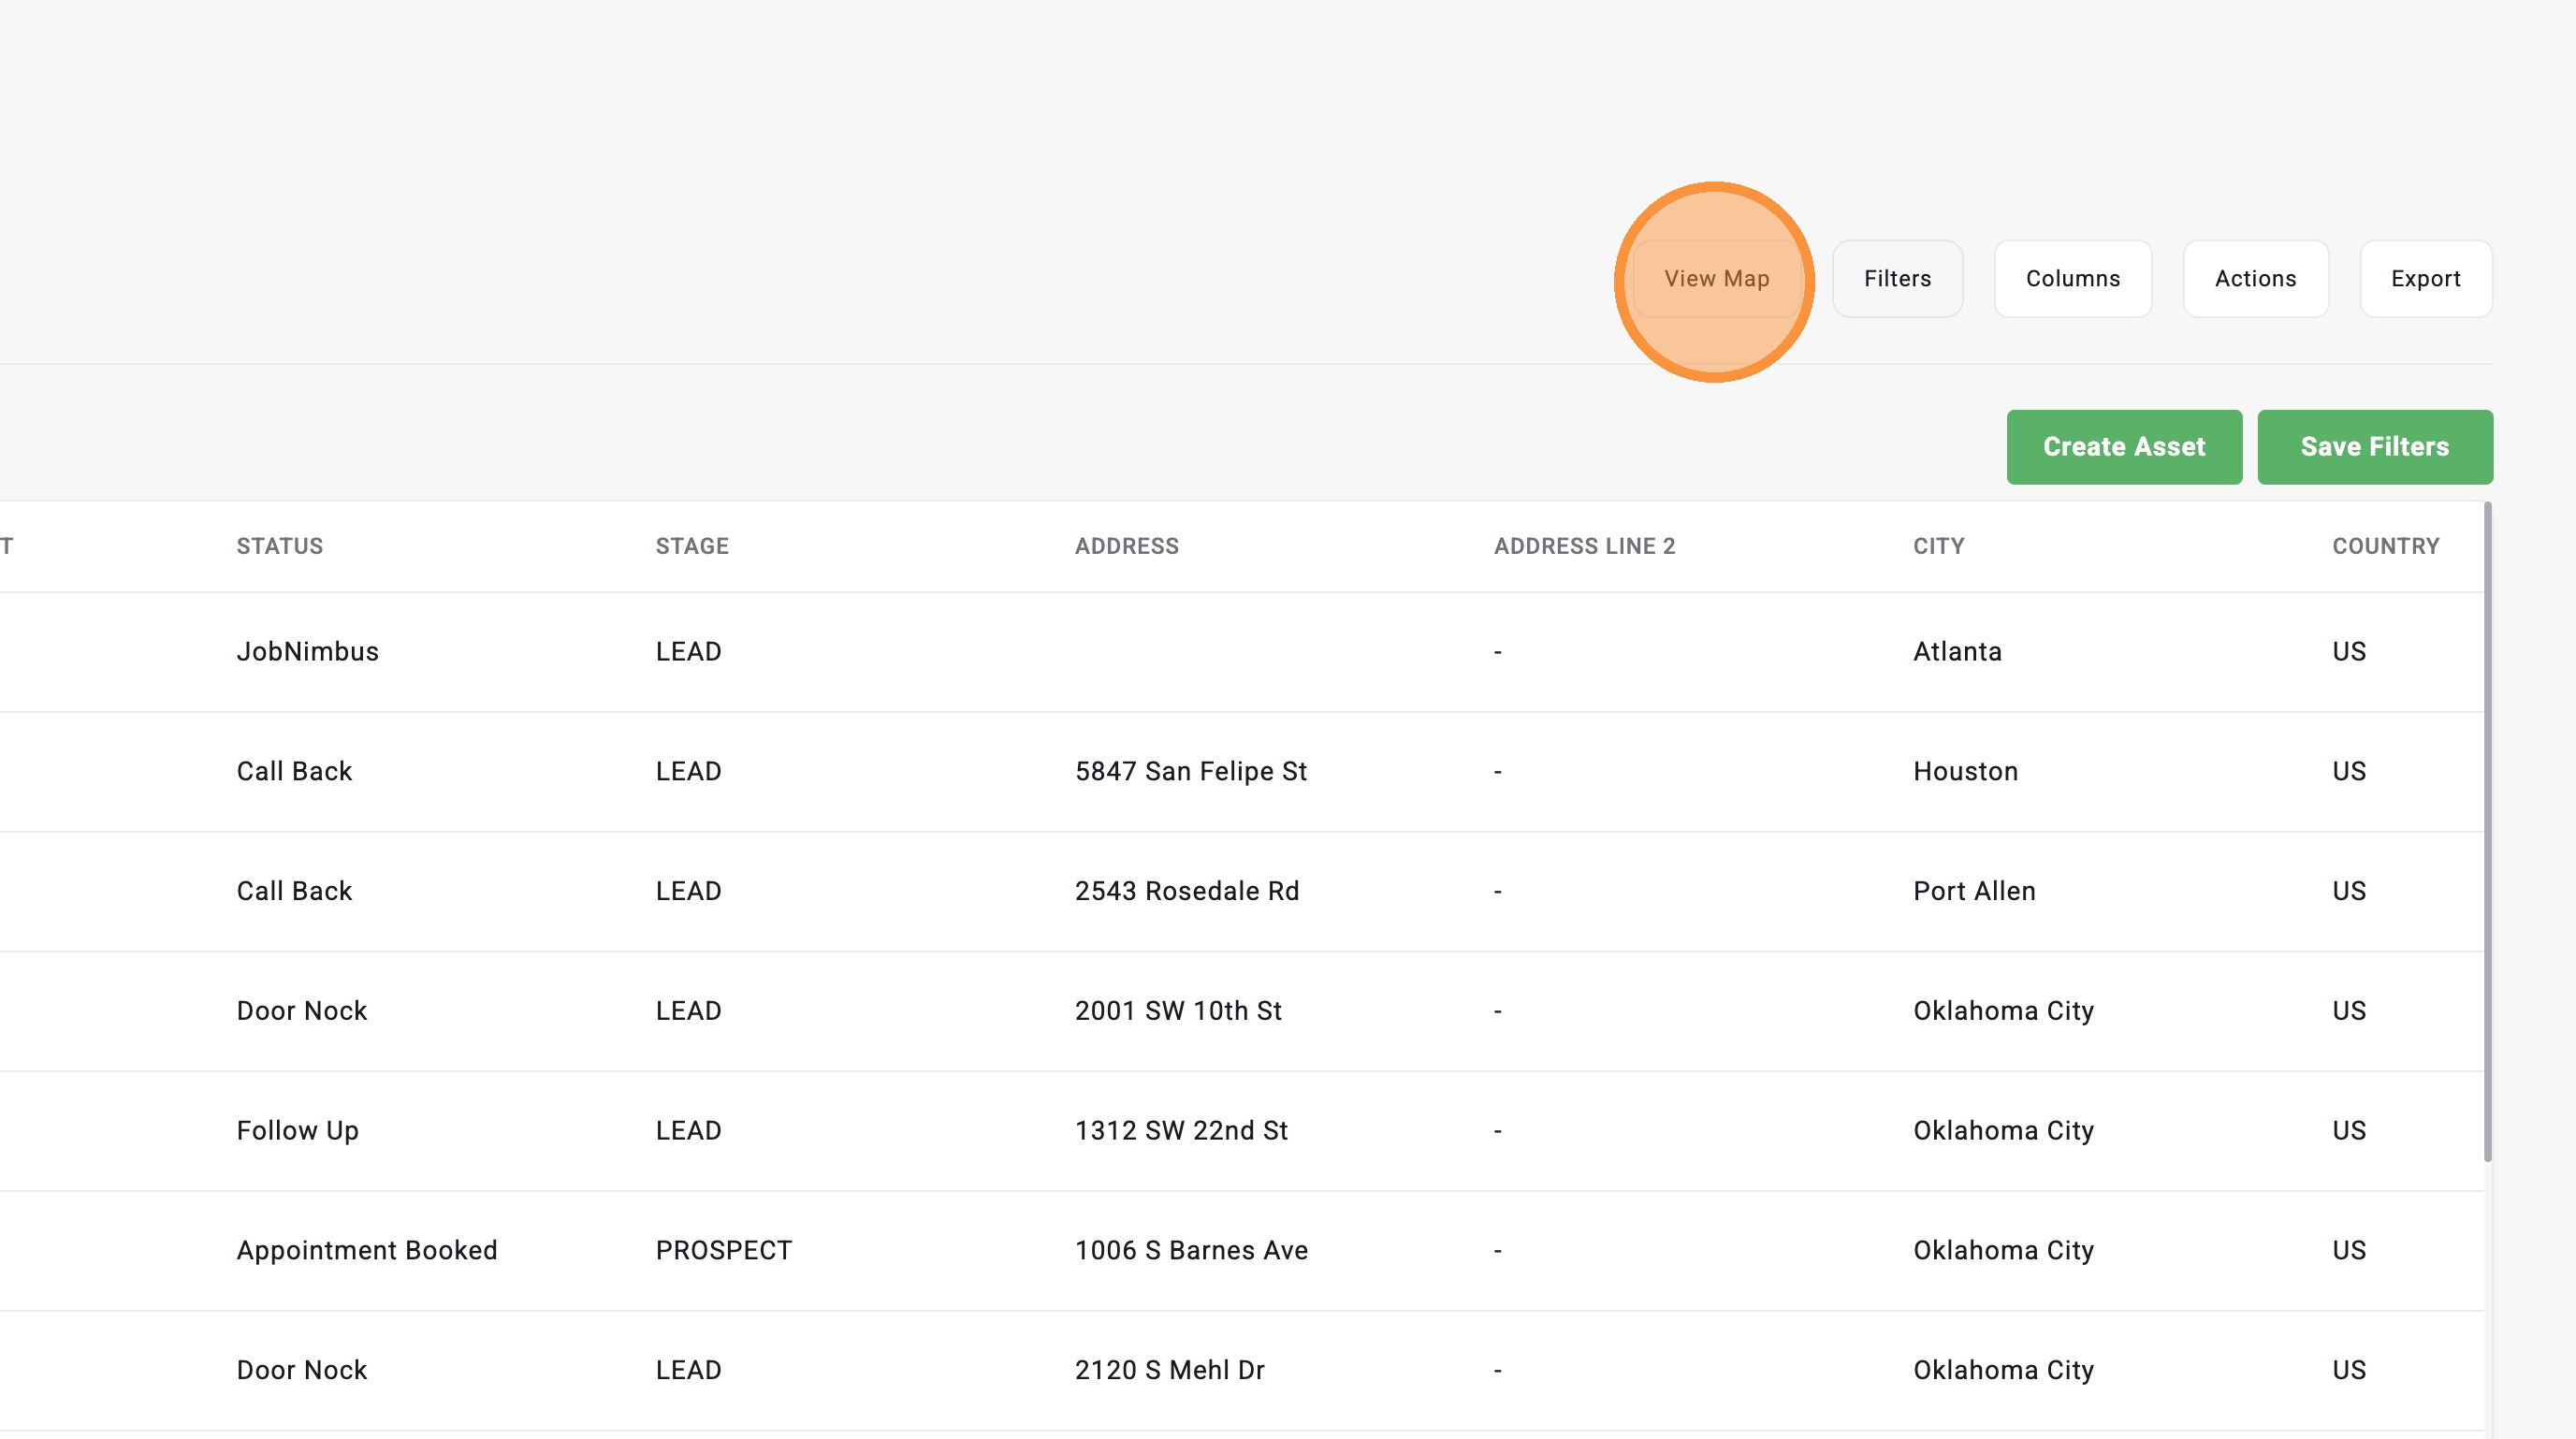
View Assets on Map page
9. Click "View Map" to see your filters assets on the Map page
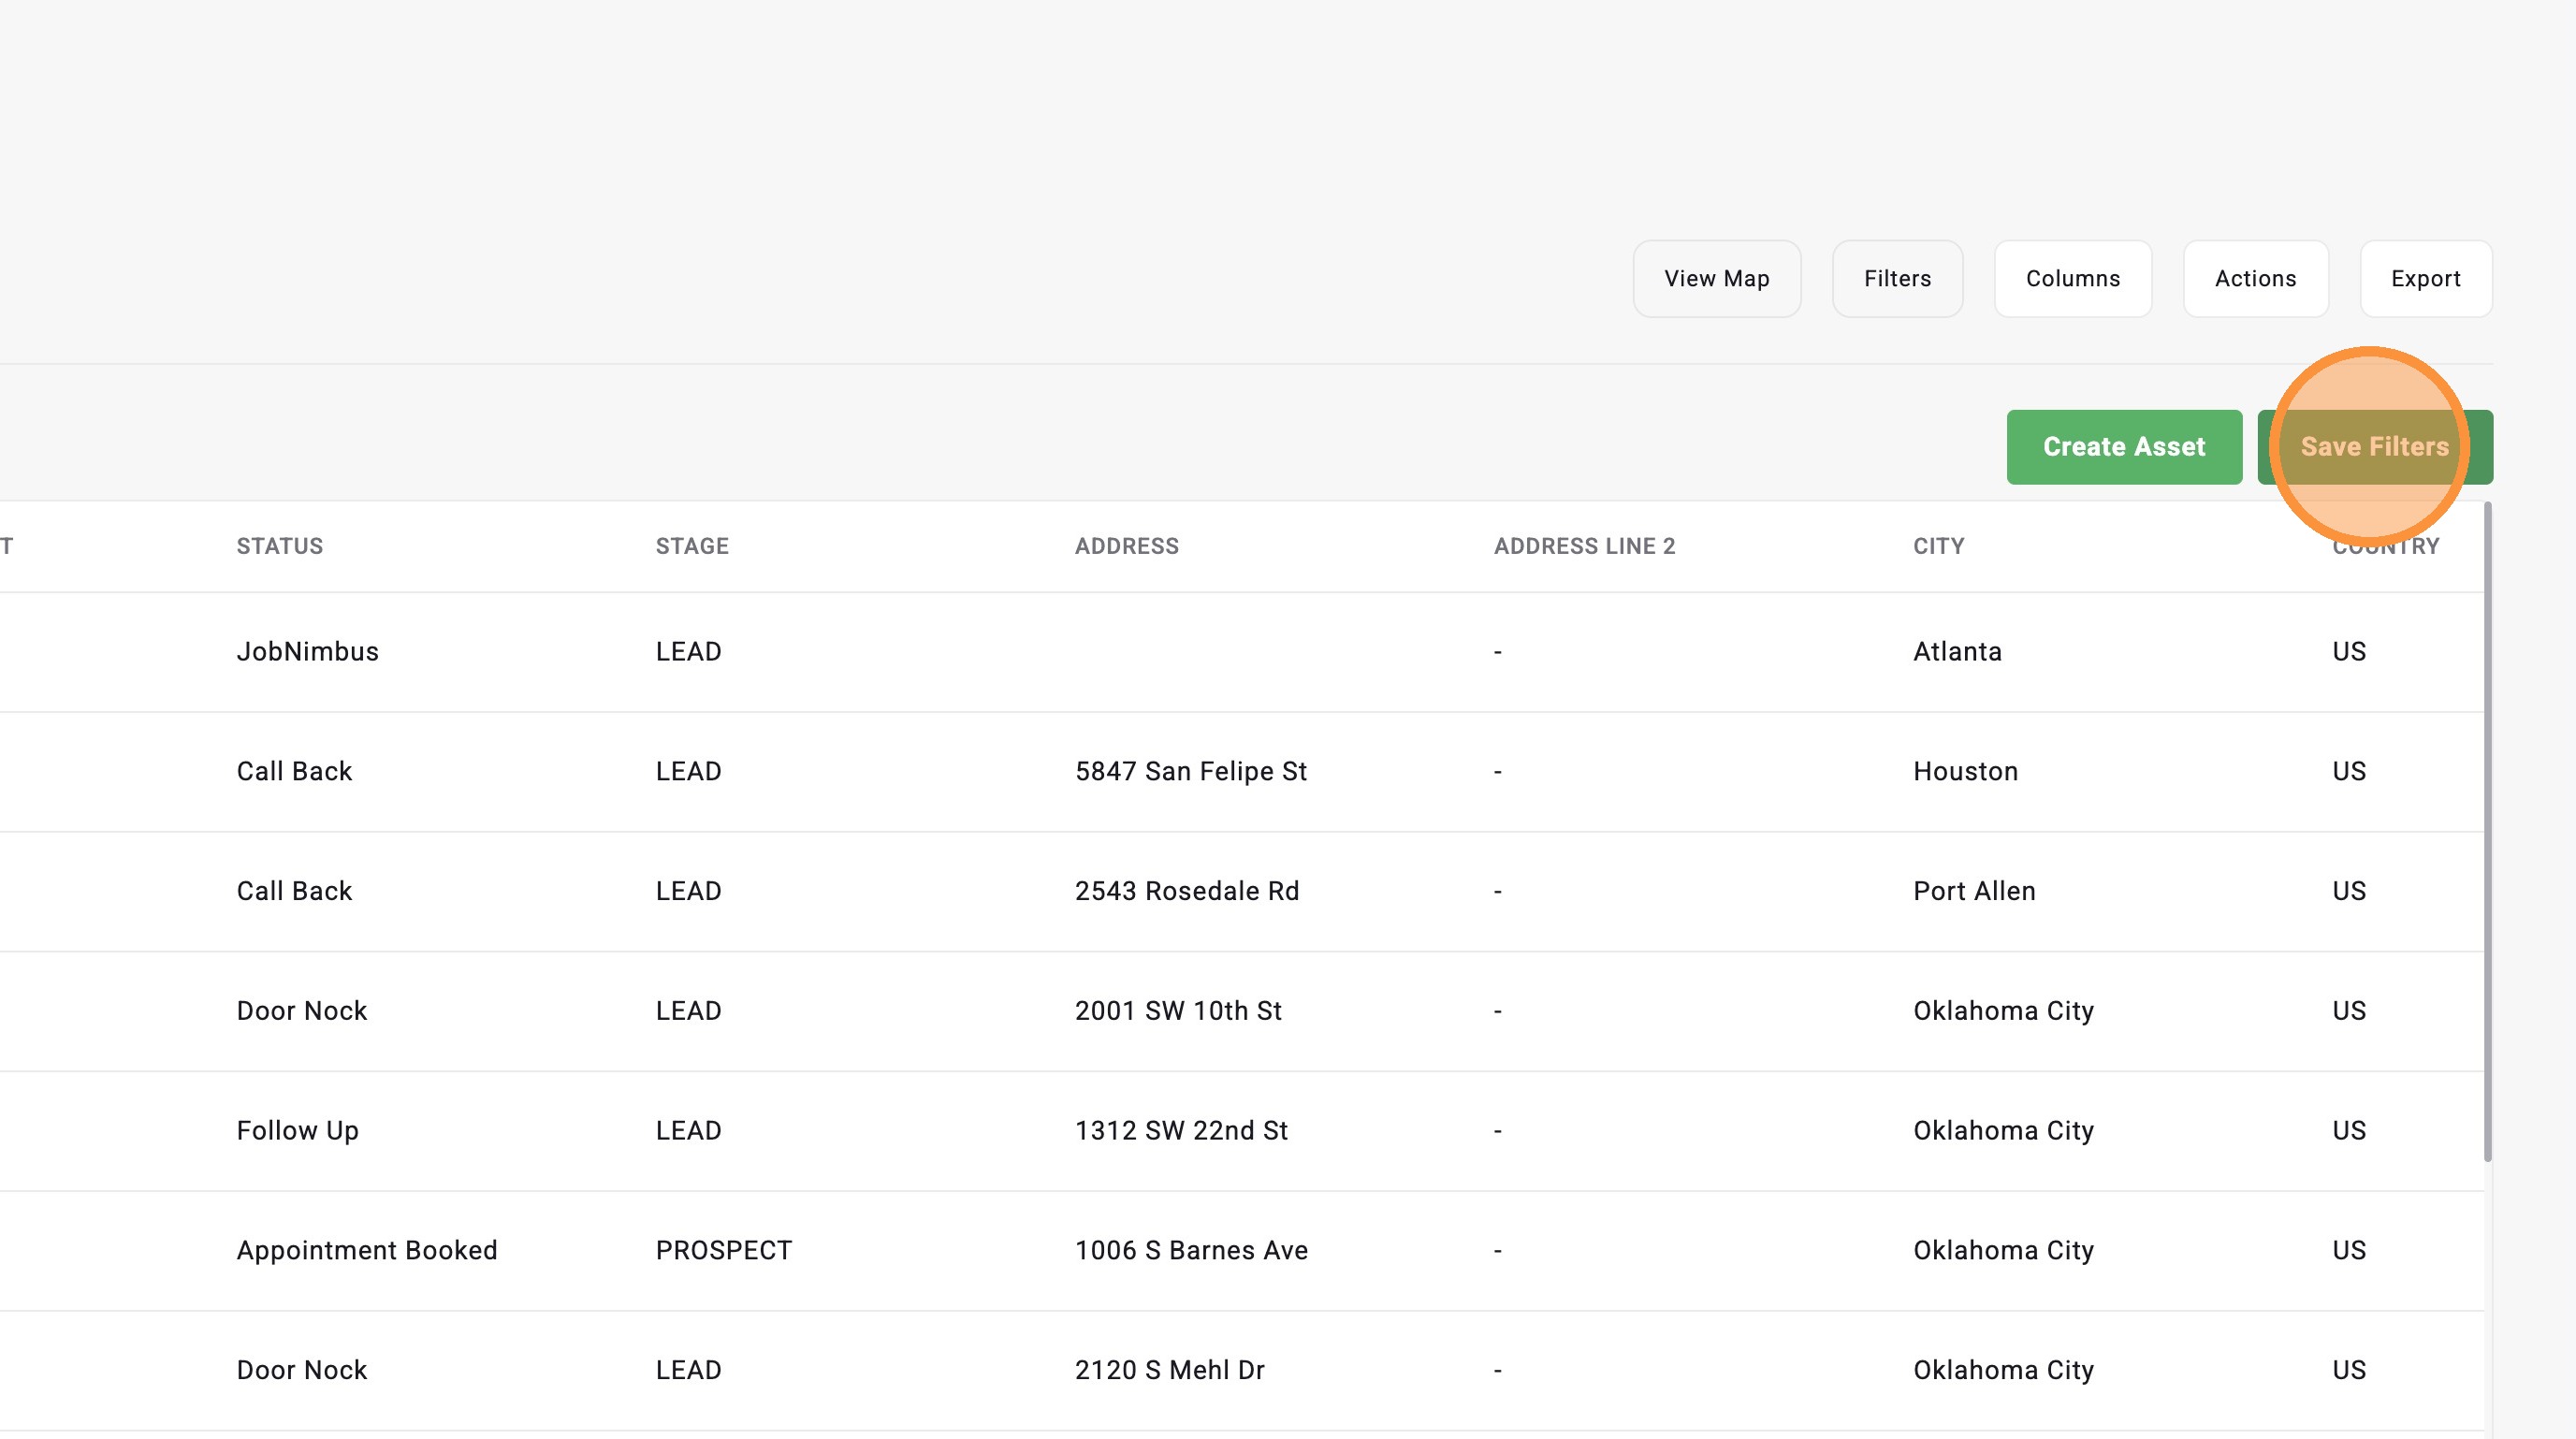
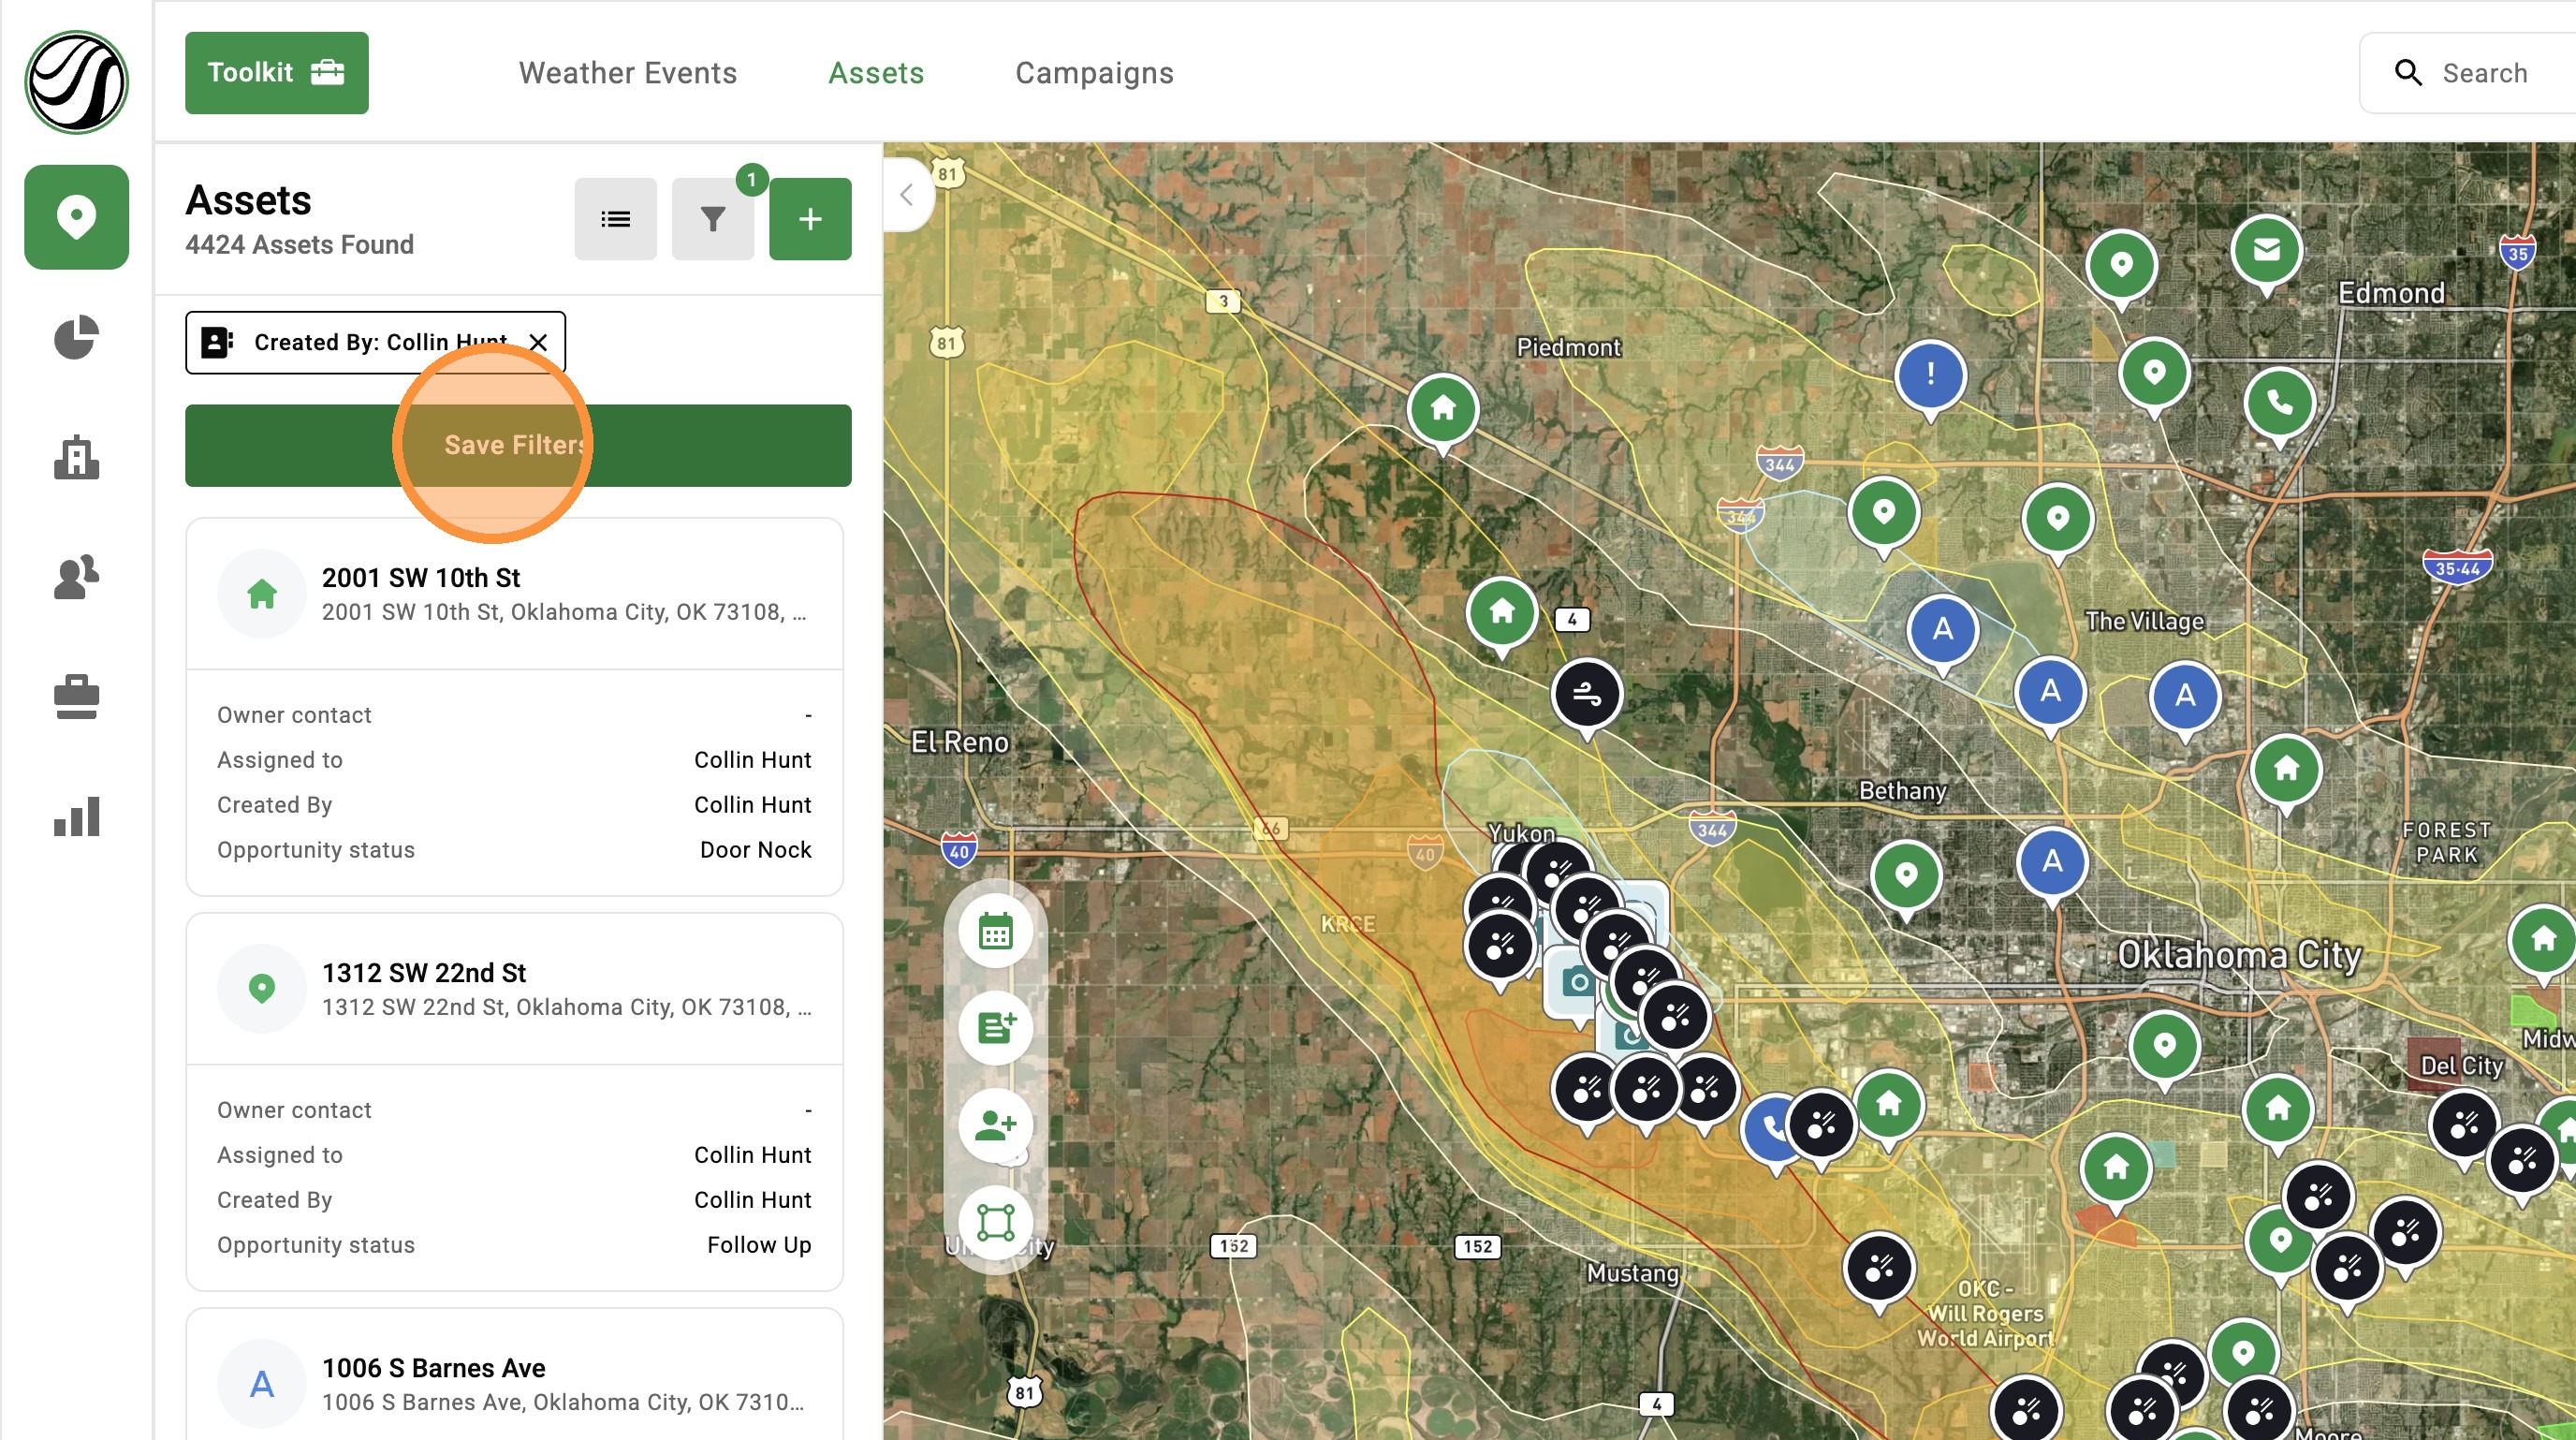
Save Filters
10. Click "Save Filters" to save your current filter setup and quickly use it again later
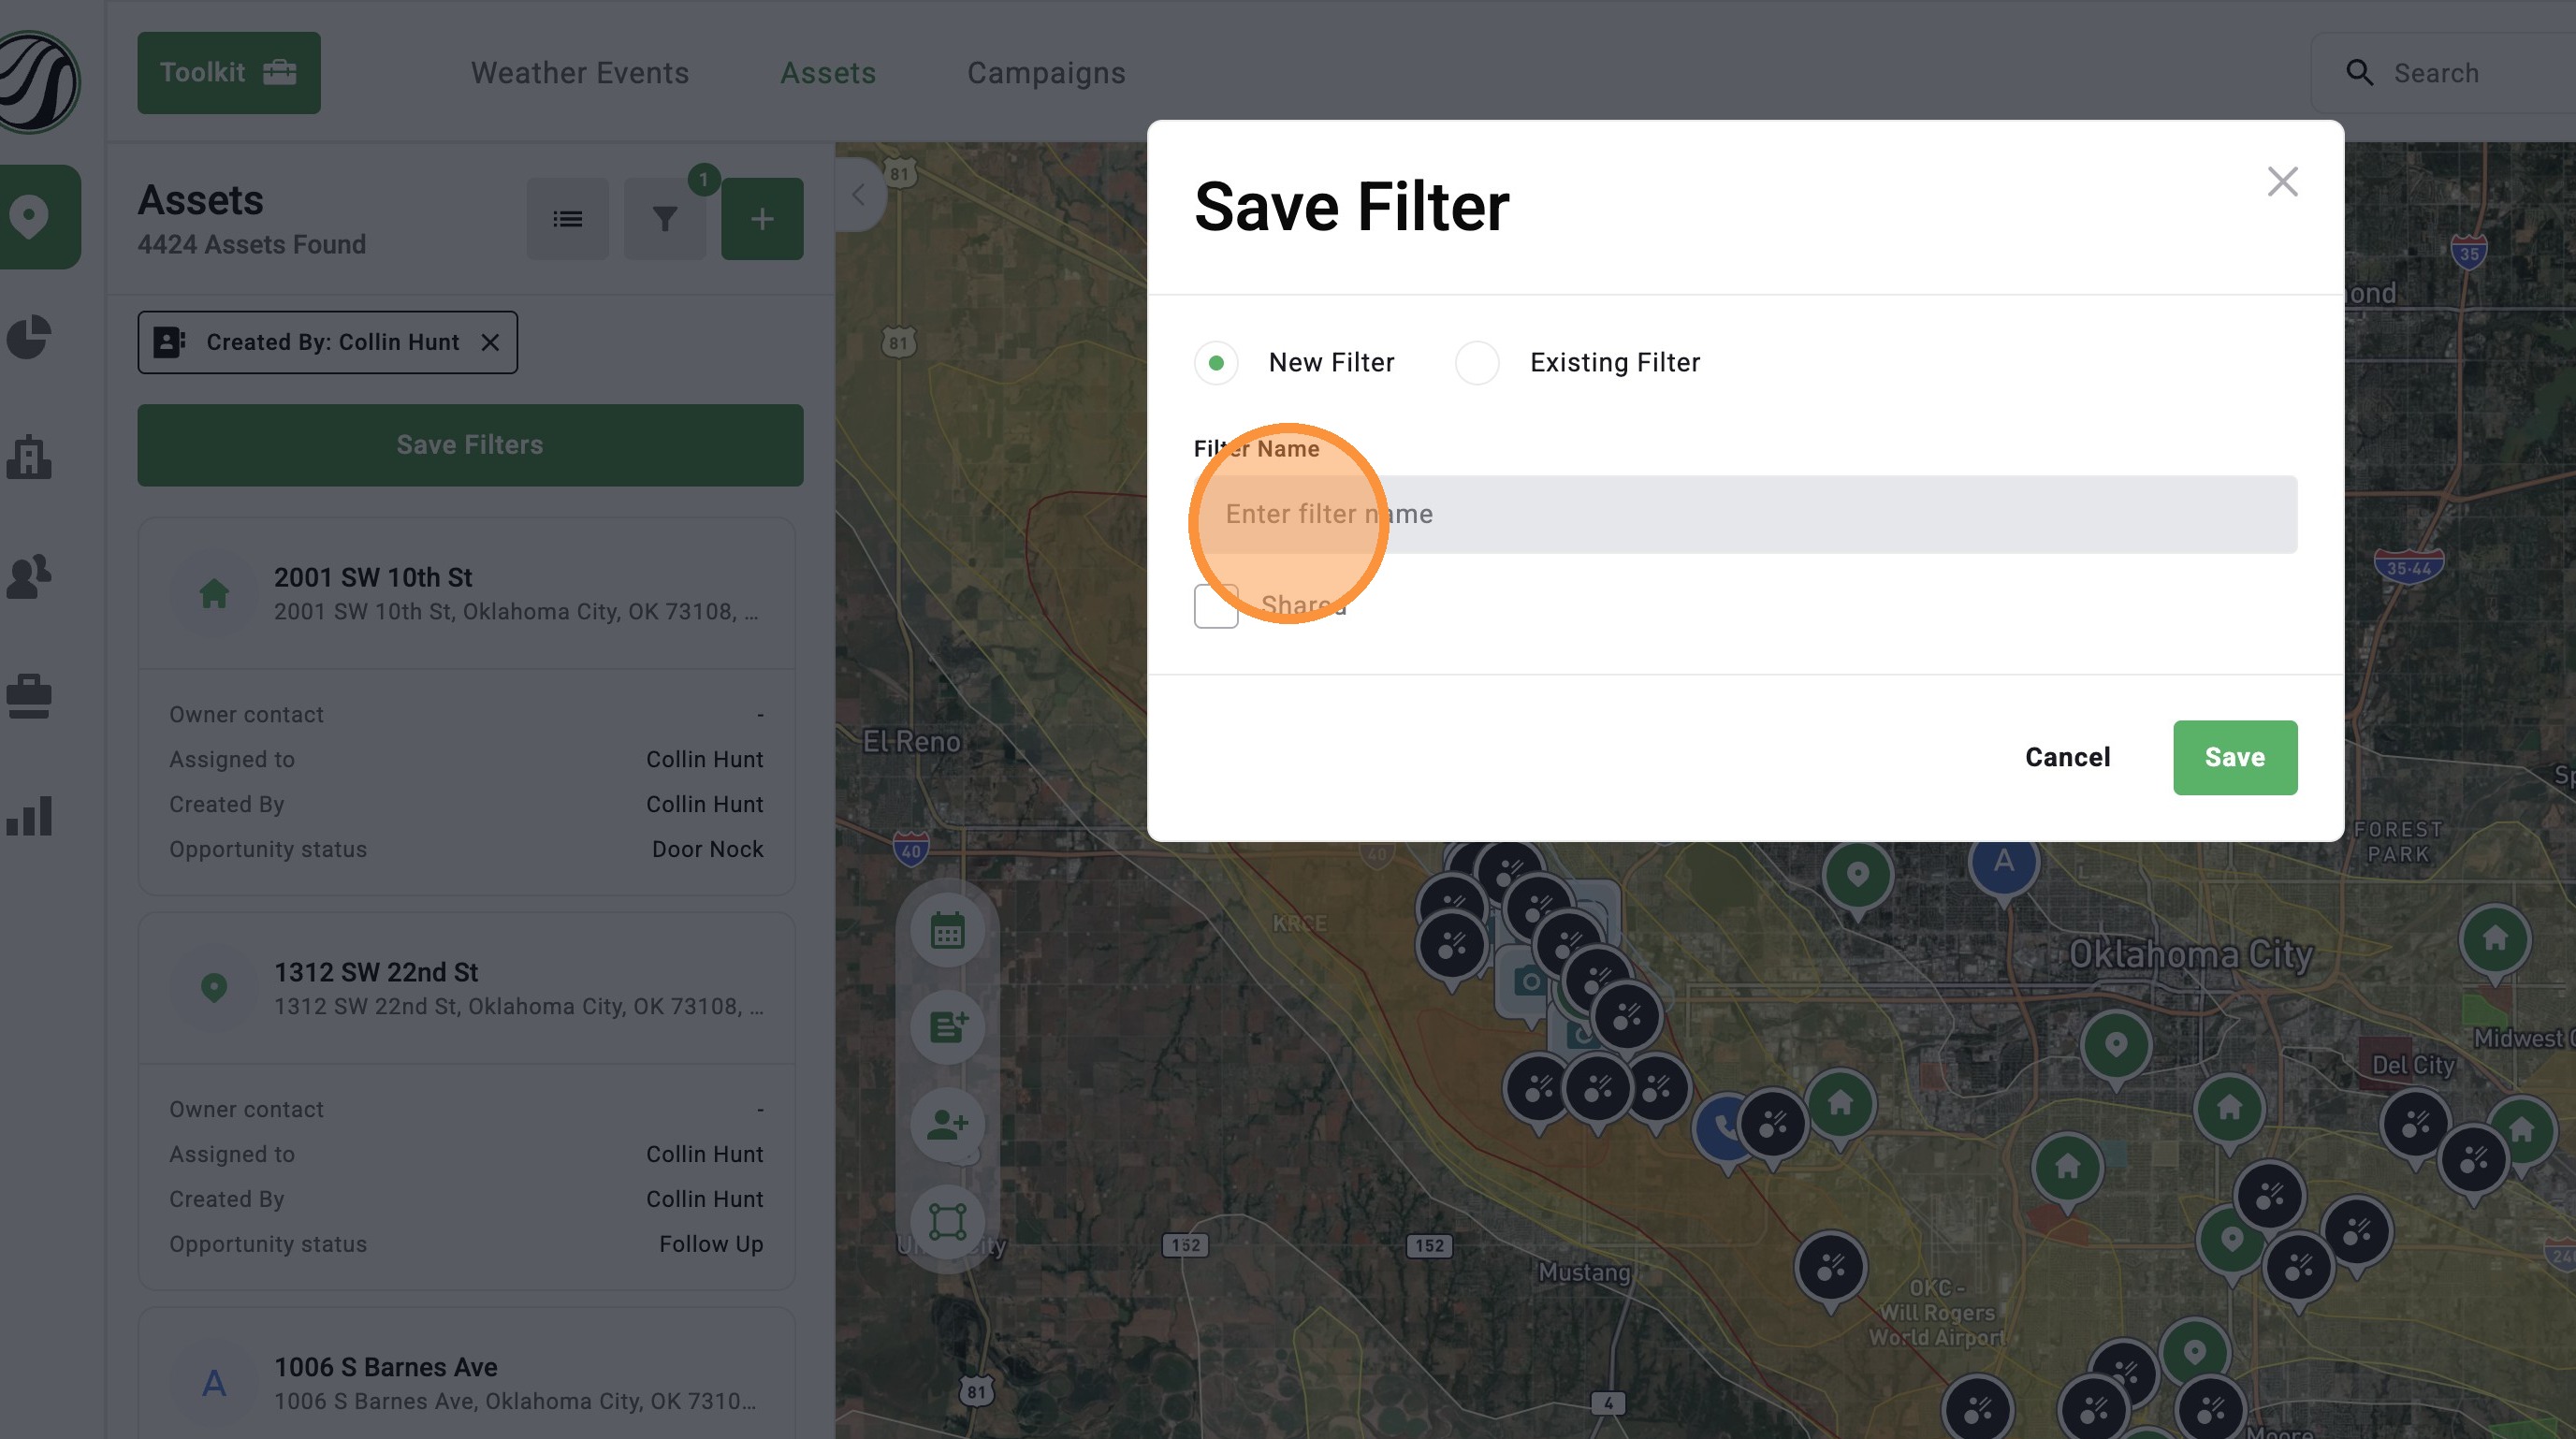
11. Enter a name for the filter
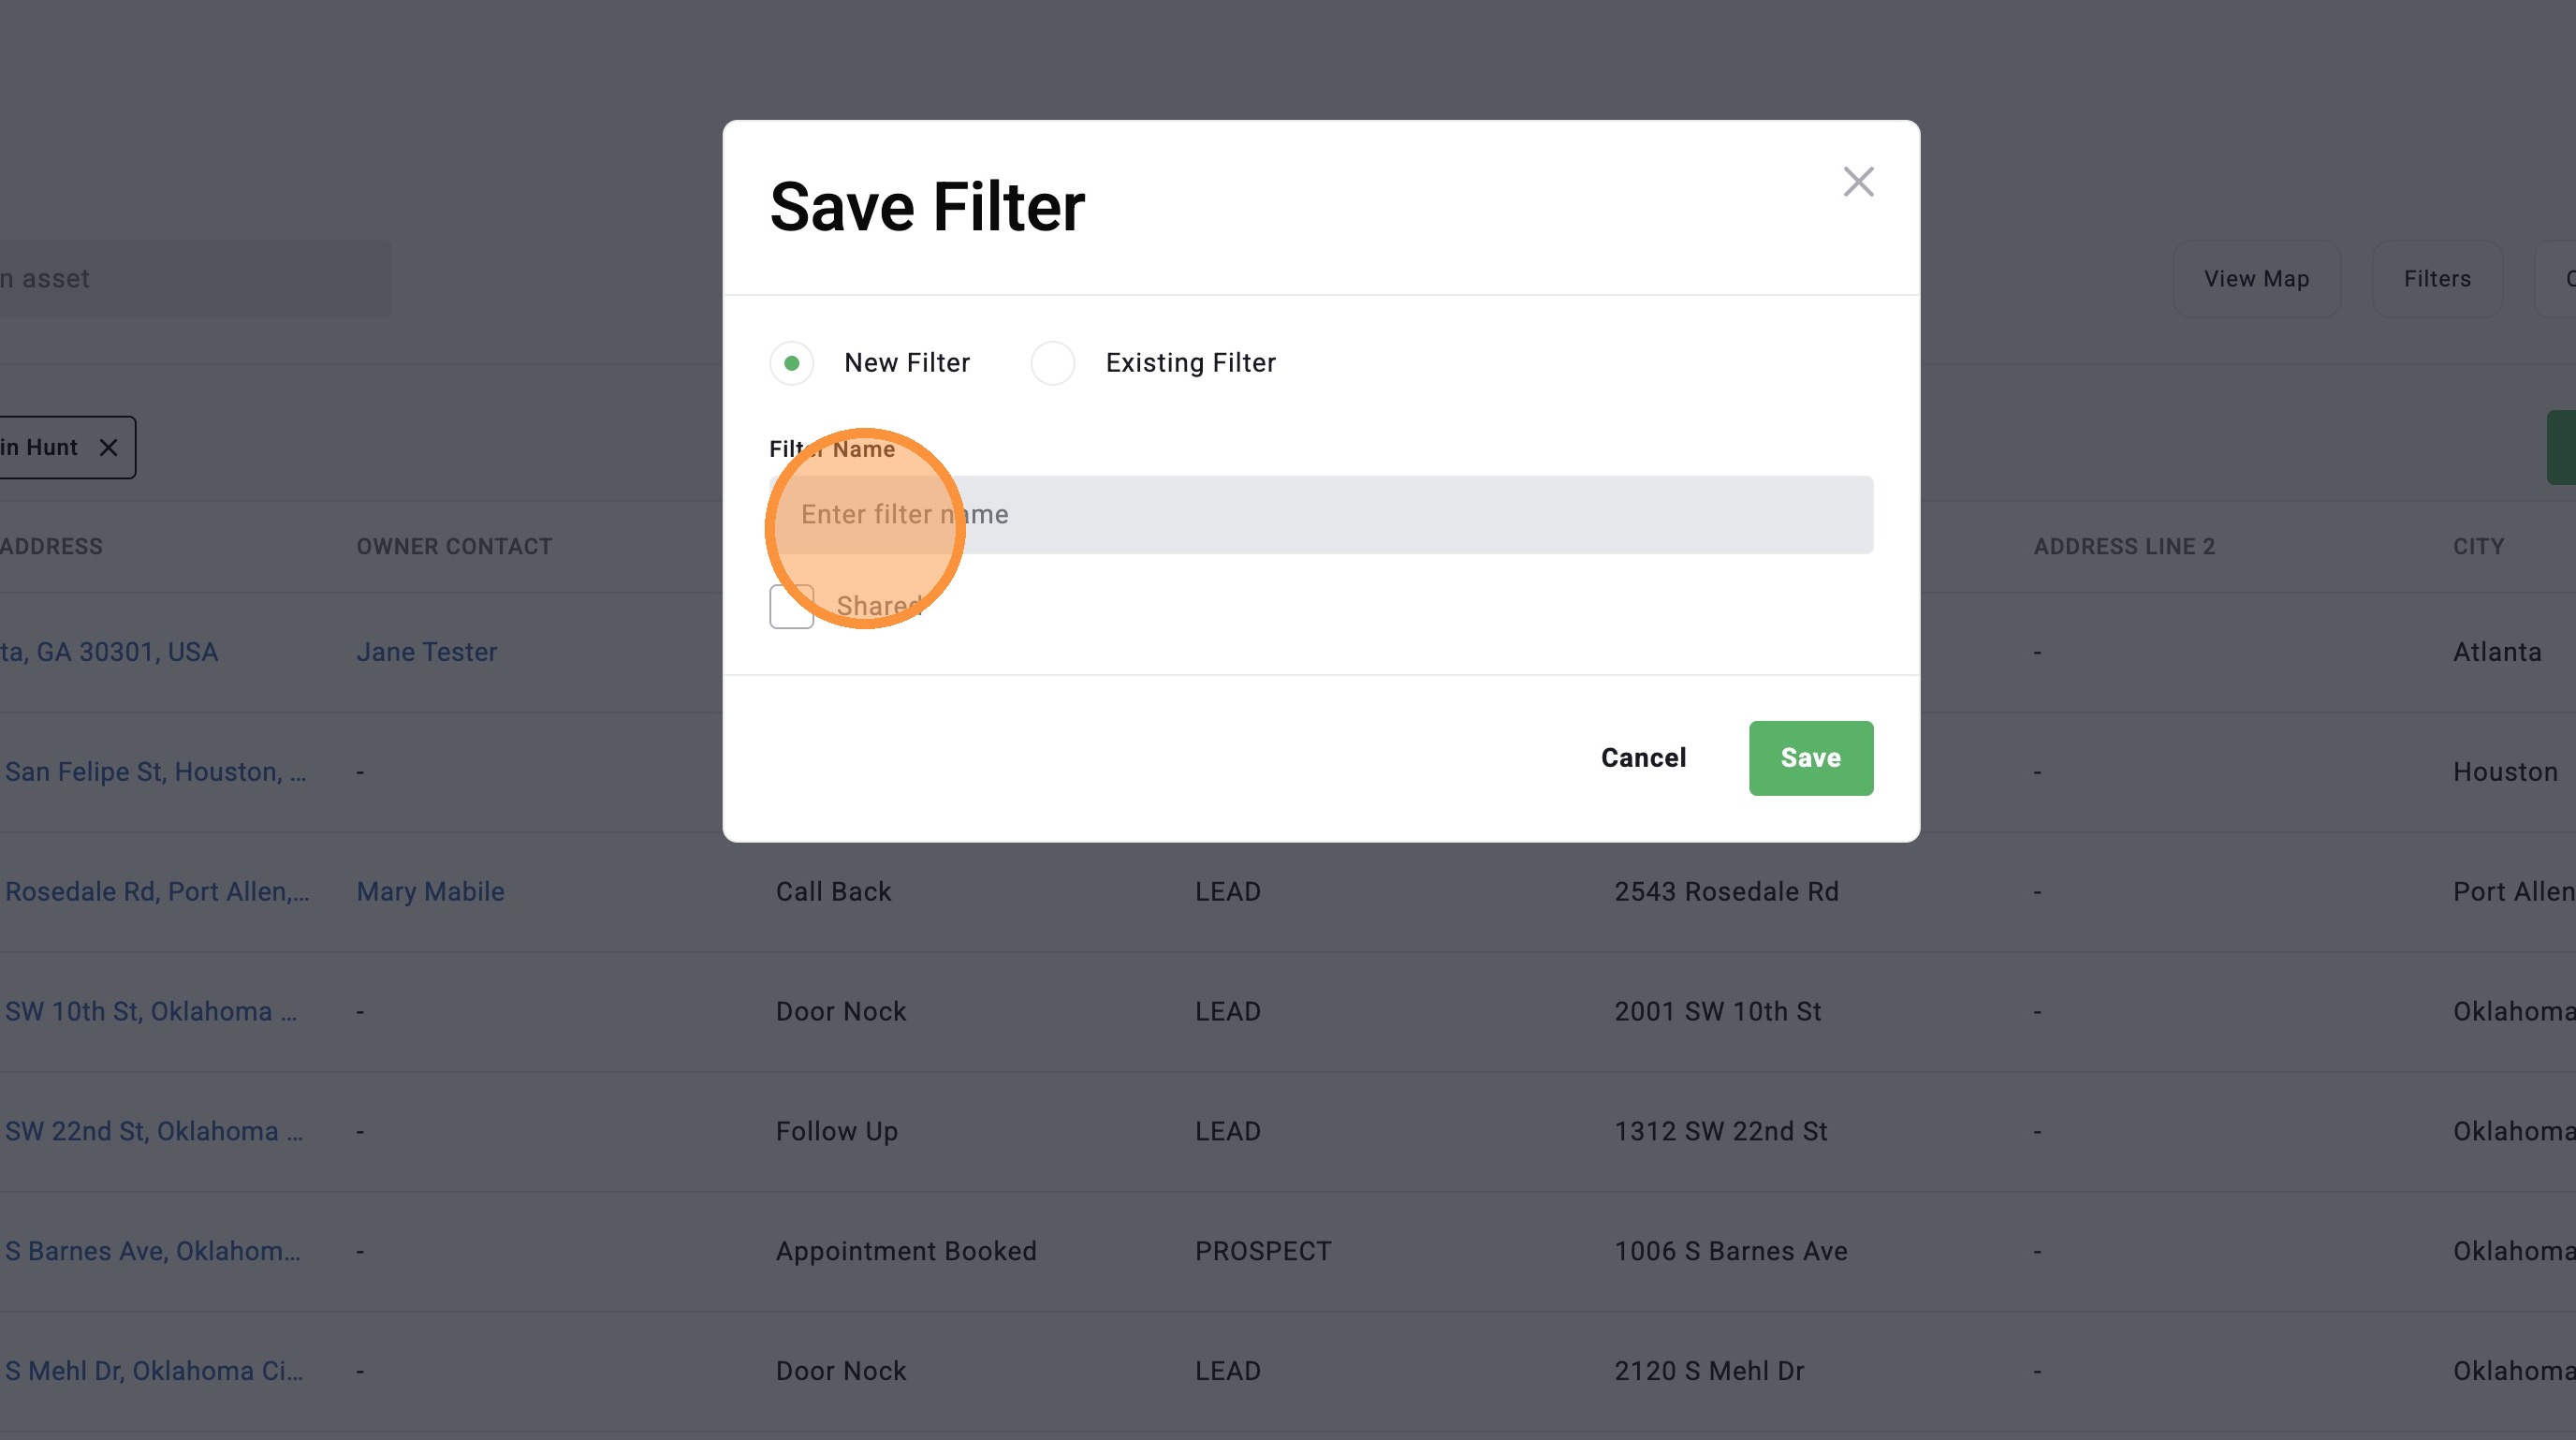
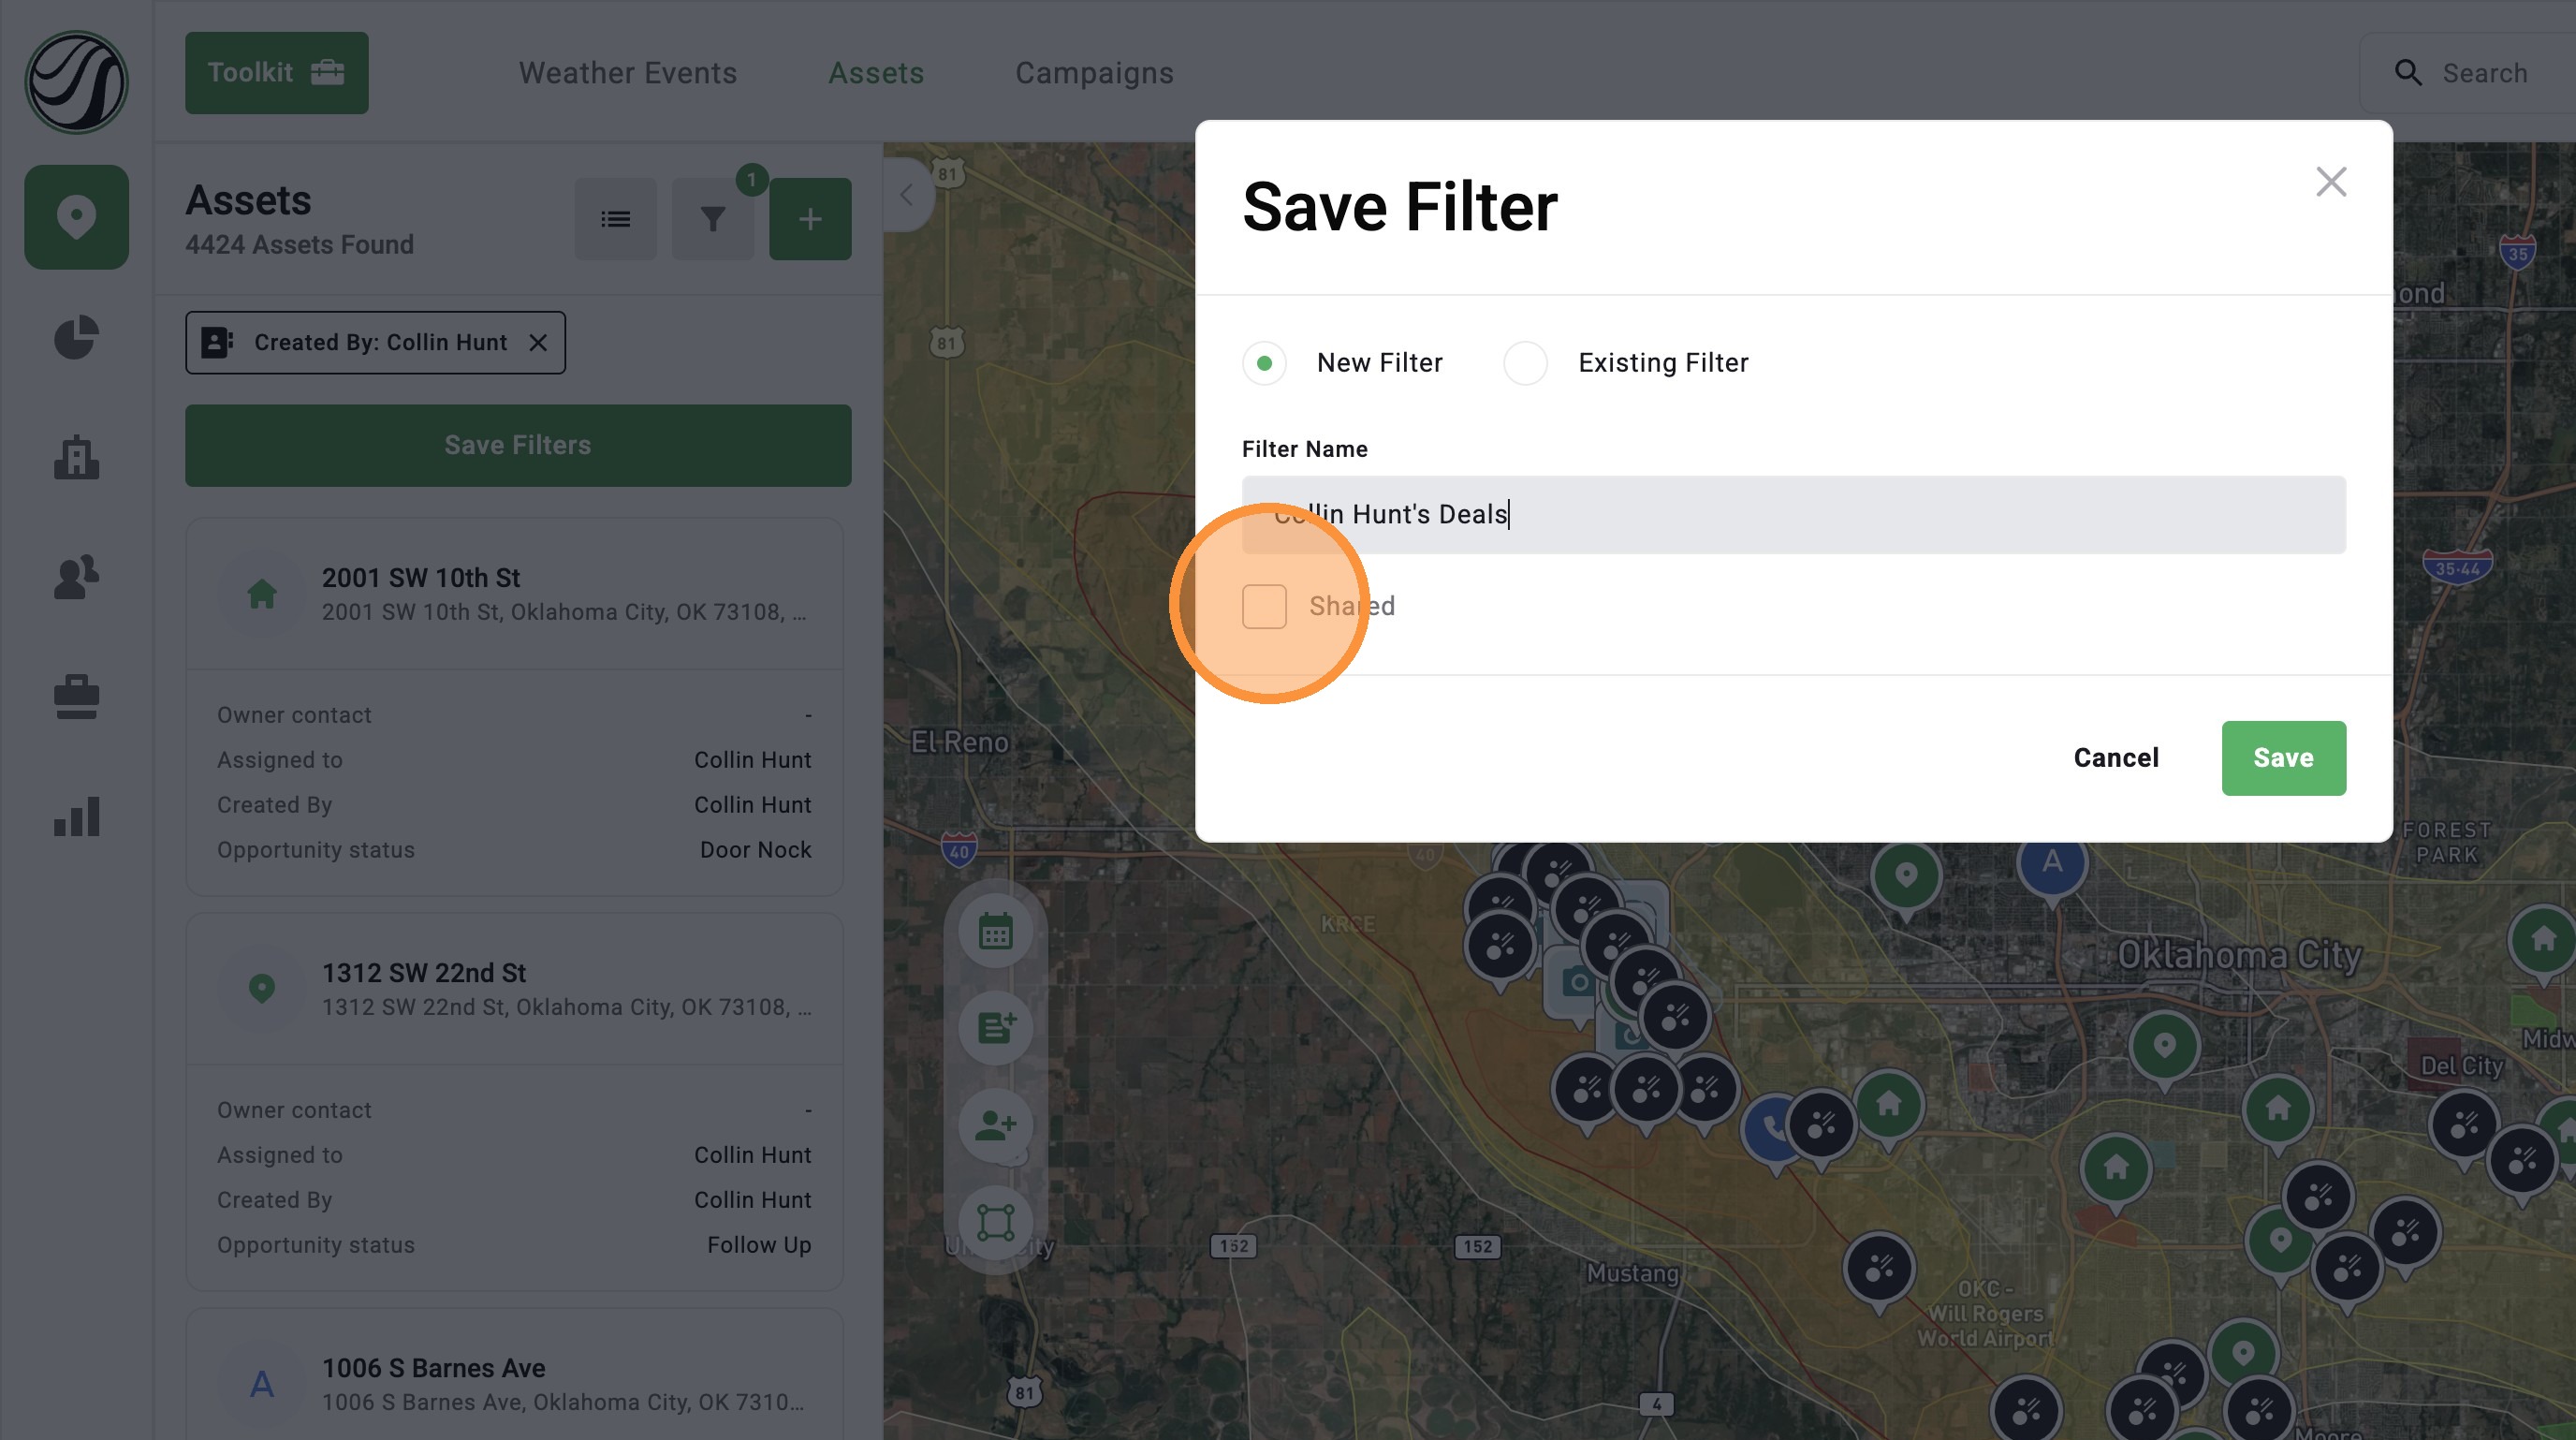
12. Optional: share this saved filter with all users in your company
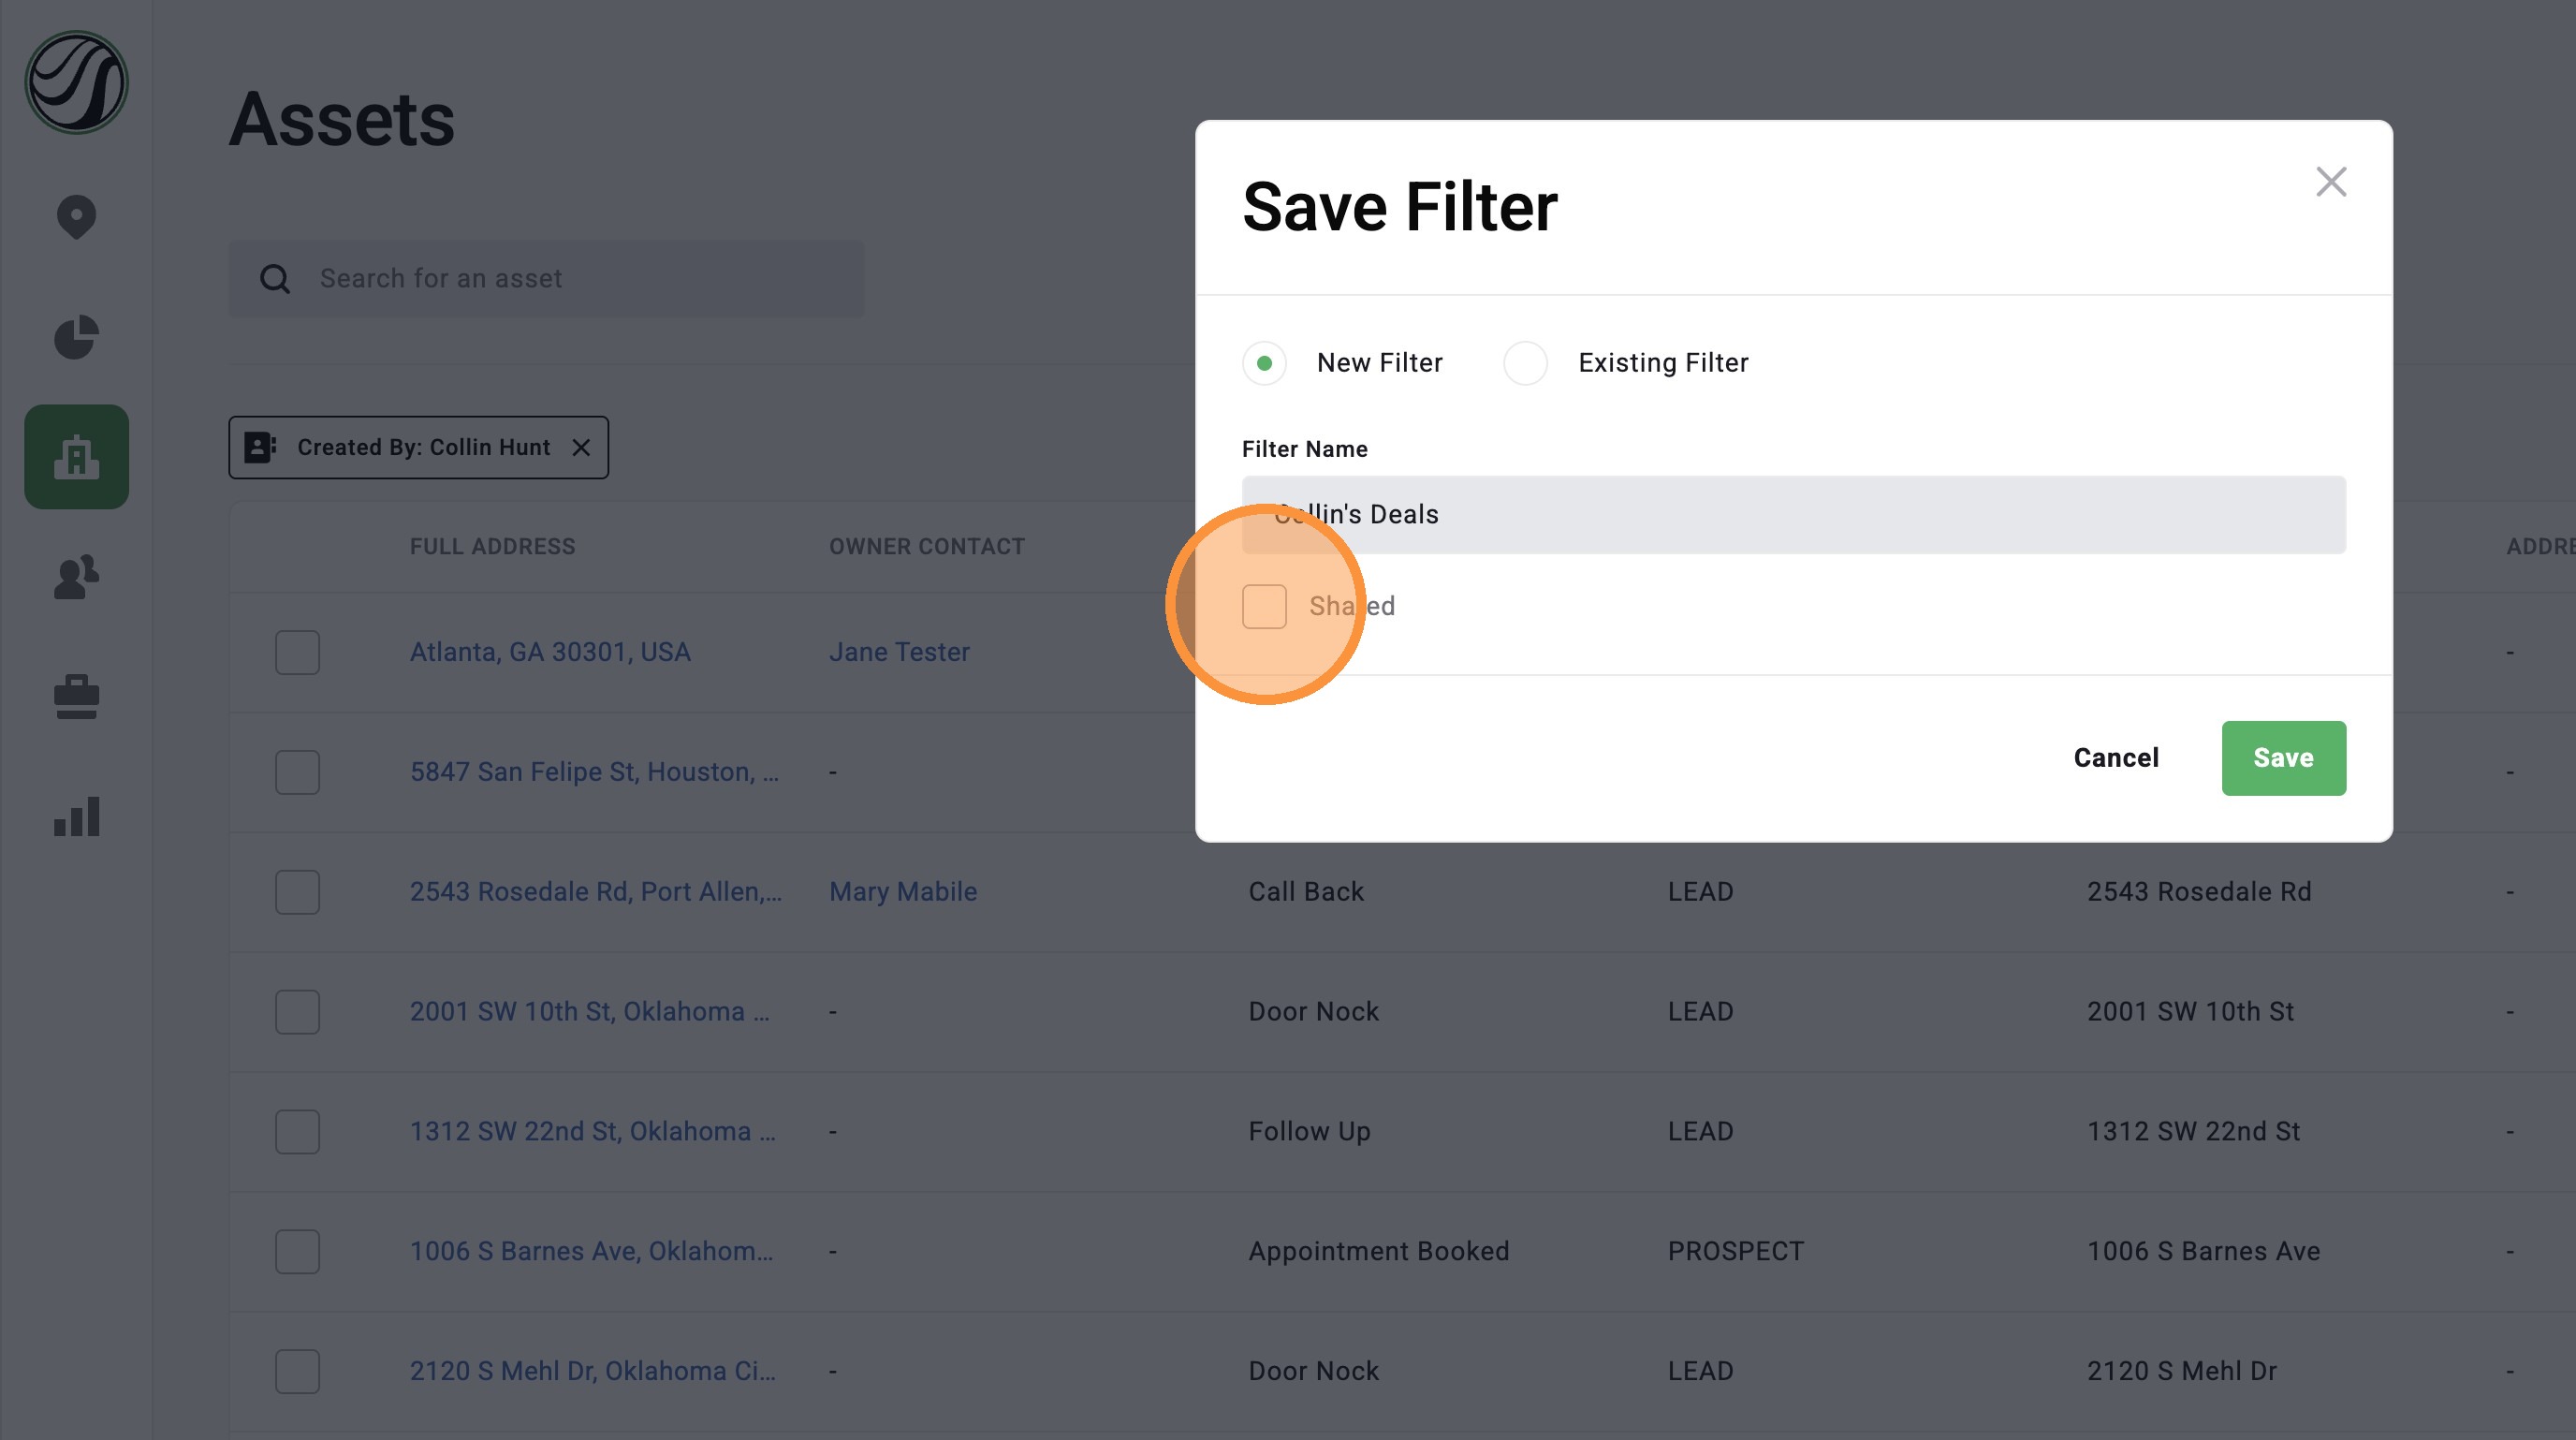
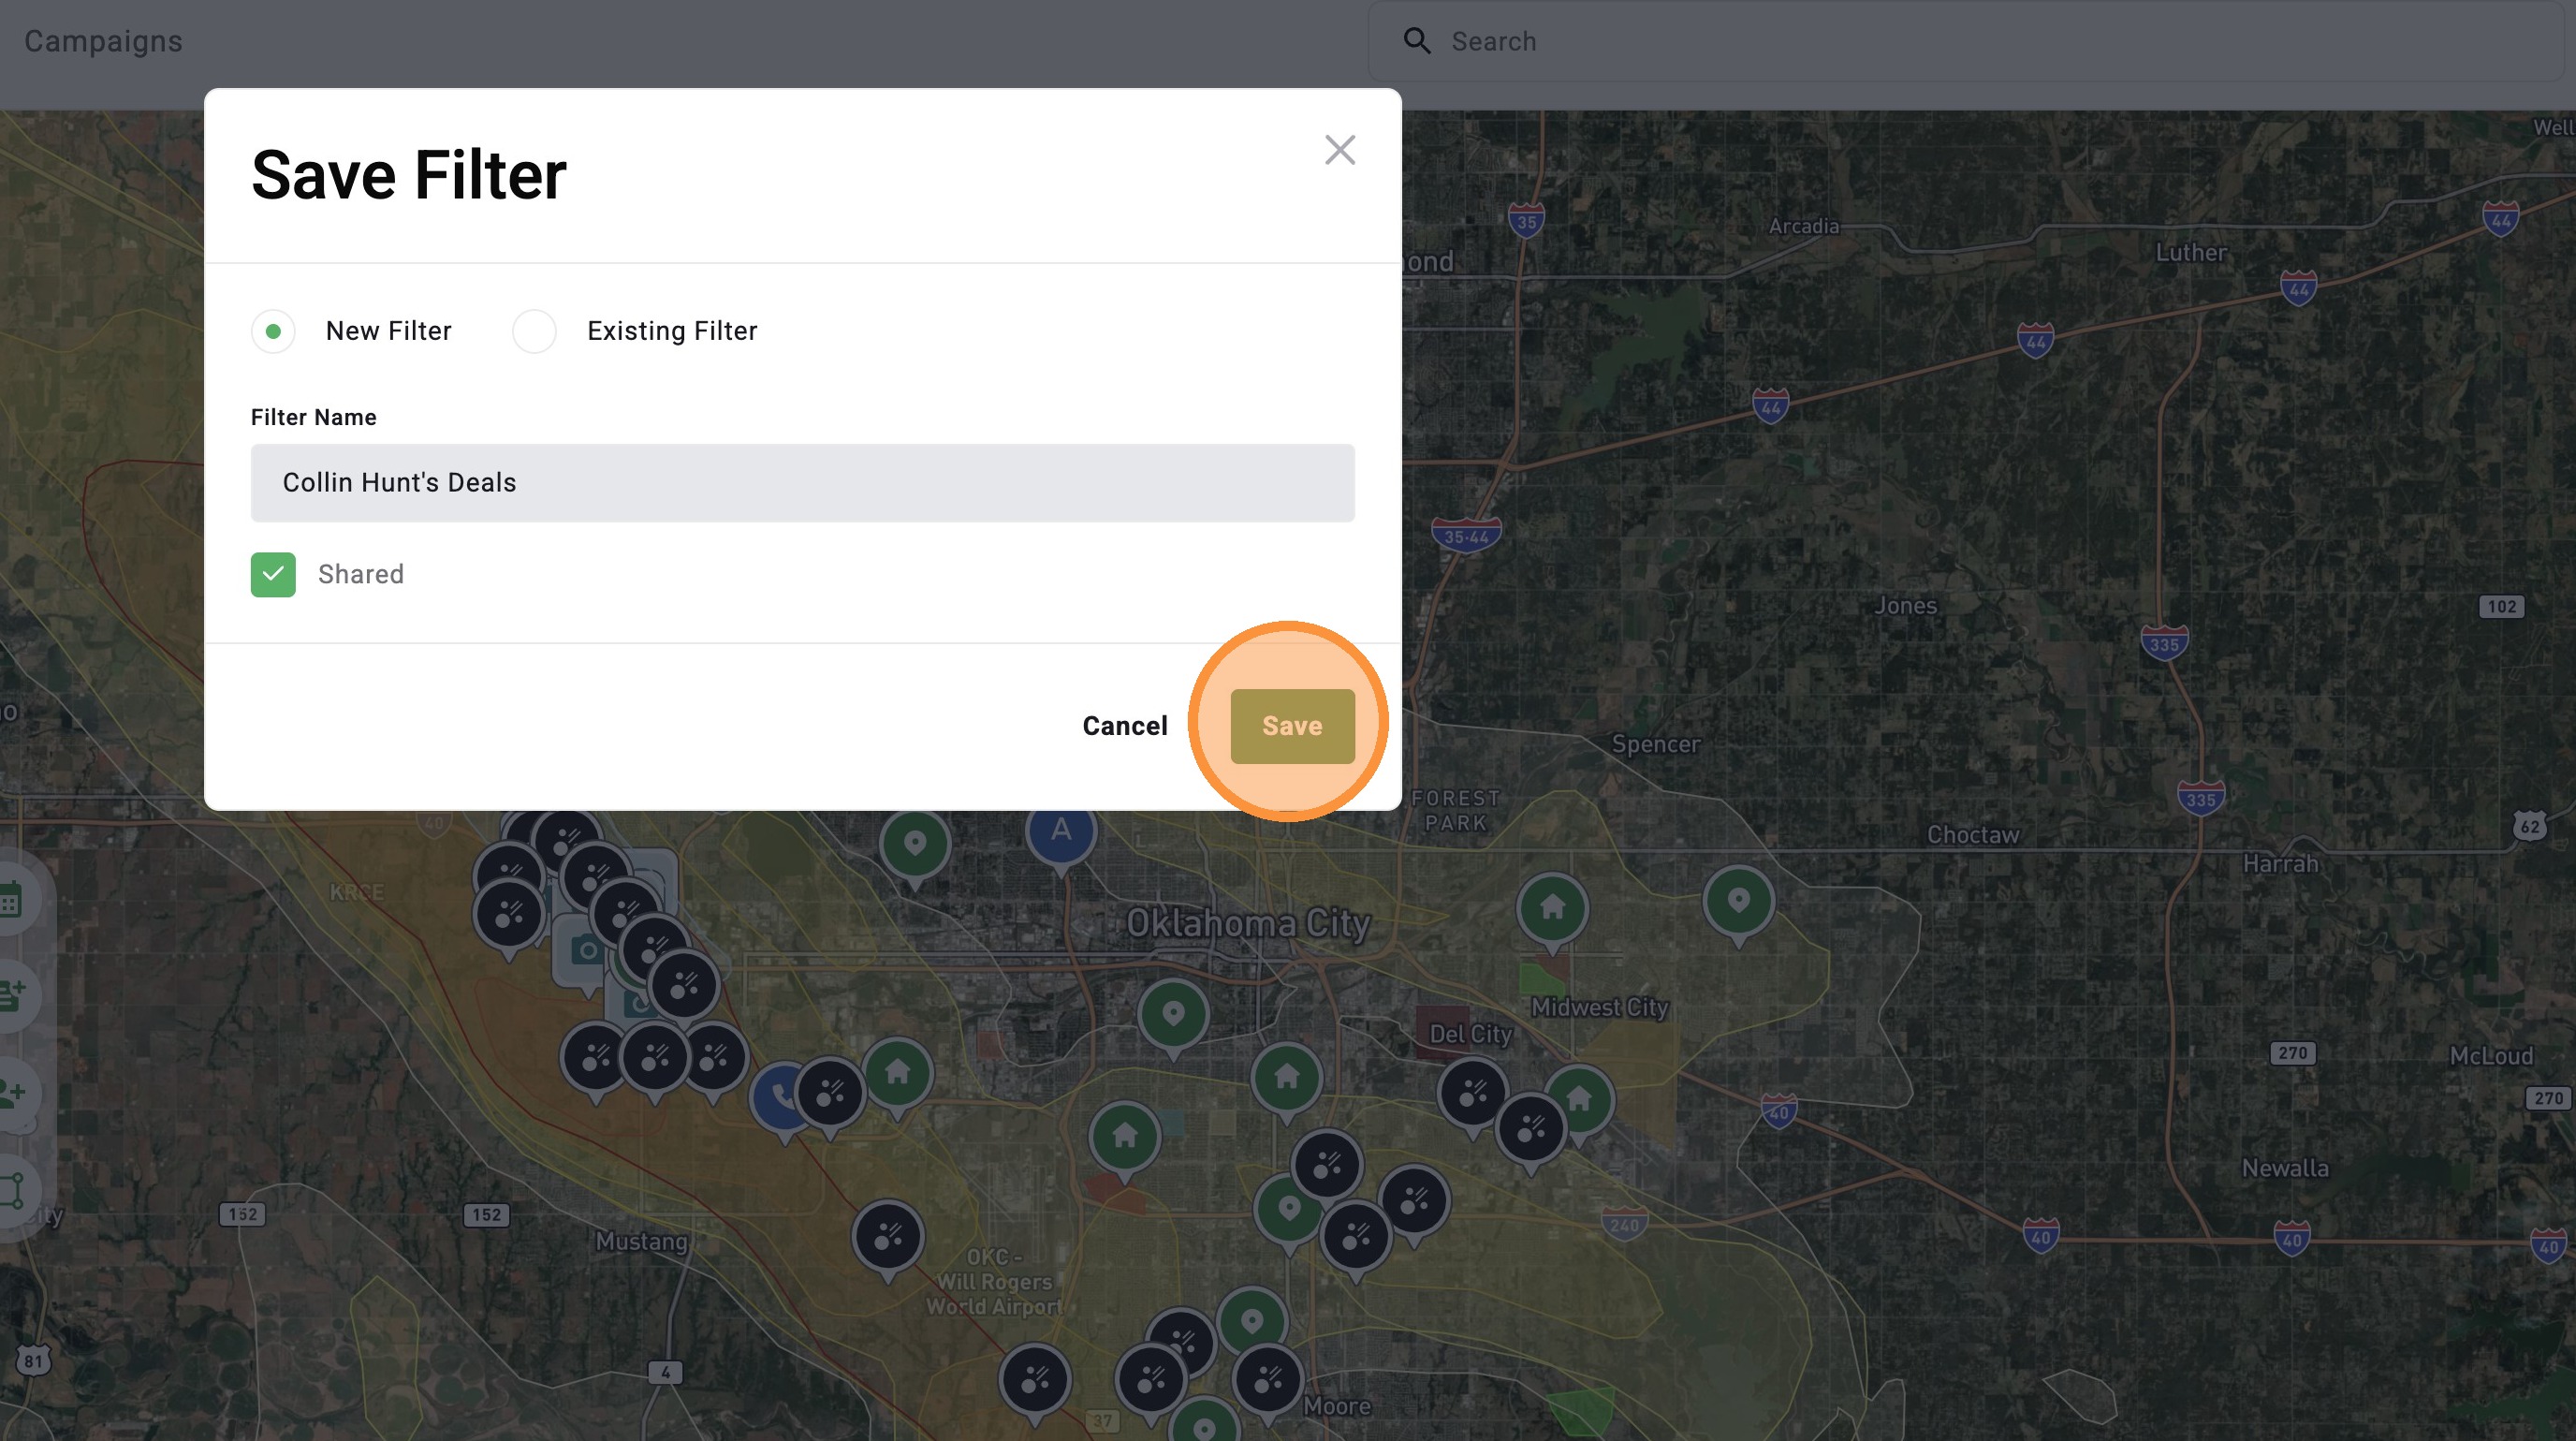
13. Click Save
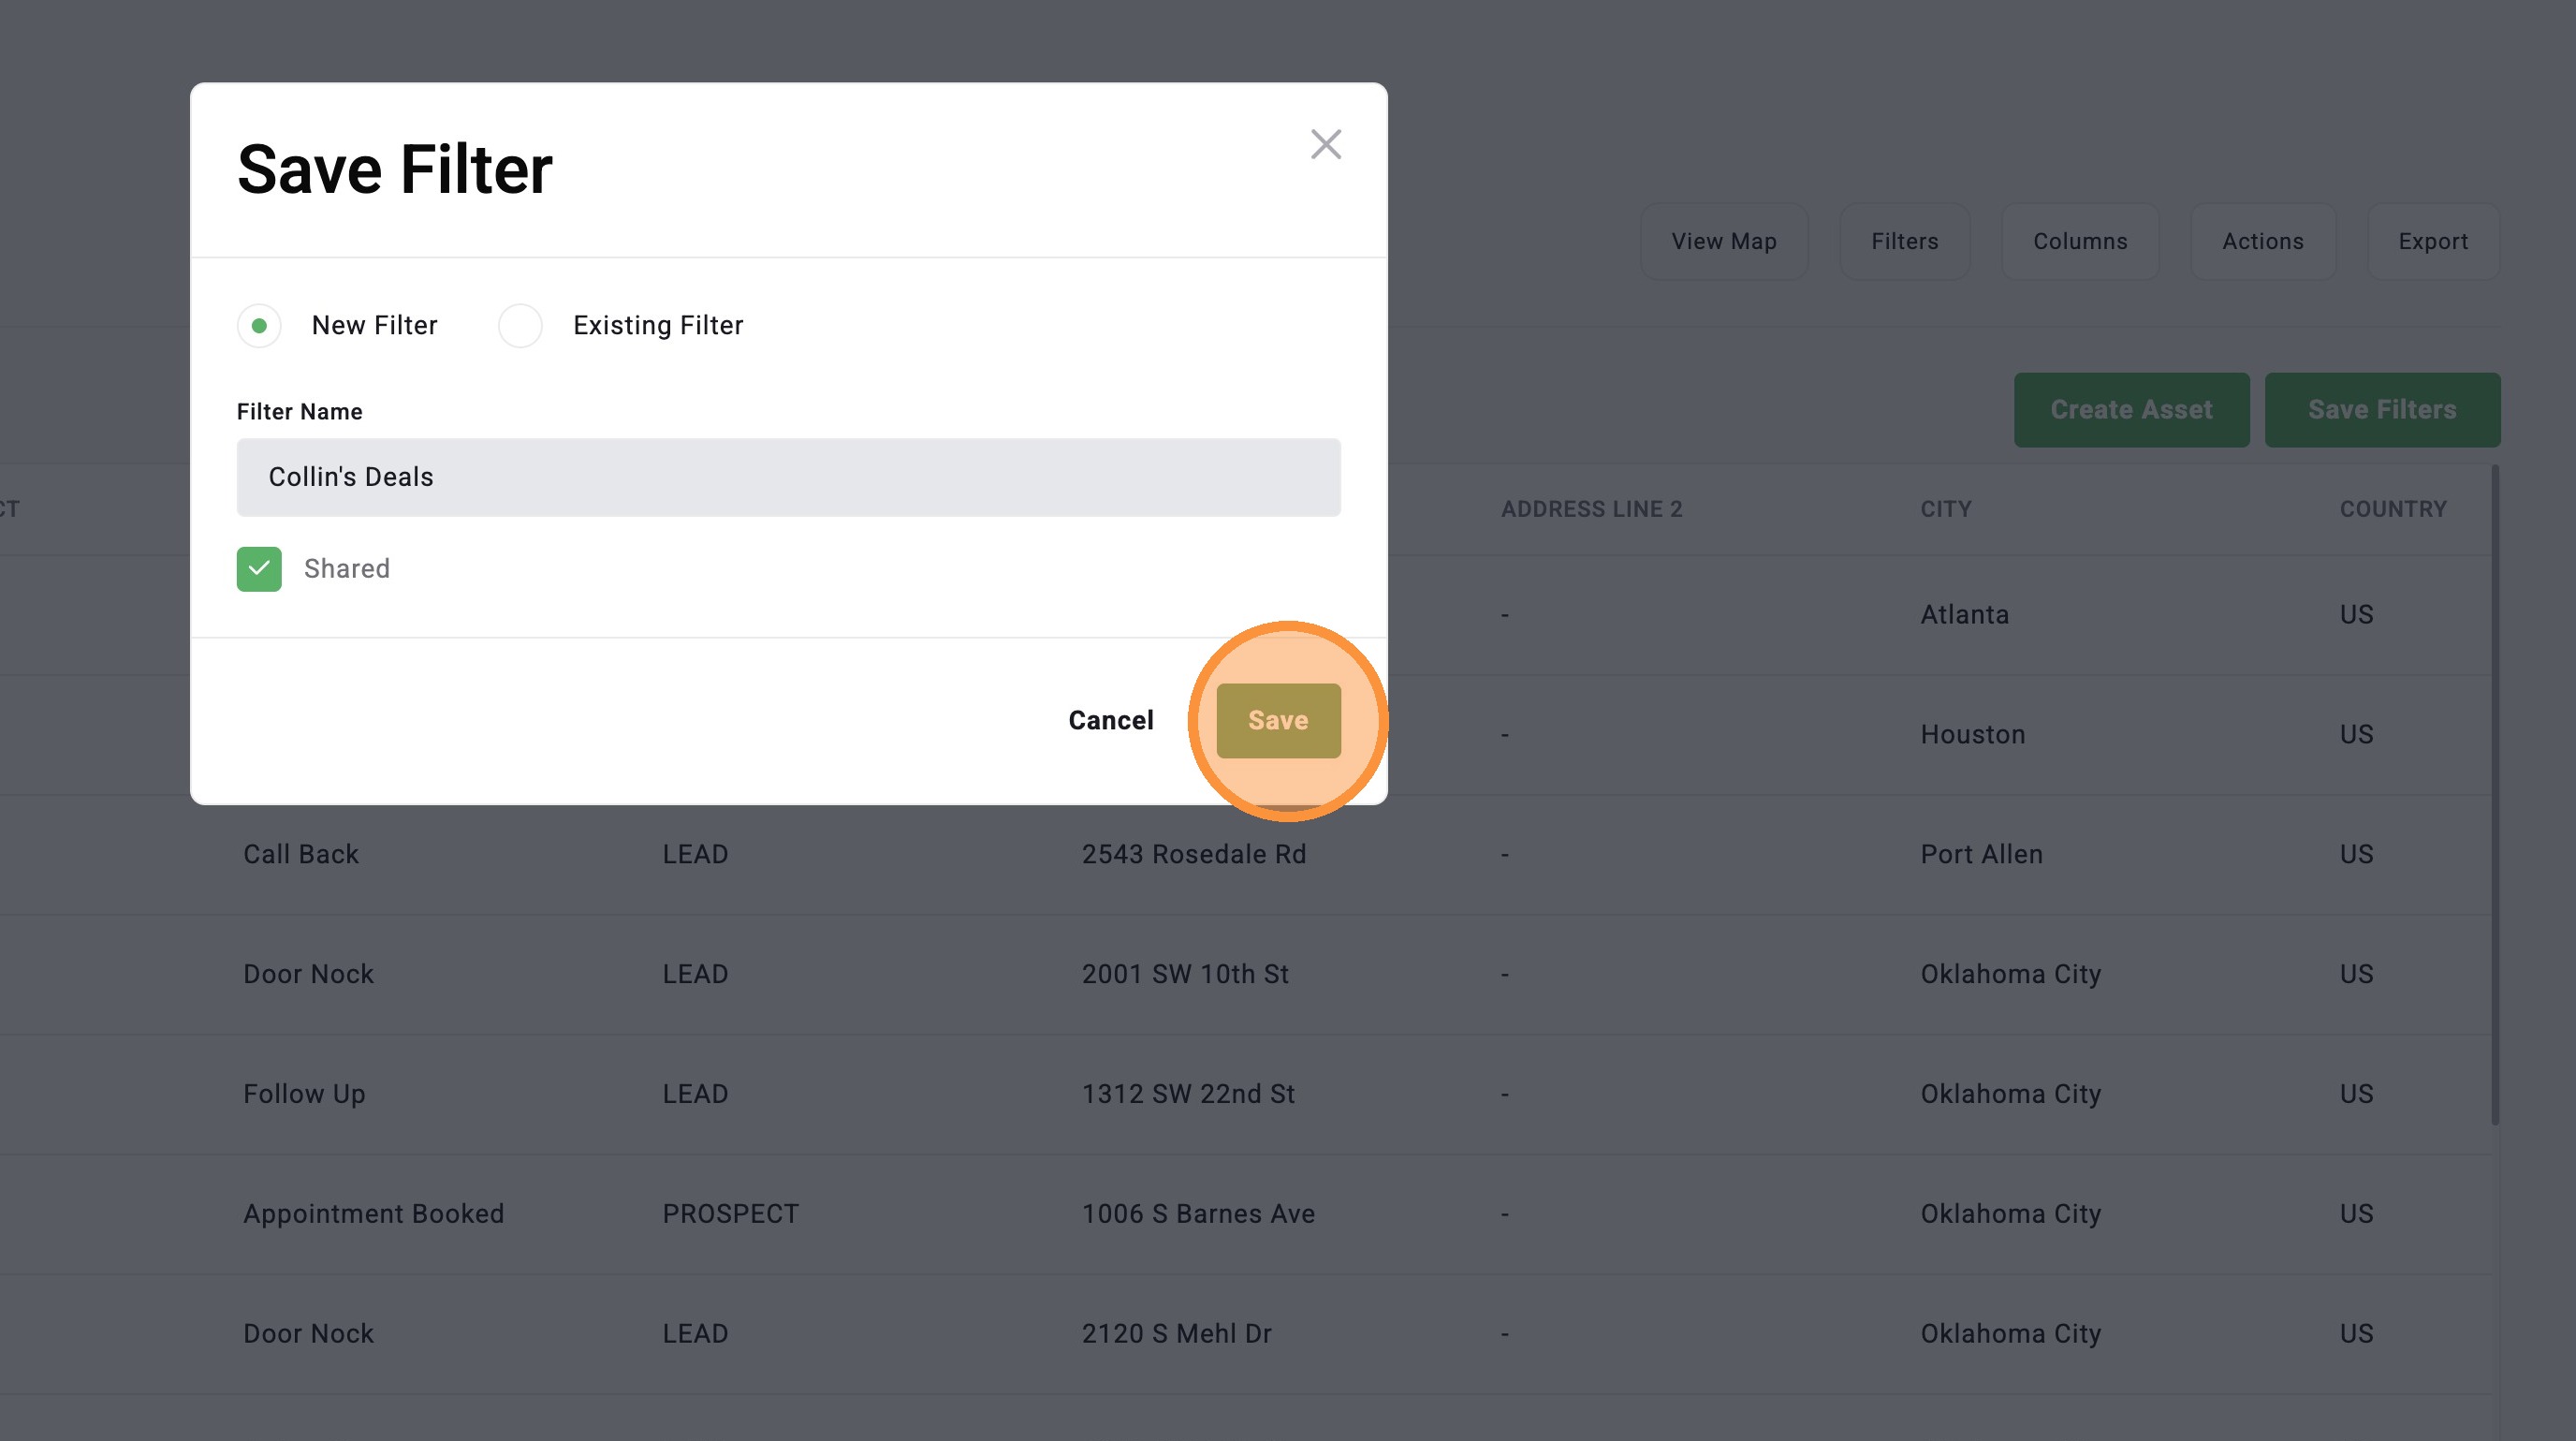
14. Select "Filters" to find and enable your saved filters
Using Map Page
Enable Filters
1. Click "Maps" page
2. Click "Assets" panel

3. Open filters
4. Select a saved filter or apply a variety of filters
5. For example, select "Created By" to see all assets create by a user(s)
6. Select a user from the dropdown
7. Click "Apply"
8. Close filters and view your filtered assets
View Assets on the Asset Page
9. Select "Table View" to view all your assets on the Asset page
Save Filters
10. Click "Save Filters" to save your current filter setup and quickly use it again later
11. Click the "Enter filter name" field.
12. Optional: share this saved filter with all users in your company
13. Click "Save"
14. Select "Filters" to find and enable your saved filters
Related Articles
[5.0] Use the Asset Panel to Find, Create, and Manage Assets
The Asset Panel now makes it easier to manage your work without leaving the map. Filters are built right into the panel, so you can quickly find the assets you need. You can also create a new asset right from the panel. This helps you stay organized, ...[5.0] Use Impacted Assets to Find Clients Hit by a Storm
While generating new leads through canvassing, mailers, and other methods is important, the quickest and easiest opportunities often come from your existing leads and clients who have been impacted by a new storm. The Impacted Assets feature provides ...[5.0] Upload Your Assets(Clients) Into HailTrace
Uploading your clients into HailTrace helps your team see which properties were impacted by recent storms and track every deal in one place. By importing your client list, you can: Generate new sales from past storms – Identify and contact leads or ...[5.0] Find Storms Nearing Deadline with Statute of Limitations Filter
The Statute of Limitations filter highlights storms nearing the deadline for homeowners to file an insurance claim. It helps you quickly find and revisit damaged areas so you can reach owners who may still be able to file but haven’t yet. Mobile App ...[5.0] Start Faster with the Toolkit Menu
The Toolkit is your starting point in the app. It puts your main tools in one simple menu right on the map. You can find storms, search addresses, create assets, and more—all in one place. No more guessing where things are or clicking through ...